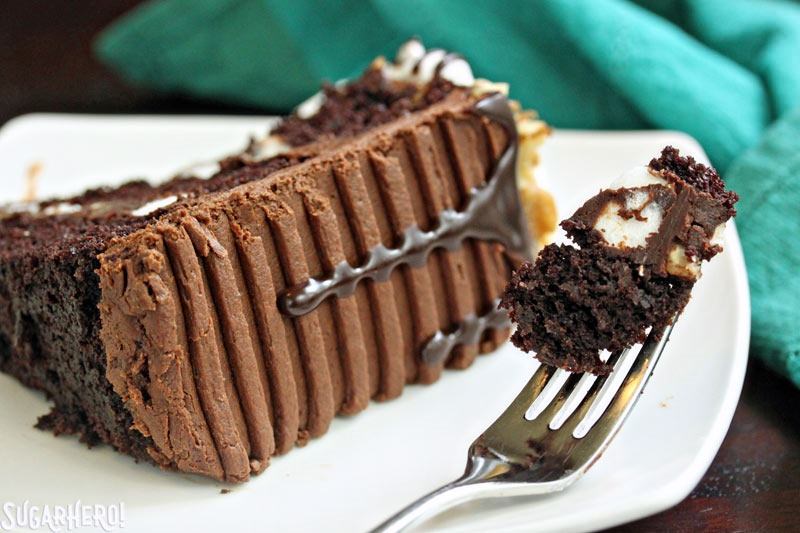
This Rocky Road Layer Cake is chocolate overload, in the best way possible! Moist chocolate cake is layered with a rich filling of marshmallows, nuts, and chocolate ganache. The outside is piled high with marshmallows, nuts, ganache, and chocolate buttercream.
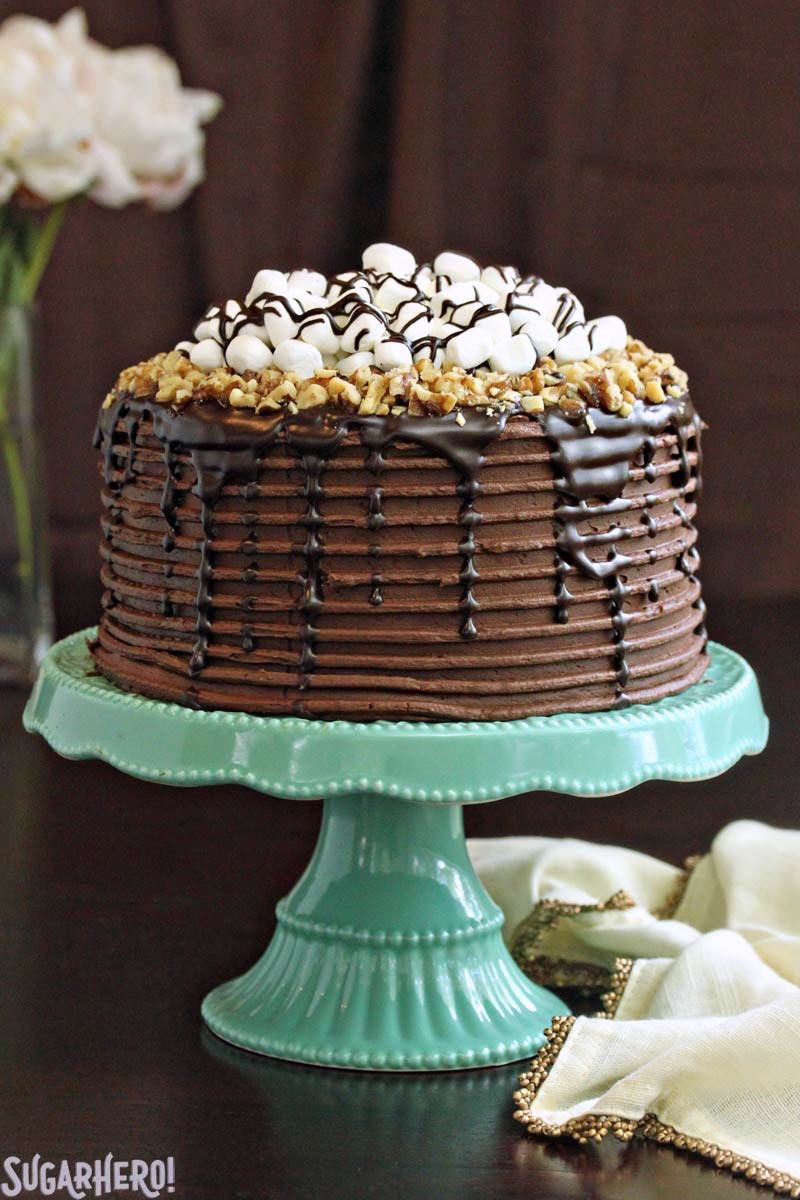
A Tall Chocolate Layer Cake
I know, I KNOW. It’s summer time! Fruit trees are just bursting with amazing produce right now. Raspberries and blueberries are practically hurtling themselves into grocery carts. The time is ripe (groooooan) for making delicious, farm-fresh, produce-driven desserts. And here I am showing up to the party with a big ole chocolate cake like a chump.
But you know, here in SugarHeroLand, chocolate is ALWAYS in season. And as good as ripe peach or slice of watermelon tastes, chocolate will always taste juuuuust a bit better. Sometimes you need the tart bite of fresh fruit, and sometimes you need the comfort of a tall slice of chocolate cake, loaded with marshmallows and nuts and chocolate ganache.
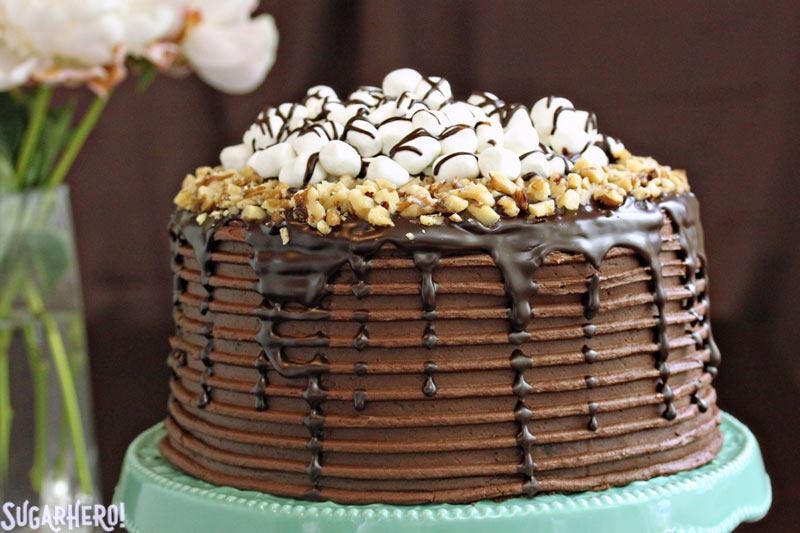
How To Make A Rocky Road Layer Cake
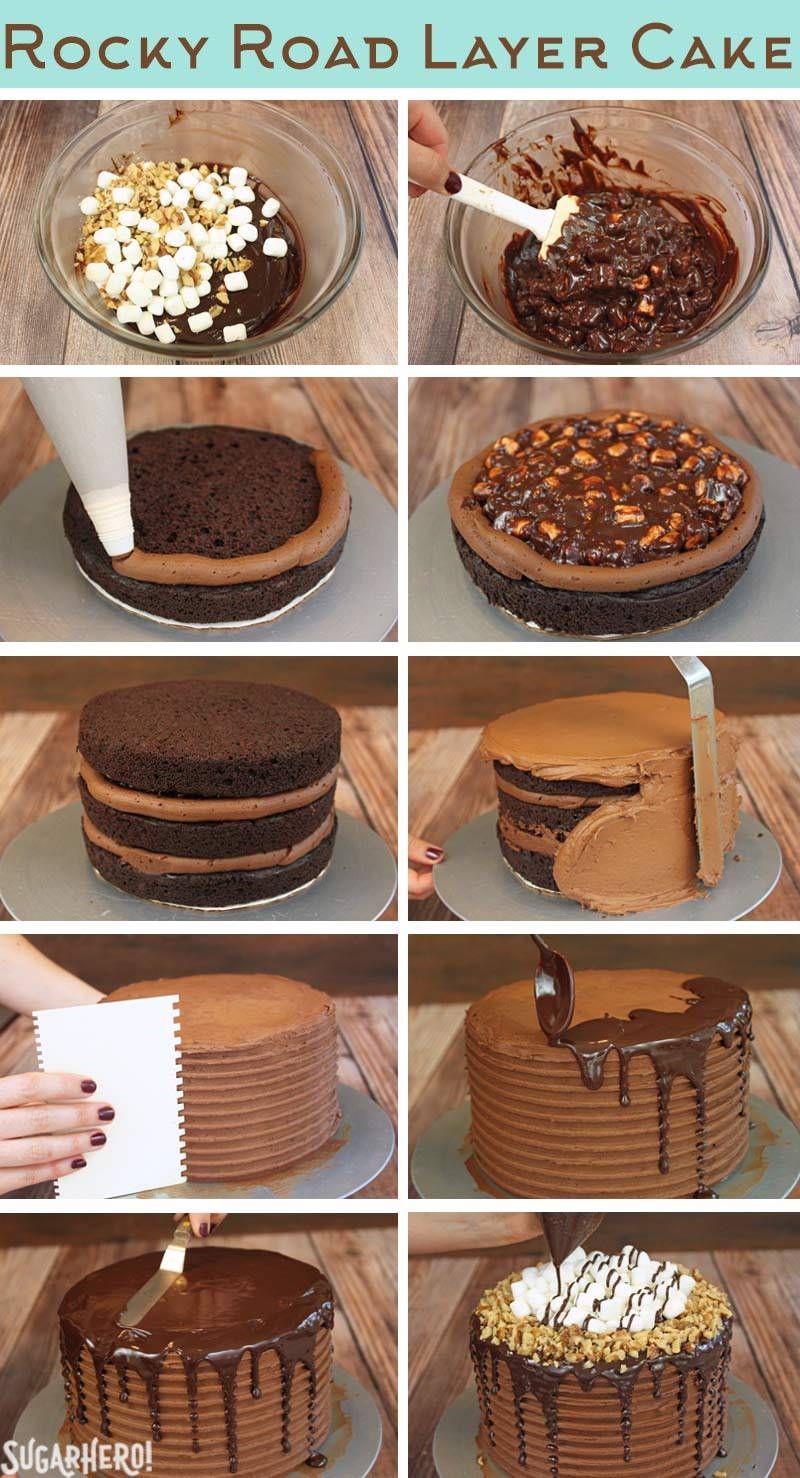
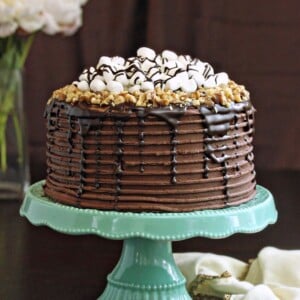
When I had the need for some serious chocolate recently, I made this Rocky Road Layer Cake: three tall layers of moist chocolate cake, sandwiching rich, fudgy ganache mixed with marshmallows and toasted walnuts. That didn’t sound like quite enough to quench my chocolate thirst, though, so I finished it off with chocolate buttercream around the outside, a dripping layer of ganache on top, and then a tall crown of walnuts and marshmallows. The assembly process looked a little something like this…
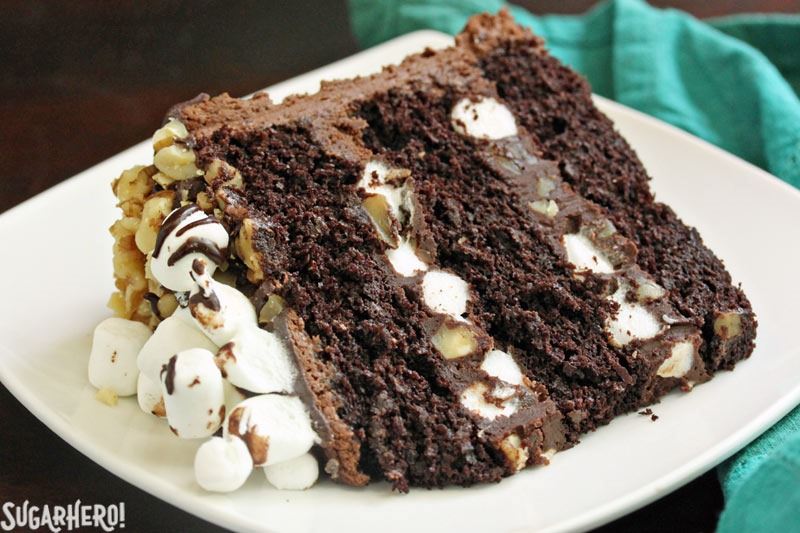
A slice of this isn’t exactly as virtuous as a freshly picked nectarine, but I can tell you it’s a heck of a lot more satisfying after a long, hard day. We enjoyed ours with tall glasses of cold milk, and after our family had had our fill, we had plenty left over to share with the neighbors. Have I mentioned that we’re the most popular family on the block? Because we totally are. And I’m not above buying people’s affections with baked goods. It’s the American way.
🎂More Layer Cake Recipes You’ll Love
- Mint Chocolate Chip Layer Cake
- Cookies and Cream Cake
- Festive Fall Layer Cake
- Chocolate Orange Cake
- Piñata Cake (with video!)
- Black Forest Cake
Campfire Rocky Road Brownies
Triple Chocolate Rocky Road Brownies
Rocky Road Layer Cake
Ingredients
For the Chocolate Cake:
- 6 oz unsalted butter, at room temperature
- 4.75 oz granulated sugar, (2/3 cup)
- 5 oz brown sugar, (2/3 cup), packed
- 2 large eggs, at room temperature
- 2 tsp vanilla extract
- 8 oz buttermilk, (1 cup), at room temperature
- 4 oz sour cream, (1/2 cup), at room temperature
- 2 tbsp water , or brewed coffee
- 7.8 oz all-purpose flour, (1¾ cups)
- 3 oz unsweetened cocoa powder, (1 cup), sifted
- 1½ tsp baking soda
- ½ tsp salt
For the Chocolate Buttercream:
- 8 oz unsweetened chocolate, finely chopped
- 24 oz powdered sugar, 6 cups)
- 8 oz unsalted butter, (2 sticks), at room temperature
- 6 tbsp milk, more if necessary
- 2 tsp vanilla extract, can sub with other extracts
- 1/4 tsp salt
To Finish:
- 12 oz semi-sweet chocolate, chopped
- 12 oz heavy cream
- 5 oz mini marshmallows, (2 ½ cup)
- 6.5 oz walnuts, (1 3/4 cup), toasted and coarsely chopped
Instructions
To Make the Chocolate Cake:
- Line 3 8-inch cake pans with parchment, and spray them with nonstick cooking spray. Preheat the oven to 350 F.
- Add the butter and both sugars to the bowl of a large stand mixer fitted with a paddle attachment. Beat them together on medium-high speed, until light and fluffy, about 5 minutes. Add the eggs one at a time, beating well after each addition. Add the vanilla extract and mix it in.
- In a separate bowl, whisk together the buttermilk, sour cream, and water (or coffee, if using). In a different bowl, sift together the flour, cocoa powder, baking soda, and salt. With the mixer running on low, add a quarter of the sifted flour mixture. When the flour streaks have almost all disappeared, add a third of the liquid to the mixing bowl. When that’s incorporated, continue to add the drys and wets in an alternating pattern, ending with the dry ingredients.
- When the dry ingredients are nearly incorporated, stop the mixer. Scrape down the bottom and sides of the bowl with a rubber spatula, and finish mixing the cake by hand. Divide the batter evenly between the prepared pans—if you want to use a scale, each pan should have about 13.5 oz. Smooth the batter into an even layer. Bake the cakes for 22-25 minutes, until a toothpick inserted into the center comes out with just a few moist crumbs attached. Cool the cakes completely before using.
- The cakes can be made several days in advance and kept, well-wrapped and refrigerated or frozen, until ready to use.
To Make the Chocolate Buttercream:
- Place the chopped unsweetened chocolate in a microwave-safe bowl and melt it in 30-second increments, stirring after every 30 seconds until melted and smooth. Set aside to cool to room temperature, about 10 minutes.
- Place the remaining ingredients (sugar through salt) in the bowl of a large stand mixer fitted with a paddle attachment. Mix on low speed until the sugar is thoroughly moistened, then raise the speed to medium and beat for 1-2 minutes, until light and fluffy.
- Turn the mixer speed back to low, and add the chocolate. Once the chocolate is mixed in, raise the speed back to medium and beat for one minute more. Use immediately, or place in an airtight container with plastic wrap pressed on top. The frosting can be made several days in advance and kept in the refrigerator. Allow to come to room temperature before using.
To Assemble:
- Place the chopped semi-sweet chocolate in a medium bowl. Pour the cream into a small saucepan and place it over medium heat. Bring the cream to a simmer, so that bubbles are forming around the edges but it’s not at a full boil.
- Pour the hot cream over the chopped chocolate and let it sit for one minute, to soften the chocolate. Whisk the chocolate and cream together until the chocolate is melted and the mixture is shiny and smooth. This is your ganache. Press a layer of cling wrap on top and let it cool to room temperature, about 10 minutes. Once it is room temperature, separate out 1 ¼ cups (12 oz) of ganache and place it in a small bowl. Press a layer of cling wrap on top and reserve it for decorating later.
- To the remaining ganache in the large bowl, add 1 cup of miniature marshmallows and 1 cup of toasted walnuts. Stir until the walnuts and marshmallows are evenly distributed and well coated with ganache.
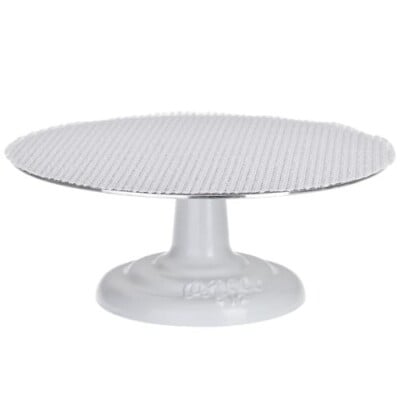
- To assemble the cake, place the chocolate cake layers on cardboard cake rounds, and use a large serrated knife to trim off the rounded tops. Place one round on a cake turntable, if you have one.
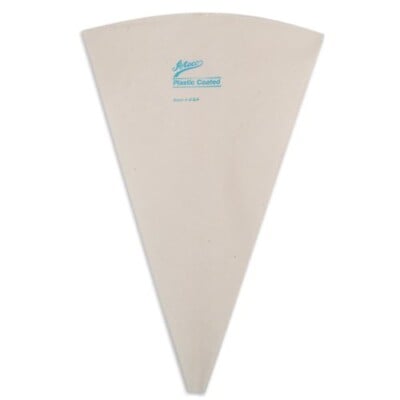
- Fit a piping bag with a round ½-inch tip or coupler, and fill it with chocolate buttercream. Pipe a circle of buttercream around the outer edge of the cake. Spoon half of the ganache/marshmallow/walnut filling into the center of the cake, and use a spatula to spread it in an even layer out to the edge of the buttercream border.
- Place a second cake round on top, and repeat the procedure with the buttercream circle and the rest of the ganache filling. Finally, add the third cake round on top. Spread a very thin layer of chocolate buttercream around the sides and the top of the cake—this is called the “crumb coat” and is meant to seal in any stray crumbs. Refrigerate the cake until the crumb coat is firm, 30-45 minutes.
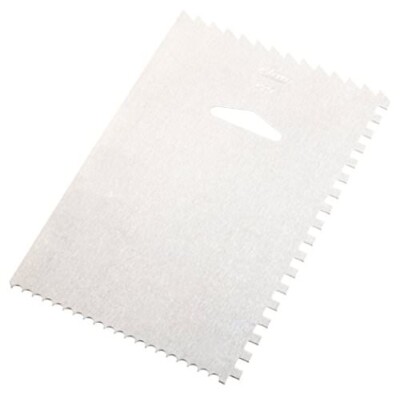
- Once the cake is firm, spread a thicker layer of chocolate frosting over the top and sides of the cake. If you want to achieve the serrated look in the photos, you’ll need a cake comb—a plastic rectangle with a serrated side. Spread a thick layer of frosting around the sides of the cake (at least ½-inch thick) and place the comb up against the slide. Hold the comb against the cake and turn the turntable slowly to scrape away the frosting in a decorative pattern.
- Warm up the reserved portion of the ganache in the microwave, heating it in 15-second increments and stirring after every 15 seconds, until it is melted and fluid. Using a spoon, pour a spoonful of ganache on the edge of the cake and gently guide it so it drips down over the edge. Repeat with another spoonful next to the first, and continue to go around the cake creating drips down the side. Once you’ve gone around the whole cake, pour more ganache in the center of the cake and spread it out until it meets the border.
- Take the reserved chopped walnuts and sprinkle them in a circle around the outside border of the cake. Fill the inside of the walnut circle with the reserved miniature marshmallows. Drizzle the last of the ganache over the marshmallows. Refrigerate the cake for 20-30 minutes, to firm up the ganache in the center of the layers, before serving.
Measuring Tips
Our recipes are developed using weight measurements, and we highly recommend using a kitchen scale for baking whenever possible. However, if you prefer to use cups, volume measurements are provided as well. PLEASE NOTE: the adage “8 oz = 1 cup” is NOT true when speaking about weight, so don’t be concerned if the measurements don’t fit this formula.
Want to learn more about baking measurements and conversion?
Nutrition





Beautiful cake! It’s seems delicious.
Thank you! It really is SO tasty. I hope you enjoy it!