


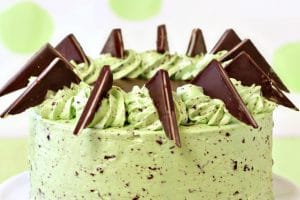


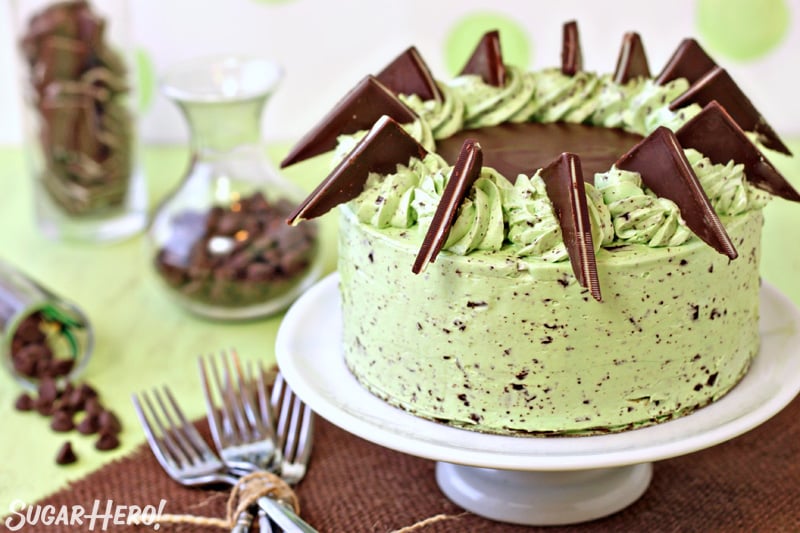
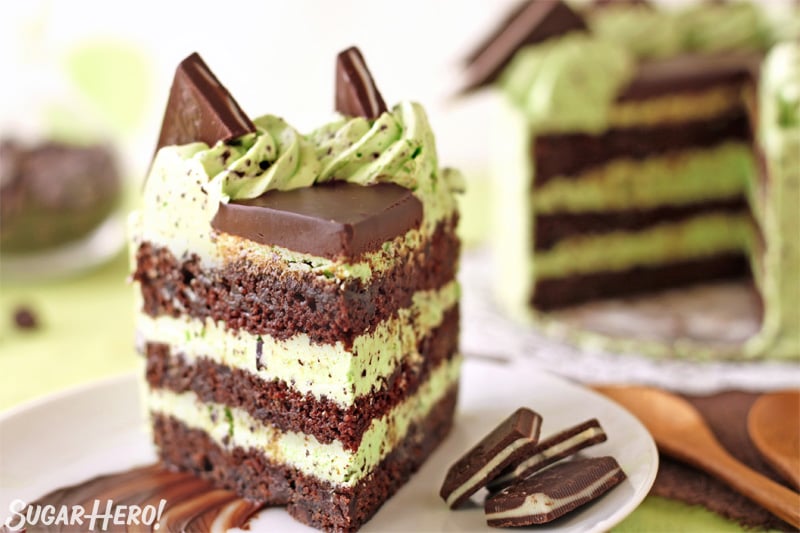
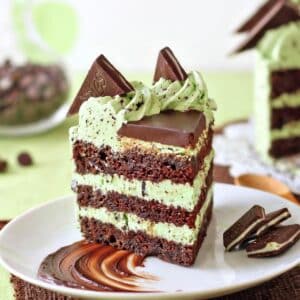
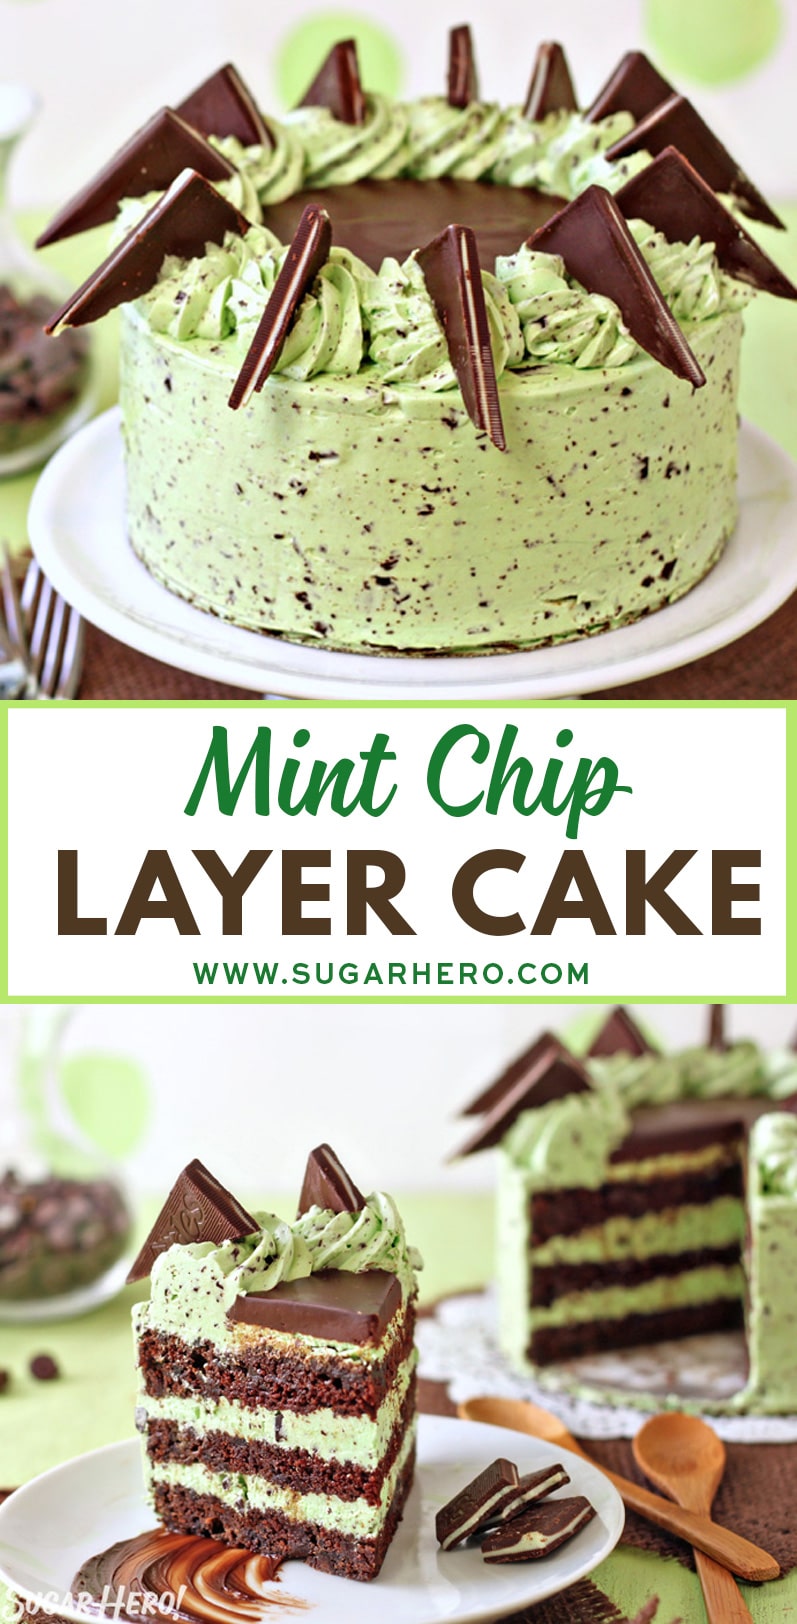
This Mint Chocolate Chip Layer Cake is a mint lover’s dream come true! Chocolate cake layers with chunks of Andes mints and mini chocolate chips, plus a silky-smooth mint buttercream with lots of flecks of mint chocolate chips.

🍫 The ULTIMATE Mint Chocolate Chip Cake Recipe
I don’t have a favorite dessert, but I would say that my favorite flavor combination is chocolate and mint. My go-to birthday pick is always warm brownies with mint chocolate chip ice cream, and I can positively murder a bag of Andes mints if I’m left unattended with them.
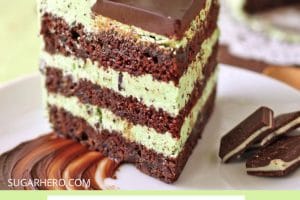
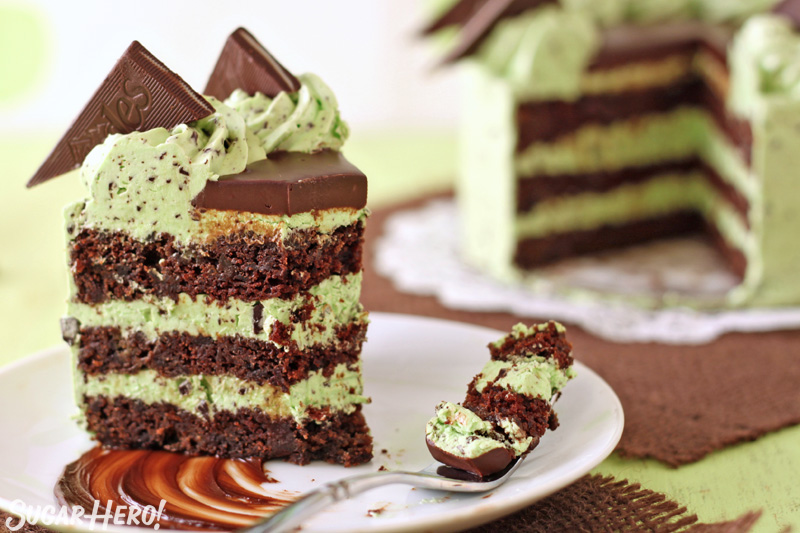
So obviously, given my love of chocolate + mint ANYTHING, this cake is my jam. It’s made with moist devil’s food cake that’s studded with pockets of chopped Andes mints and and miniature chocolate chips. But the frosting is the REAL star here–it’s a smooth, luscious, refreshing mint frosting flecked with LOTS of chips of dark chocolate.
This poor cake barely lasted two days in our house. First of all, I obviously ate this entire huge slice during the course of photographing it. Obviously. Then afterwards, I would invent ridiculous reasons to go into the kitchen (“I need more tinfoil for this hat of mine! Off to the kitchen I go!”).
Three or four slivers of cake later, I’d leave and promise myself I was done….only to come back 20 minutes later and repeat the whole process. This cake is a family and a reader favorite, and I’ll bet that once you taste it, it’ll be a new favorite for you, too!
If you love chocolate layer cakes, you won’t want to miss my five-star Cookies and Cream Cake either!

🧾 Ingredients
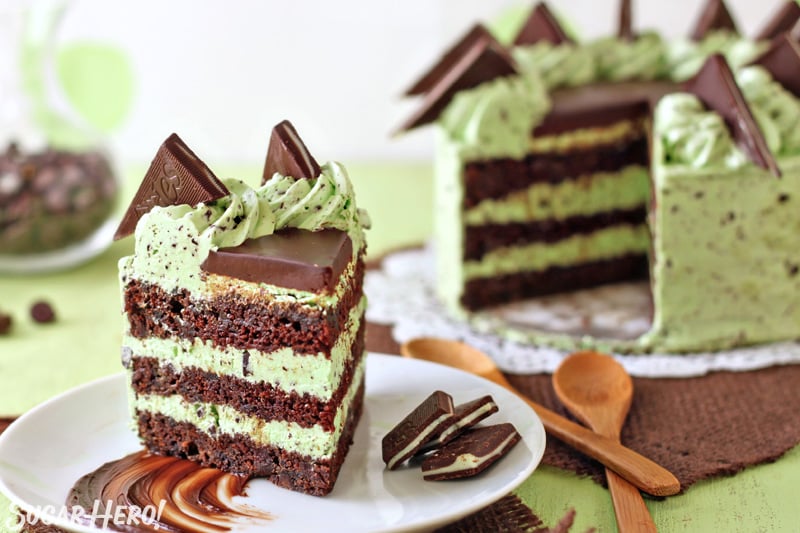
This cake is comprised of three components: moist chocolate cake, super-smooth mint chip Swiss meringue frosting, and the silky chocolate ganache that covers the top.
The Cake
- Butter: The chocolate cake is a butter cake, which is my favorite type of chocolate cake to make. Using butter instead of oil gives the cake more flavor, makes it less prone to a greasy texture, and also makes the cake sturdy enough for layering into tall cakes. Chocolate butter cakes can also be turned into great cupcakes, and if you’re looking for a no-fail cupcake, check out my Chocolate Cupcake recipe.
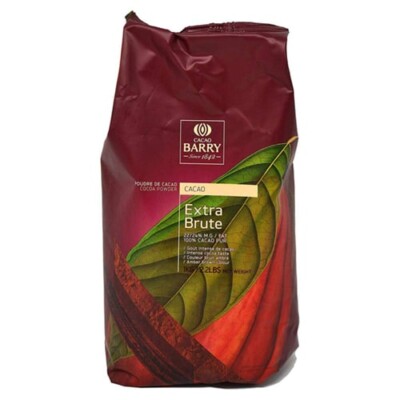
- Cocoa Powder: Since this cake gets all of its chocolate flavor from cocoa powder, I recommend using a high-quality cocoa powder. Cheap cocoa powders can be nearly flavorless, or worse, impart a bitter, dusty, or stale flavor. My personal favorite is Cacao Barry Extra Brute (affiliate link)– it hits that sweet spot between very high quality but also pretty affordable since it is sold in bulk. Whatever you use, make sure that it is dutch-processed (also known as alkalized), because that will make a difference in the final taste and texture of the cake.
- All-purpose flour: I recommend using bleached flour if possible–it helps provide more structure to the cake.
- Chocolate Mix-Ins: I decided to extend the “mint chip” theme and stir in some miniature chocolate chips and chopped Andes mints into my cake batter. This is optional, so feel free to swap in different bits o’chocolate, or leave them out entirely. I recommend sprinkling them over the top of the batter once you put it in the cake pan, then gently swirling them in–this helps prevent the chocolate bits from all sinking to the bottom of the cake layers.
The Frosting
This frosting is a variation of Swiss Meringue buttercream — this means that it’s made by warming up egg whites and sugar, whipping them until they form a stiff meringue, then gradually adding butter to create a rich, smooth frosting. There are full instructions in the recipe card below, but if you want to learn more in-depth about Swiss Meringue, please check out my stand-alone Swiss Meringue Buttercream recipe post–it has lots of step-by-step pictures, tips, and tricks for frosting perfection!
The key components of this mint chip frosting are:
- Egg Whites: The egg whites should be room temperature, and completely free from any specks of egg yolks or other fat. Fat from yolks, grease, or oil will prevent the whites from whipping properly. Check out my guide to separating eggs for four different ways of cleanly and easily separating whites from yolks! If you want to use pasteurized whites from a carton, consider using my Easiest Swiss Meringue Buttercream recipe instead–it’s a “cheater’s” version of Swiss Meringue that takes a few shortcuts, but still produces a delicious frosting.
- Granulated Sugar: Regular white granulated sugar or super-fine sugar are both great in this recipe! Avoid using organic sugar for this frosting, the texture and consistency will not be the same.
- Butter: I always recommend using unsalted butter, so you can control the final flavor of the frosting by adding salt to your personal taste. For this recipe, the butter should be at room temperature, which for me often means taking it out of the refrigerator 45-60 minutes before making the frosting. It should be soft enough to press with a finger, but still fairly cool, and not at all greasy or melted.
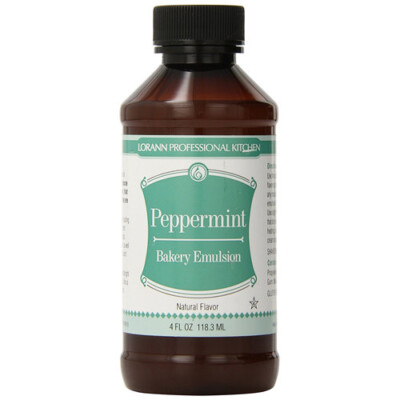
- Mint Extract: Did you know there are different types of mint extract? If you want the classic mint flavor that you get from mint chip ice cream, look for “mint extract” in stores. (I like McCormick extract myself!). If you want the brisk, refreshing mint of a classic red and white mint, then “peppermint extract” is what you want. And if you love the smooth, sweet taste of spearmint gum, then “spearmint extract” is your jam. Mint extract can vary a lot of in strength between brands, so I always recommend starting with a small amount, and adding more if needed. Nobody wants a mint frosting so powerful it feels like brushing your teeth!
- Food Coloring: This is optional but recommended if you want to really reinforce the mint chip theme. I use Americolor Leaf Green gel food coloring, with a bit of Lemon Yellow to warm up the color and make it more mint-y.
The Ganache
The shiny chocolate ganache on top of the cake is a two-ingredient marvel!
- Heavy Cream: I like heavy cream best for the rich texture it gives to ganache, but you can use whipping cream if that’s what’s available to you.
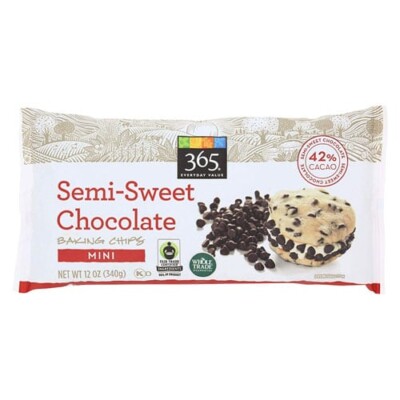
- Semi-Sweet Chocolate: Chopping up a chocolate bar will give you the best results–I’m a big proponent of Trader Joe’s pound plus bars, if those are available to you. Otherwise, go for high-quality chocolate chips like Guittard–they’ll give you the best flavor.
🥄 Equipment
There are a few key pieces of equipment you’ll need for this cake:
- A mixer — to make the cake batter and frosting. (I love my trusty KitchenAid stand mixer.) A stand mixer or a hand mixer will both work, and whatever you use, you’ll want to use a paddle blade for the cake batter, and the whisk attachment for the frosting.
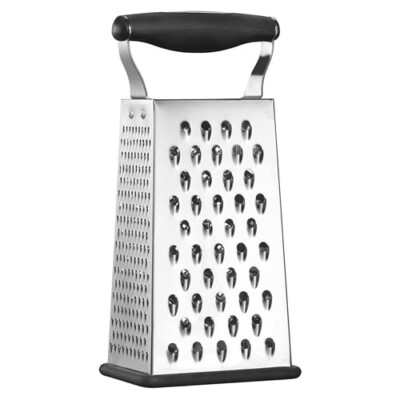
- A box grater — this is my secret weapon for getting the perfect chocolate chippy-ness in the frosting! Yes, the humble cheese shredder can shred so much more than just cheese. It can also shred chocolate like a pro, giving you a fabulous assortment of small chocolate flecks–small enough to make the cake easy to slice, but big enough so that you get a good crunch of chocolate in every bite. I have one just like this and I love it.
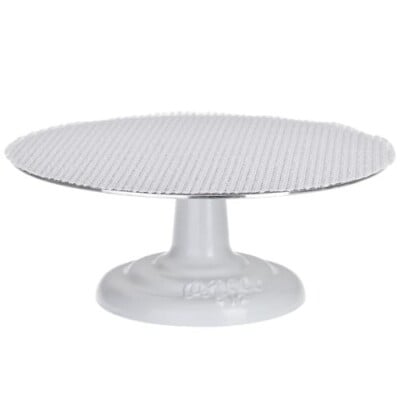
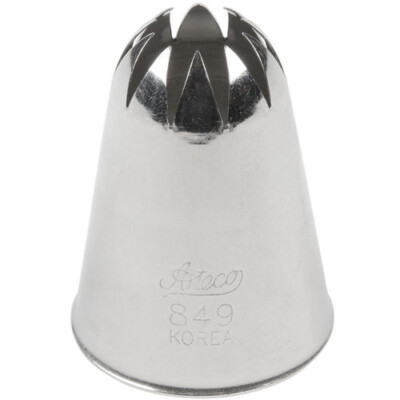
- Cake tools — decorating will be much easier if you have a cake turntable and offset spatula. If you want to create the rosettes around the edge of the cake, a piping bag and large star tip is a must.
- A Thermometer — this can be very helpful when making the buttercream. If you are new to using a thermometer, check out my guides for how to use a thermometer and how to test and calibrate a thermometer correctly.
💡 Tips and FAQs
It is extremely common for the frosting to go through an “ugly” period before it’s done. Your frosting may look soupy, curdled, chunky, or downright gross. This is normal!
Swiss meringue frosting needs to be beaten for an extended amount of time so that the fat in the butter emulsifies with the meringue and creates that gorgeous frosting texture. If it looks soupy or curdled, there is a 95% chance that it has not been beaten long enough, and you just need to keep whipping in order for it to come together.
The other common cause of frosting failure is butter that is too warm. “Room temperature” does not mean greasy, slightly melted around the edges, or warm. It is better to have the butter be slightly too cool than too warm. If your butter is too warm, or if the meringue has not cooled enough when you add the butter, the frosting might remain liquidy. Refrigerate the frosting for 5-10 minutes and try beating again until it comes together. See my Swiss Meringue frosting post for other pointers!
It’s always a good idea to give yourself plenty of time to make the components and assemble a layer cake. Whenever possible, I like to do it over the course of several days so I’m not rushed or stressed. Fortunately, all the parts of this cake can be made in advance!
The cake can be baked and then wrapped well in plastic wrap. Store it in the freezer until you’re ready to assemble–the freezer does a better job of keeping cakes moist than the refrigerator. Cake can be stored for up to 3 months in the freezer.
The frosting can be made and stored in an airtight container in the refrigerator for up to 2 weeks. Let it come completely to room temperature, then whip well to restore the smooth texture.
The ganache can be made and stored in an airtight container in the refrigerator for up to a week. Warm it up very gently in the microwave in short bursts, stirring frequently, just until it’s fluid.
This cake can be kept at room temperature in a covered cake stand for 3-4 days. It can be refrigerated for up to a week, but it will become more dry due to refrigeration. For the best taste and texture, bring to room temperature before serving.
💭Variations
- Make a candy cane version! Swap the mint extract for peppermint extract, and color the frosting a light pink. Use candy canes in place of Andes mints around the edge of the cake.
- Who needs mint? Use vanilla bean paste instead to make a luscious vanilla bean chip cake.
💚 More Fabulous Chocolate Mint Desserts:
- Peppermint Patty Flourless Cake: like a mega-huge peppermint patty on a fudgy chocolate cake!
- Chocolate Mint Swirl Ice Cream: so creamy and refreshing!
- Mint Chocolate Chip Mousse Brownies: a reader favorite, these always get RAVE reviews
- Mint Chocolate Chip Whoopie Pies: love this twist on old-fashioned whoopie pies!
- Fresh Mint Chip Ice Cream: nothing beats the taste of fresh mint
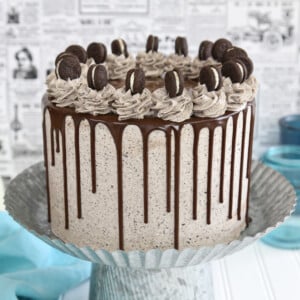
Cookies and Cream Cake
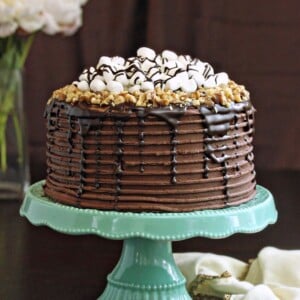
Rocky Road Layer Cake
Mint Chocolate Chip Layer Cake
Ingredients
For the Cake:
- 6 oz unsalted butter, (1 1/2 sticks, or 3/4 cup)
- 4.75 oz granulated sugar, (2/3 cup)
- 5 oz brown sugar, (2/3 cup packed)
- 2 large eggs, at room temperature
- 2 tsp vanilla extract
- 12 fl oz buttermilk, (1 1/2 cups, at room temperature)
- 8 oz all-purpose flour, (1 3/4 cup)
- 3 oz unsweetened cocoa powder, (1 cup, dutch-processed cocoa recommended)
- 1 ½ tsp baking soda
- 1/2 tsp salt
- 6 oz miniature chocolate chips, (1 cup)
- 6 oz Andes mints, (1 cup, chopped) Plus additional for decorating if desired
For the Mint Chocolate Chip Buttercream:
- 4 oz dark chocolate
- 9 large egg whites, at room temperature
- 14 oz granulated sugar, (2 cups)
- 1 lb unsalted butter, at room temperature–cool but pliable
- 2 tsp mint extract
- 1/4 tsp salt
- Green gel food coloring
- Yellow gel food coloring
For the Ganache Topping:
- 4 fl oz heavy cream, (1/2 cup)
- 3 oz semi-sweet chocolate, (about 1/2 cup), finely chopped
Instructions
To Make the Chocolate Cake:
- Preheat the oven to 350 F. Line three 8-inch pans with parchment and spray with nonstick cooking spray.
- Add the butter and both sugars to the bowl of a large stand mixer fitted with a paddle attachment. Beat them together on medium-high speed,until light and fluffy, about 5 minutes.
- Add the eggs one at a time, beating well after each addition. Add the vanilla extract and mix it in.
- In a separate bowl, sift together the flour, cocoa powder, baking soda, and salt. With the mixer running on low, add a quarter of the sifted flour mixture.
- When the flour streaks have almost all disappeared, add a third of the buttermilk to the mixing bowl. When that’s incorporated, continue to add the drys and wets in an alternating pattern, ending with the dry ingredients.
- When the dry ingredients are nearly incorporated, stop the mixer. Scrape down the bottom and sides of the bowl with a rubber spatula, and finish mixing the cake by hand.
- Divide the batter between the pans, giving each pan about 13 oz batter, and smooth it into an even layer. Sprinkle the tops of the cakes with the miniature chocolate chips and chopped Andes mints, and swirl them around briefly with a table knife to mix them into the batter. (Adding them to the top of the cake will help prevent all the chocolate from sinking to the bottom during baking.)
- Bake the cakes for 22-25 minutes, until a toothpick inserted into the center comes out with just a few moist crumbs attached. Cool the cakes completely before using. The cakes can be made several days in advance and kept, well-wrapped and refrigerated or frozen, until ready to use.
To Make the Mint Chocolate Chip Buttercream:
- Using a box grater, grate the dark chocolate until it is in small chunks or shards. Set aside for now.
- Combine the egg whites and the granulated sugar in the bowl of a large stand mixer, and whisk them together.
- Take a small saucepan and fill it with an inch of water. Choose a size that lets you fit the base of the stand mixer snugly into the top of the saucepan without steam escaping. (Alternately, you can use a different bowl to heat up the egg whites, and then transfer the mixture to a mixing bowl once it’s heated.)
- Bring the water to a simmer over medium heat. Place the mixing bowl on top of the saucepan, making sure that the bottom isn’t in contact with the water, and heat the egg white mixture. Whisk frequently so that the egg whites don’t cook. Continue to heat the whites until they are hot to the touch, and when you rub a bit between your fingers, you don’t feel any grittiness from the sugar. If you want to use a thermometer, aim to have the egg whites above 165 F (74 C).
- Once the whites are hot, transfer the mixing bowl to your mixer and fit it with a whisk attachment. Beat the whites on high speed until they are no longer warm to the touch—feel the outside of the bowl, and make sure that it is around room temperature. The exact time will vary, but it usually takes at least 15-20 minutes, depending on the mixer.
- Reduce the speed to medium-low and add the butter in small chunks, a tablespoon at a time, making sure to wait in between additions. It may separate or look a little gloopy at this point—fear not. Once all of the butter is added, increase the speed again and whip until it comes together and is light and fluffy.
- Add the mint extract, salt, and a few drops of green food coloring, until you get a nice light mint green. A drop or two of yellow might help as well, depending on your food coloring. Taste the frosting, and add additional mint or salt as desired.
- Stir in the shredded chocolate by hand. The buttercream can be made in advance and kept at room temperature if you’re going to use it the same day, or refrigerated. If it’s been chilled, let it sit at room temperature until it softens, then re-whip it to get the fluffy texture back before you use it.
To Make the Ganache:
- Place the chocolate in a medium bowl. Pour the cream into a small saucepan, and heat it over medium-high heat until it simmers and is just under a boil. Pour the hot cream over the chopped chocolate and let it sit for one minute to soften the chocolate.
- Whisk the cream and chocolate together until the chocolate melts and the ganache is smooth and shiny. Set aside until it is warm and still fluid, but not hot. This can be made in advance and re-warmed in the microwave before assembling the cake. You will probably have some ganache left over after decorating the cake, and you can either serve it with the cake, or chill it and roll it into balls to make truffles.
To Assemble the Cake:
- Place one cake layer on a cardboard cake round, and spoon about a cup of mint chip frosting on top of it. Use an offset spatula to spread the frosting evenly across the top, going all the way to the sides of the cake.
- Place another cake round on top of the frosted one, and make sure the sides line up evenly. Add more frosting to this top round, and continue to layer the cake and spread frosting.
- Once all the layers are stacked, use a spatula to spread more frosting on the top and sides of the cake. This frosting won’t ever get super-smooth, due to the chocolate chip bits, so you don’t have to worry about getting the sides perfectly even.
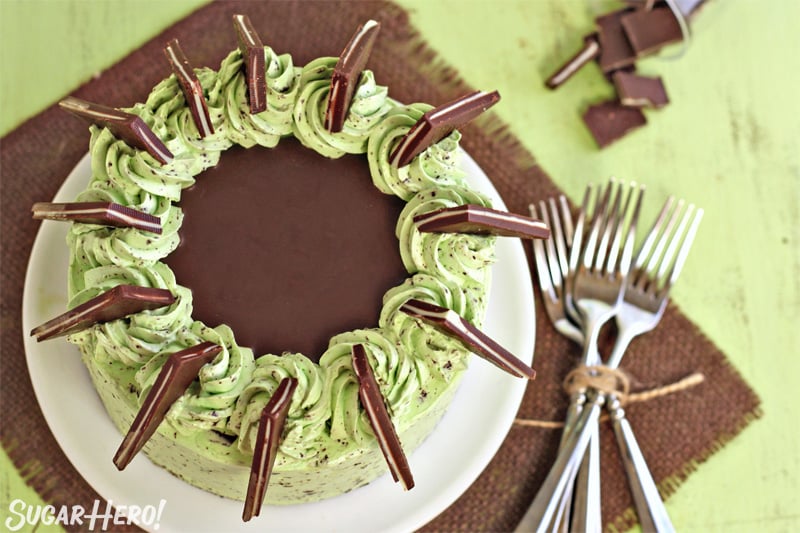
- Transfer the remaining frosting into a piping bag fitted with a large star tip. Pipe rosettes around the border of the cake, making sure they touch each other.
- Warm up the ganache, if necessary, until it is pourable and smooth. Pour a thin layer into the center of the cake and spread it to the inside edges of the rosettes. Top the cake with more Andes mints if desired.
- Chill the cake to set the ganache, for about an hour, then bring it back to room temperature so that the frosting is soft and supple. For the best taste and texture, serve this cake at room temperature.
Measuring Tips
Our recipes are developed using weight measurements, and we highly recommend using a kitchen scale for baking whenever possible. However, if you prefer to use cups, volume measurements are provided as well. PLEASE NOTE: the adage “8 oz = 1 cup” is NOT true when speaking about weight, so don’t be concerned if the measurements don’t fit this formula.
Want to learn more about baking measurements and conversion?
Nutrition
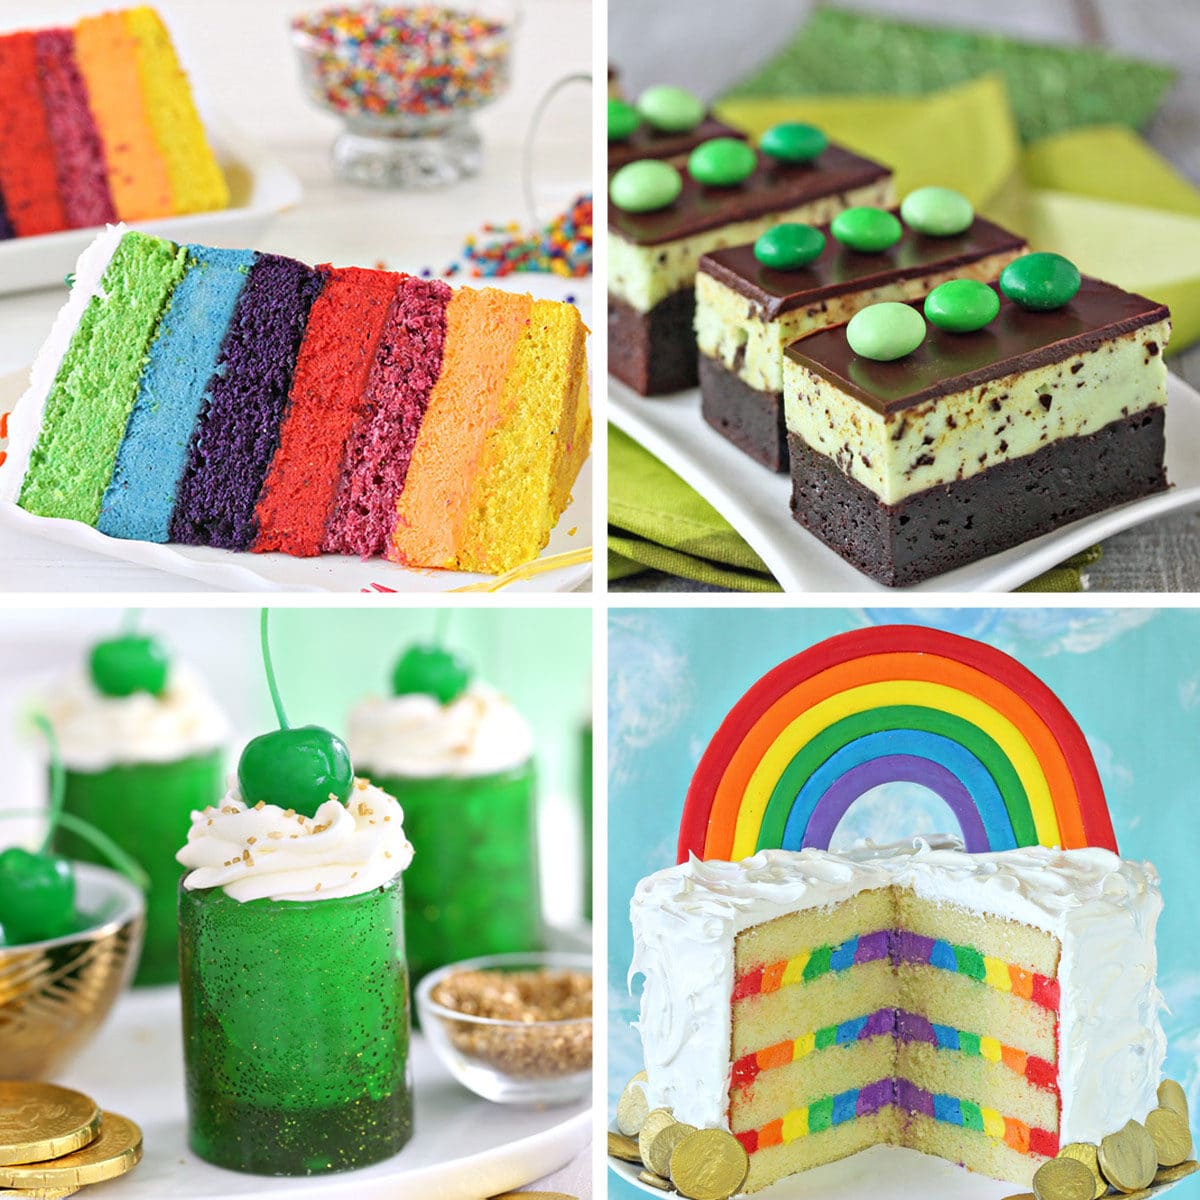
ST. PATRICK’S DAY DESSERTS 🍀
We’ve rounded up 23 of our FAVORITE rainbow dessert recipes & ideas that are sure to make you smile — click here to get all the recipes!


This mint chocolate chip layer cake was soo delicious! I love the combo of mint and chocolate and it all came together beautifully! Everyone loved it!
This cake is superb! The taste is amazing – chocolate and mint is such a wonderful combination. It is ideal for a celebration cake such as a birthday!
I made this for St. Patrick’s Day. Amazing! The cake is chocolatey and moist. I didn’t have any issues with the frosting. Just make sure your meringue is whipped until no longer warm so you don’t melt the butter. It ends up looking too liquid, but if you beat it longer, it works out. Very silky! I was afraid the mint would be too strong but ended up putting the full amount in with no regrets.
Mollie I’m so thrilled to hear that! I’m glad that the cake was a hit, and thank you for sharing your tips!
In the ingredient list for the cake I see buttermilk but in the directions I don’t see where buttermilk is added?
Hi Tracy, it is added in step 5, beginning with “add a third of the liquid to the mixing bowl.” Apologies for the confusion, and I’ve edited the recipe to make it clearer.
Can this be made with almond flour?
Hi Rose, I’ve never tried it with almond flour. My guess is that it would not have a great result and you would be better off looking for a recipe meant to be made with almond flour instead. If you were looking to make it gluten-free, using a 1:1 gluten-free flour blend would probably be a better choice.
I made this for Christmas and it was a huge hit! I made a couple of changes (2 thick layers instead of 3 layers) and I used Ermine frosting as the base rather than Swiss Meringue. With the Ermine frosting, only 1/2 tsp of mint extract was needed for a light mint flavor. This is a great recipe and such a pretty cake!
I have not made this cake yet, but want to attempt it. However, I would like to know how to make the decorative chocolate pieces on the top.
Thank you.
Hi Molly! There’s no big secret for the chocolate pieces on top. They are just Andes Mints that I cut diagonally to embellish the cake. I hope you have fun with the recipe. All the best.