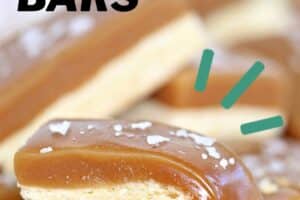
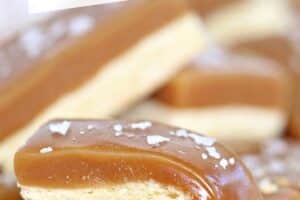
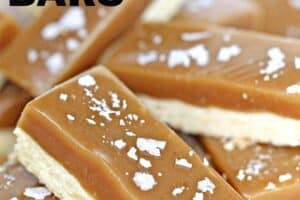
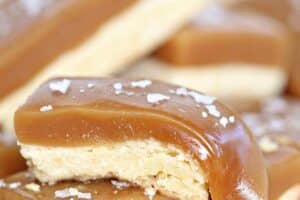

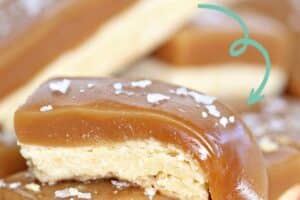

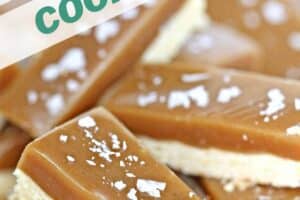
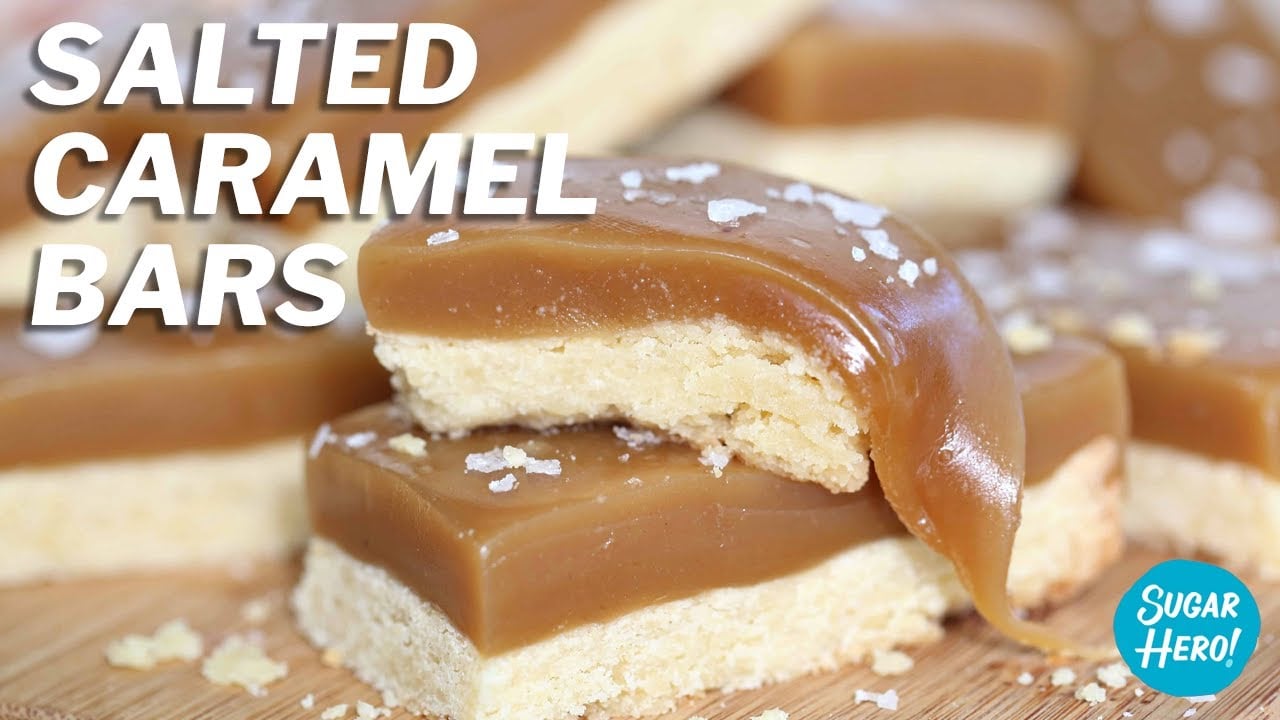
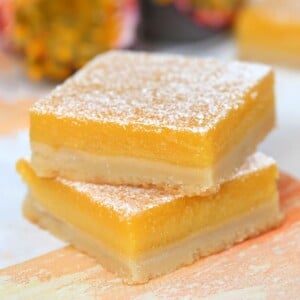
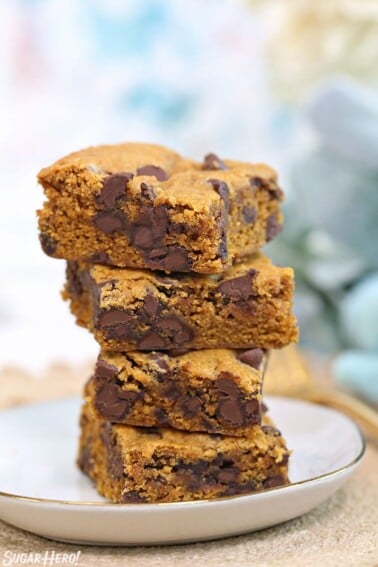
Salted Caramel Bars have a buttery shortbread base and a topping of rich, chewy caramel. A crunchy dusting of flaked sea salt on top is the perfect finishing touch!
🤎 Caramel Cookie Bars
I can’t believe I’m saying this, but today I’m sharing a recipe where I intentionally resisted adding extra chocolate. I KNOW. I’m shocked too!
Although these Salted Caramel Bars would be delicious with chocolate, they are totally dreamy without it, and that’s not something I say lightly!
These bars have three basic components:
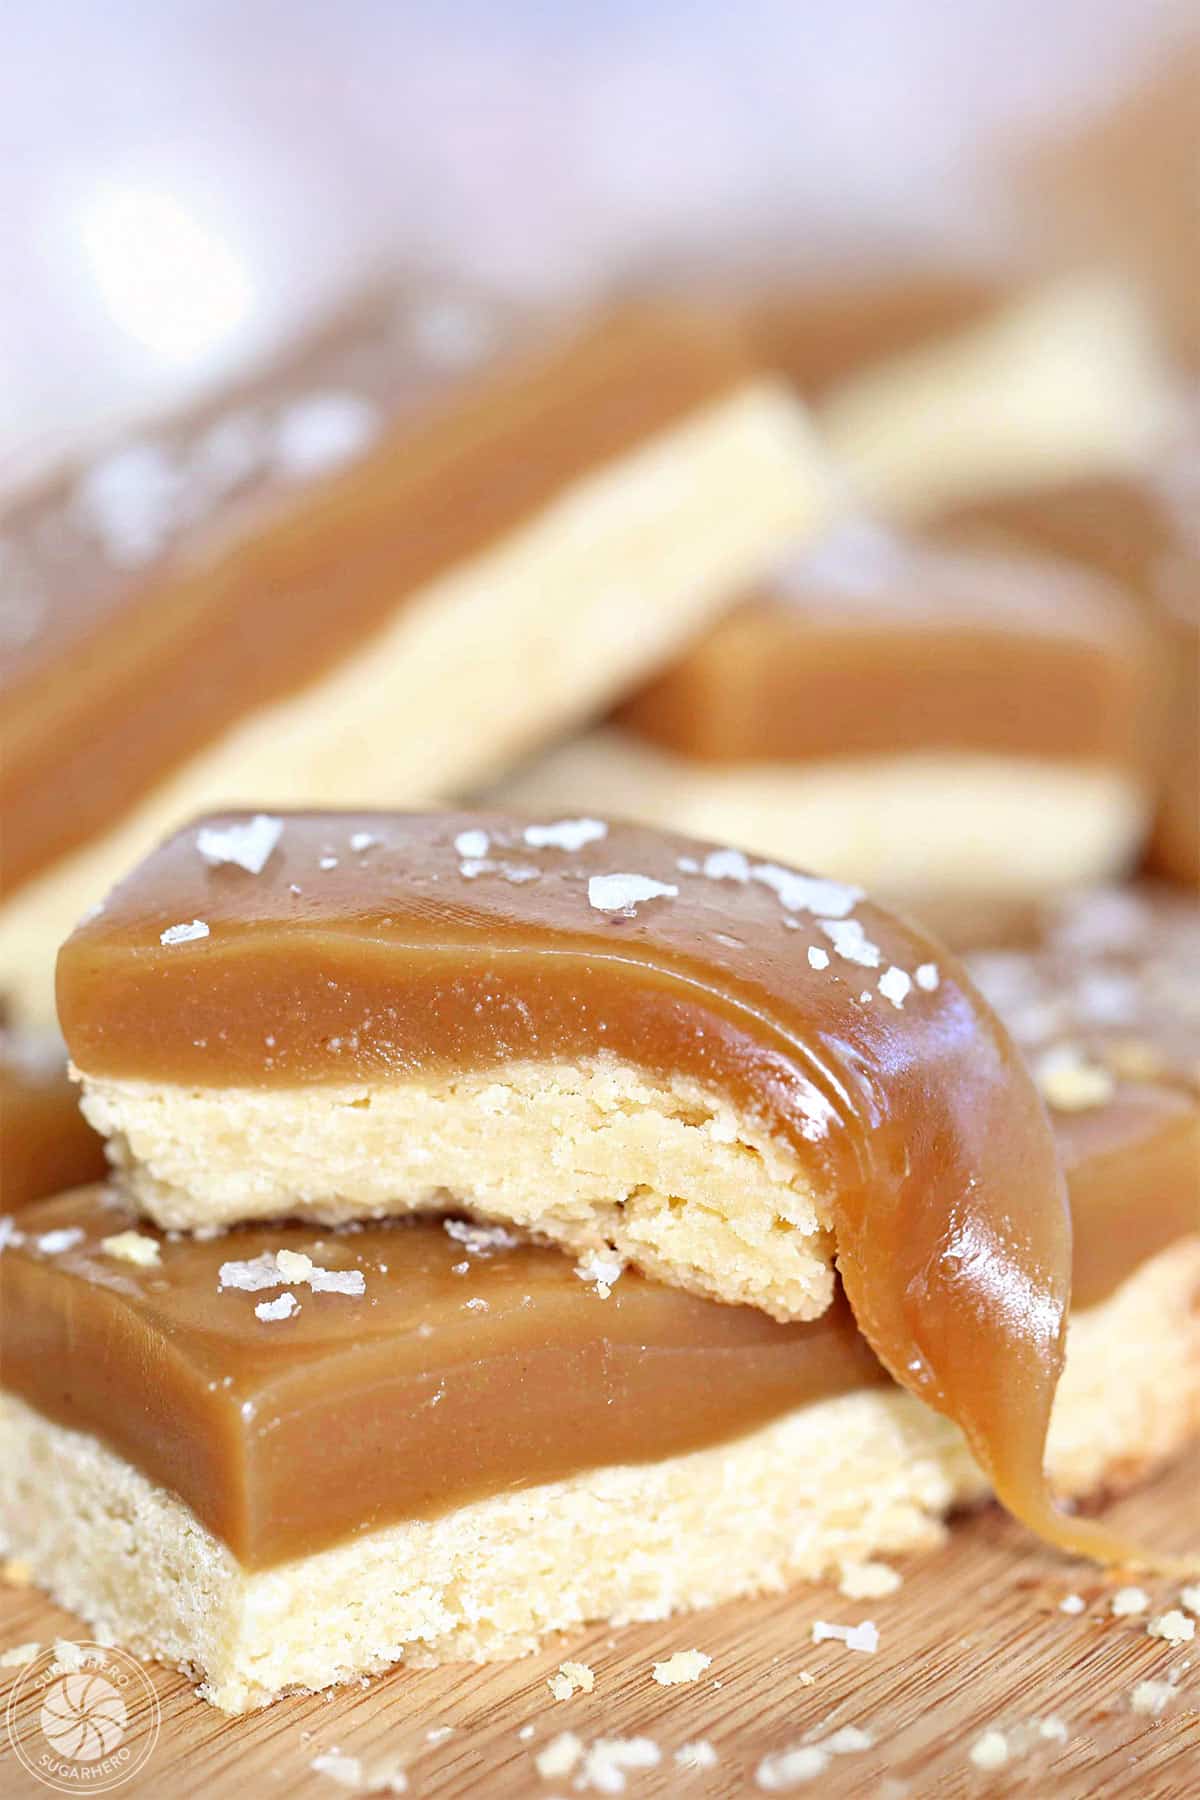
- Shortbread crust: The crust is crisp, buttery, and SUPER easy to make.
- Caramel topping: This rich caramel has the perfect texture: it’s chewy without being sticky, and sweet without being cloying, thanks to the generous spoonful of kosher salt in the recipe.
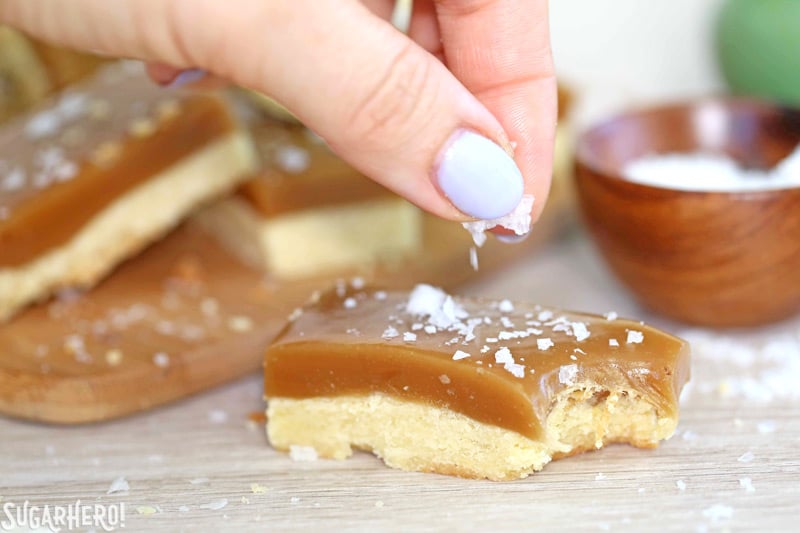
- Sea salt flakes: The best part of each bar is the scattering of large sea salt flakes. They add crunch and a savory bite that perfectly contrasts with the caramel.
These caramel shortbread bars also have the perfect crust to caramel ratio–both layers are about equal, which is just the way I like it! Too much crust and you’ll have a dry bar cookie, but too much caramel can make it too chewy. The solution of equal parts shortbread and caramel balances everything out. Total perfection!
Table of Contents

🧾What You’ll Need
Ingredients
Get ready for an amazing treat! Check out these ingredient tips as you gather everything you’ll need. You can get full ingredient amounts in the printable recipe card below. (Links are affiliate links and I earn a small commission from qualifying purchases.)
Shortbread Crust
- Granulated sugar
- Unsalted butter and salt: The butter gives richness to the crust and helps to bind it together. I always recommend using unsalted butter and adding a precise amount of salt. If you only have salted butter, omit the additional salt.
- Large egg yolk: Make sure to use the yolk from a large egg. If you need more guidance, check out this tutorial about How to Separate Eggs (Four Different Ways!).
- All-purpose flour
Caramel
- Unsalted butter: This recipe is made with lots of butter because that’s what makes the bars so rich and luxurious. It’s best to use unsalted butter.
- Light brown sugar: For deep rich caramel flavor. Either use a kitchen scale, or lightly pack the sugar into the measuring cup to get the correct amount.
- Light corn syrup: Adds sweetness and body. Light corn syrup also helps to prevent crystalization, which sometimes occurs due to the grittiness of brown sugar.
- Kosher salt: Regular table salt is very dense and tends to have a harsher, ‘saltier’ flavor than kosher salt. If you only have table salt, it will still work fine, but you’ll need to reduce the amount to a 1/2 teaspoon.
- Granulated sugar
- Heavy cream: A bit of heavy whipping cream makes the caramel extra-luscious.
- Vanilla extract: Use your favorite brand or this Madagascar Bourbon Vanilla (my fave!) for flavor.
- Large-flaked sea salt: Sprinkling large-flaked sea salt on top of the bars adds visual interest, a touch of crunch, and glorious contrasting flavor. If you don’t have it, you can skip it and the bars will still be tasty. I don’t recommend using fine table or kosher salt sprinkled on top – it can make the bars too salty.

Equipment
Having the right equipment can make your baking experience more successful. Here’s what I recommend for this recipe: (Links are affiliate links and I earn a small commission from qualifying purchases.)
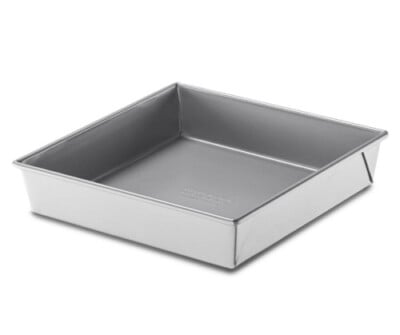
- 9×9 baking pan: I like to use a metal 9×9-inch baking pan with straight sides and square corners–it’s one of the secrets to cutting nice even bars without rounded edges.
- Parchment paper: Use a strip long enough that excess hangs over the sides. You can use the excess parchment paper like handles to lift the bars out of the pan.
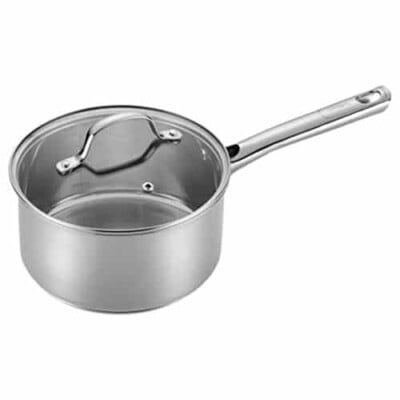
- Medium saucepan: The caramel mixture will triple in size as it heats up. It’s important to use a large enough saucepan to accomodate the change in size, a 3-quart saucepan or 4-quart saucepan will both work well. Use a heavy-bottomed pan to prevent scorching and uneven heating.
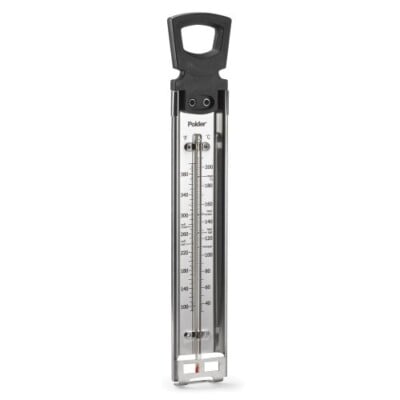
- Candy thermometer: Truly, a must for making perfect caramel. I can’t overemphasize the importance of using a candy thermometer for this recipe. Check out the Tips section below for more information.
- Pastry brush: To prevent crystallization (and thus grainy caramel) use a wet pastry brush to wipe around the inside walls of the saucepan during cooking. The brush will remove excess sugar crystals and prevent larger ones from forming.
🥣 More Desserts You’ll Love
Leave a Review!
If you make this recipe, let us know! Leave a ⭐️⭐️⭐️⭐️⭐️ rating on the recipe below, and leave a comment, take a photo and tag me on Instagram @elabau, or use #sugarhero on IG!

Salted Caramel Bars
Ingredients
Crust:
- 3.5 oz granulated sugar, (½ cup)
- 1/2 tsp kosher salt
- 5 oz unsalted butter, melted
- 1 large egg yolk, whisked
- 7.5 oz all-purpose flour, (1 ⅔ cup)
Caramel Layer:
- 8 oz unsalted butter, (1 cup)
- 7.5 oz light brown sugar, (1 cup, lightly packed)
- 8.25 oz light corn syrup, (¾ cup)
- 1 tsp kosher salt, can be replaced with 1/2 tsp regular table salt
- 1.75 oz granulated sugar, (¼ cup)
- 1/4 cup heavy cream
- 2 tsp vanilla extract
- Large-flaked sea salt, for garnish
Instructions
Make the Shortbread Crust:
- Prepare to bake: Pre-heat the oven to 350°F. Prepare a 9-by-9-inch pan by lining the bottom with a long strip of parchment paper, making sure that the paper is long enough so the ends hang over the sides of the pan. Spray the parchment and pan with nonstick cooking spray.
- Mix crust ingredients: In a large bowl, stir together the sugar, salt, and melted butter with a fork. Add the egg yolk and mix well. Finally, add the flour and stir until the crust comes together in moist clumps.
- Press dough into pan: Transfer the dough into the parchment-lined pan and press down with your hands or the bottom of a measuring cup to make an even layer.
- Chill, bake, and cool: Refrigerate the crust for 15-20 minutes, until chilled. Then bake the crust for about 25 minutes, until lightly golden brown on top. Let the crust cool completely while you prepare the caramel topping.
Make the Caramel Topping:
- Mix caramel ingredients: Combine the butter, brown sugar, corn syrup, salt, granulated sugar, and heavy cream in a heavy-bottomed medium saucepan. (The caramel will bubble up as it cooks, so be sure to use a pan where the mixture can triple in size.) If desired, use a wet pastry brush to wipe around the inside walls of the saucepan to remove excess sugar crystals.
- Cook caramel: Bring the mixture to a boil, stirring occasionally, and make sure that all of the sugar is dissolved. Once it's boiling, insert a candy thermometer and cook, stirring occasionally, until it reads 250°F. (This will produce a bar with a medium-firm chew. For a softer chew, cook to 245°F, and for a really firm chew, shoot for 255°F.)
- Stir in vanilla, pour over crust: Once at the right temperature, remove the pan from the heat, stir in the vanilla extract, and pour the caramel on top of the shortbread.
- Set the caramel: Let the bars sit at room temperature until the caramel is firm, about 2-3 hours. (You can speed up the setting process by refrigerating the bars, but the caramel will get very hard, and you might need to bring it back to room temperature before cutting and serving.)
- Cut and finish bars: Once the caramel has set, use the excess parchment like handles to lift the entire bar from the pan. Cut it into small squares or rectangles and finish the bars with a little sprinkling of flaked sea salt. Enjoy!
- Store: These bars are best stored, served, and eaten at room temperature. Keep them in an airtight container for up to 1 week.
Video
Recipe Notes
Measuring Tips
Our recipes are developed using weight measurements, and we highly recommend using a kitchen scale for baking whenever possible. However, if you prefer to use cups, volume measurements are provided as well. PLEASE NOTE: the adage “8 oz = 1 cup” is NOT true when speaking about weight, so don’t be concerned if the measurements don’t fit this formula.
Want to learn more about baking measurements and conversion?
Nutrition

💡 Important Tips For Caramel Success
If you’re going to make these amazing caramel bars, but haven’t worked much with cooking sugar, please take a moment to read through these tips so you can troubleshoot some potential problems.
- Use a candy thermometer: I highly (HIGHLY!) recommend using a candy thermometer. It doesn’t have to be an expensive or fancy one–even a basic $8 thermometer will get the job done. Using a thermometer is the easiest way to make sure your caramel turns out perfectly. If you are new to using a thermometer, check out my guide for How to Use A Candy Thermometer.
- Test the thermometer: When you get that thermometer–test it before using it. Even if it’s new, there’s no guarantee it’s completely accurate, and you need to know what you’re working with. A difference of even a few degrees can make a big difference when making candy. Additionally, your altitude might affect how the candy cooks; higher altitude can produce overcooked candy unless you’re careful. Protect your time and precious ingredients by reading my guides for How to Test and Calibrate a Thermometer and Candy Making at High Altitude: Essential Tips & Techniques.
- Use a heavy-bottomed saucepan: Thin saucepans usually have “hot spots” where the food cooks faster, and this can lead to burned or scorched candy. The heavier the better for consistent results!
I’ll give you the basic steps for testing a candy thermometer here, but if you feel like you need more information and examples, be sure to check out How to Test and Calibrate a Thermometer – A Comprehensive Guide.
To test your thermometer: Bring a pot of water to a rolling boil on the stove, insert your candy thermometer, leave it in there for several minutes, and then check the temperature. Keep in mind that water boils at 212°F (at sea level). If your thermometer says 212°F, you are good to go! Make the recipe as written. If your thermometer does NOT say 212°F, it’s time to do a little math and calculate your personal thermometer adjustment. See the example below.
Example: If your thermometer says 208°F, you know it measures 4 degrees too cool, and you’ll want to take this into account when cooking your caramel. Since this recipe calls for cooking the caramel to 250°F, but your thermometer is 4 degrees off, you’ll only cook it to 246°F (250°F minus 4 degrees); this is your personal thermometer adjustment. This is a test you should perform regularly because thermometers can become less accurate over time.
Once the caramel has set, remove the entire bar from the pan and place it on a firm surface. Place a sharp kitchen knife under hot running water for a few seconds and then wipe the blade clean. Press the knife into the cookie bar making a clean cut and then clean the blade before cutting again. Reheat the knife under the water and wipe it clean as often as needed until finished.
Crystallization happens when sugar crystals are present in caramel, and it results in a grainy or gritty texture. This can happen either because some of the sugar didn’t dissolve properly in the first place, or stray crystals hanging out on the side of the pan get incorporated back into the mix and encouraged the formation of more crystals. Brown sugar has a grittier texture and can be more prone to crystallization.
The best way to prevent crystallization is to wipe a wet pastry brush around the inside walls of the saucepan after adding the butter and salt, sugars, corn syrup, and cream. The wet pastry brush will remove excess sugar crystals and prevent larger crystals from forming in the caramel.
These bars are best stored, served, and eaten at room temperature. Keep them in an airtight container for up to 1 week.


Awesome recipe. Love salted caramel.
One question only:
In mu contry, there is no corn syrup, what do I use for substitute?
We have Malt and Honney.
Or it will work without this anyway?
I make caramels ,home, and only use granulated white sugar.
Thank you!
I prefer a less milky caramel which is why I did not want to use caramel recipe using condensed milk. Is it possible to reduce the amount of heavy cream for the caramel?
Easy to make, nice texture. I definitely recommend going to the hard set temperature. And also trying another recipe because this is completely flavorless.
These look so good! Is it possible to substitute light brown sugar with more granulated sugar?
Hi Juel! I haven’t tried it myself, but my guess is that it would probably work out okay. Please let us know how it goes if you give it a try!
Looked great, tasted like nothing. Followed the recipe exactly and I’m a pretty good cook but I’ll never make these again. Didn’t taste sweet enough, couldn’t taste the salt, cooked the caramel to 250 degrees and it was too long. The caramel is practically too hard to eat. The shortbread just crumbles and tastes like nothing. So disappointed, even my guests took a bite and left the rest on their plates uneaten.
Hi! Is there any way to substitute the corn syrup or just exclude it? As my area doesn’t have that. Thanks 🙂
Hi Dayna! If you have golden syrup or glucose syrup those would both be great substitutes. I wouldn’t leave out the corn syrup since it’s a fairly big part of the recipe, and I don’t have experience trying it with honey or agave or anything like that. Please let me know how it goes if you give it a try!
Way too sweet. Unremarkable.
Beautiful! I used an instant read thermometer to get the caramel to exactly 250° and they turned out perfect. Will definitely be making again!
Hi! So glad they turned out so well for you. Isn’t the caramel divine?! Thanks so much for the recipe review and rating. Cheers!