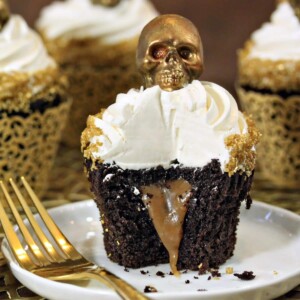
These Caramel-Stuffed Chocolate Cupcakes are deliciously moist, with big swirls of vanilla buttercream and a gooey caramel center. The best part? They’re topped with homemade gold caramel skulls!

I made these Caramel-Stuffed Chocolate Cupcakes last year, but ran out of time to post them before Halloween—and somehow the skull design didn’t seem appropriate for Thanksgiving or Christmas. (This happens to me more often than I would like to admit…I think it’s because I enjoy making and photographing things way more than I like editing photos and writing really long recipes. Lazy blogger alert!)

The upside is that I had these cupcake photographs all ready to go for this year, no baking required. The downside is that I only have cupcake PHOTOGRAPHS, and no actual caramel-stuffed chocolate cupcakes. It is a weird form of blogging torture to have to write about these cupcakes and not have one nearby…just to nibble on for inspiration, of course.
But despite what my growling stomach says, I don’t need to taste one right now to tell you that these cupcakes are dang good. Make that DAAAAAANG GOOD. (Need more decadent Halloween dessert inspiration? Check these recipes out: Brain Cupcakes, Witch’s Brew Halloween Punch, Zombie Brain Brownie Bites and Monster Cake!)

They start with a moist chocolate cupcake that’s stuffed with soft, gooey caramel. I’m talking about the kind of caramel that starts slowly oozing from the cupcake as soon as you bite into it, creating a thin string of caramel between your mouth and the cupcake, leaving a very unbecoming—but delicious—strand of caramel hanging down your chin. I didn’t say they were dang dignified, now did I?
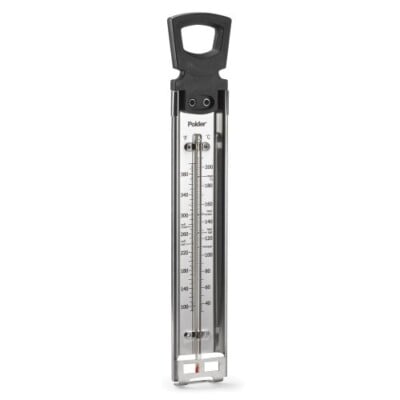
I found it helpful to use a candy thermometer while making the caramel. If you are new to using a thermometer, check out my guides for how to use a thermometer and how to test and calibrate a thermometer correctly.
The cupcakes are topped with big fat swirls of vanilla buttercream, and finished with what can only be described as the classiest, tastiest, gold shiniest chocolate-caramel skulls.

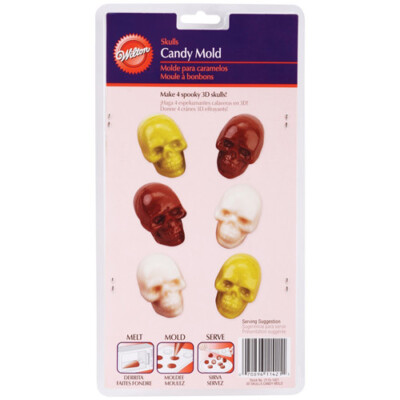
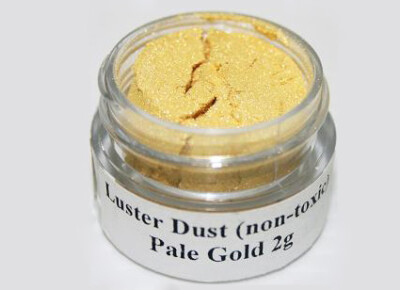
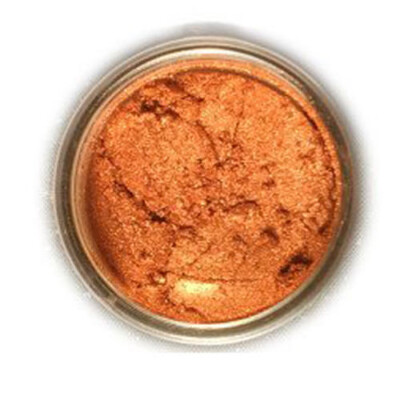
Oh yeah, we’re going there. Believe it or not, these glittering gold beauties are 100% homemade, and you can make them too! First you’ll need a cheap plastic skull candy mold. I got mine at a local craft store, but fortunately for us, Amazon’s got our backs so we can all make realistic 3D skull candies. You’ll also want to pick up some gold and copper luster dust if you want to give them a similar burnished gold color.
There are full instructions for making the skulls below, but here’s a little photo tutorial to help you through the process. It’s not hard, but it is time-consuming because you’ll need to make them in batches unless you buy multiple molds. And if they’re not perfect, the luster dust covers a variety of sins. Fingerprints? Smushed or blurry features? Add some shine to that baby and no one will notice!

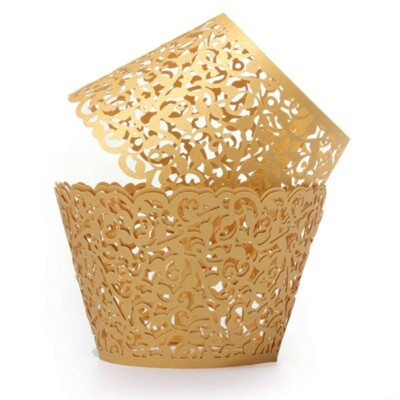
Finally, the cupcakes were finished with a few more glittery touches—a ring of gold sparkling sugar and gold filigree cupcake wrappers. I mean, I love gross and creepy Halloween desserts as much as the next girl, but sometimes we just need to class it up a little with our spooky sweets, am I right?

Trust when I tell you that these cupcakes were worth the year’s wait to post! They taste like a candy bar, look like a million bucks, and give you the rare opportunity to pop a skull into your mouth and crunch down. Win-win-win!

More Halloween Dessert Recipes
- Stamped Halloween Cupcakes
- Melting Chocolate Skulls
- Stuffed Halloween Cupcakes
- Skull Cake for Dia de los Muertos
- Brain Cupcakes
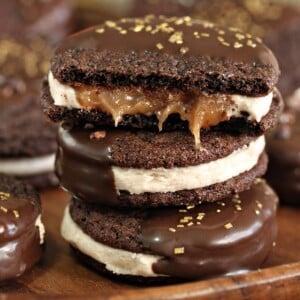
Spicy Chocolate Caramel Sandwich Cookies
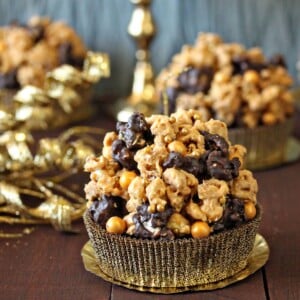
Double Caramel Popcorn Brownies
Caramel-Stuffed Chocolate Cupcakes
Ingredients
For the Chocolate Cupcakes:
- 6 oz unsalted butter, at room temperature
- 4.75 oz granulated sugar, (2/3 cup)
- 5 oz brown sugar, (2/3 cup), packed
- 2 large eggs, at room temperature
- 2 tsp vanilla extract
- 8 oz buttermilk, (1 cup), at room temperature
- 4 oz sour cream, (1/2 cup), at room temperature
- 2 tbsp water, or brewed coffee
- 7.8 oz all-purpose flour, (1¾ cups)
- 3 oz unsweetened cocoa powder, (1 cup), sifted
- 1½ tsp baking soda
- ½ tsp salt
For the Caramel:
- 2 oz water, (1/4 cup)
- 5.5 oz light corn syrup, (1/2 cup)
- 14 oz granulated sugar, (2 cups, plus more for rolling)
- 12 oz heavy cream, (1½ cups)
- 4 oz unsalted butter, (1/2 cup), cubed
- 1 tsp sea salt
- 1 tsp vanilla extract
For the Vanilla Buttercream:
- 4 fl oz pasteurized liquid egg whites, (1/2 cup)
- 16 oz powdered sugar, (4 cups)
- 1/4 tsp salt
- 16 oz unsalted butter, (4 sticks, or 2 cups), at room temperature
- 1 1/2 tbsp vanilla extract
To Assemble:
- Chocolate Caramel Skulls, or other edible toppers
- 1 cup gold sparkling sugar
Instructions
To Make the Chocolate Cupcakes:
- Preheat the oven to 350 F. Line cupcake pans with 24 paper wrappers.
- Add the butter and both sugars to the bowl of a large stand mixer fitted with a paddle attachment. Beat them together on medium-high speed, until light and fluffy, about 5 minutes. Add the eggs one at a time, beating well after each addition. Add the vanilla extract and mix it in.
- In a separate bowl, whisk together the buttermilk, sour cream, and water (or coffee, if using). In a different bowl, sift together the flour, cocoa powder, baking soda, and salt. With the mixer running on low, add a quarter of the sifted flour mixture. When the flour streaks have almost all disappeared, add a third of the liquid to the mixing bowl. When that’s incorporated, continue to add the drys and wets in an alternating pattern, ending with the dry ingredients.
- When the dry ingredients are nearly incorporated, stop the mixer. Scrape down the bottom and sides of the bowl with a rubber spatula, and finish mixing the cake by hand. Scoop the batter into the cupcake pans. Bake for 20-22 minutes, until the tops spring back when lightly pressed. Cool completely before decorating.
To Make the Caramel:
- Combine the water, light corn syrup, and granulated sugar in a large saucepan. Place the pan over medium heat, and stir while the sugar dissolves. Brush down the sides of the pan occasionally with a wet pastry brush to remove stray sugar crystals. Bring the mixture to a boil, then stop stirring and insert a candy thermometer. Allow the sugar to cook, undisturbed, until it is a medium amber color and reaches 330 F on the thermometer.
- While the sugar cooks, combine the cream, butter, and salt in a medium saucepan. Place the pan over medium heat and bring the cream to a simmer. Once simmering, remove the pan from the heat and set aside.
- When the caramel has reached 330 F, add the hot cream to the pan carefully—it will splutter, boil, and steam quite a bit, so stand back from the pot! Stir the cream and caramel together. Continue to cook the mixture, stirring occasionally, until it reaches 232 F.
- Remove the pan from the heat and stir in the vanilla extract. Pour the caramel into a heatproof bowl or baking pan. Let it sit at room temperature until it is entirely cool and thickened. It should have a texture that is easily scoopable with a spoon, but it should mostly hold its shape on the spoon and slowly drip off the spoon. The caramel can be made in advance and kept at room temperature for a week before using. If making it in advance, simply press a layer of cling wrap on top of the caramel until ready to use.
To Make the Vanilla Buttercream:
- Combine the whites, powdered sugar, and salt in the bowl of a large stand mixer fitted with a paddle attachment. Mix everything together on low speed, until the sugar is moistened and no dry patches remain. Turn off the mixer, scrape down the sides and bottom of the bowl with a spatula, then turn the mixer to medium speed. Beat on medium for 5 minutes.
- After 5 minutes, turn the mixer to medium-low and start adding the softened room temperature butter, 1-2 tablespoons at a time. Once all of the butter is incorporated, add the vanilla extract and mix it in. Stop the mixer and scrape down the bottom and sides once more. Turn the speed to medium and beat the buttercream for 10 minutes. At the end, you’ll have a frosting with a wonderfully light and creamy texture. It can be used right away, or stored in the refrigerator for up to two weeks, or the freezer for up to two months. If you have chilled the frosting, let it come to room temperature and then beat it for several minutes to smooth it out and restore its texture before using it.
To Assemble:
- Use a sharp paring knife to cut a cone-shaped hole out of the top of the cupcakes. Scoop a big spoonful of caramel into the hole, coming almost all the way to the top. Cut the bottom off of the cupcake cone, and replace the top of the cupcake on top of the caramel. (The cupcake filling can be eaten or thrown away—I trust you will find something to do with it.)
- Once all of the cupcakes are filled, put the frosting into a pastry bag fitted with a large star tip. Pipe the frosting on top in one big decorative swirl. Put the gold sparkling sugar in a shallow bowl, and press the sprinkles against the bottom of the frosting to form a ring of sprinkles going all the way around. Place each cupcake in a gold filigree wrapper, and top with a gold caramel skull.
Recipe Notes
Measuring Tips
Our recipes are developed using weight measurements, and we highly recommend using a kitchen scale for baking whenever possible. However, if you prefer to use cups, volume measurements are provided as well. PLEASE NOTE: the adage “8 oz = 1 cup” is NOT true when speaking about weight, so don’t be concerned if the measurements don’t fit this formula.
Want to learn more about baking measurements and conversion?
Nutrition

Caramel Skulls
Ingredients
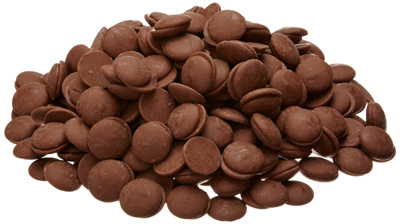
- 1 lb dark chocolate candy coating melts
- 1 lb soft caramel, half batch from caramel recipe above
- Gold luster dust
- Copper luster dust
Instructions
- You will either need several molds, to make these all at once, or you will need to work in batches. Make sure your skull candy molds are clean and completely dry.
- Place the dark chocolate candy coating in a microwave-safe bowl and microwave in 30-second increments, stirring after every 30 seconds to prevent overheating. Stir until the coating is melted and smooth. Use a spoon or candy scoop to fill each cavity in the mold with chocolate coating, coming up to the top. Let the mold sit for 2-3 minutes, until the coating just starts get a little thicker.
- Place a piece of parchment or waxed paper on your work surface, and turn the mold upside-down, letting the excess coating drip out onto the parchment. (You can re-use this extra coating for another project!) Once only a thin layer of coating remains, set the mold down on the counter and drag a bench scraper, metal spatula, or knife across the top to remove any excess coating and give the top of the skulls smooth edges. Refrigerate the mold for 10 minutes, until set.
- Scoop small spoonfuls of soft caramel into each cavity, until it comes almost to the top of the mold. Leave a small margin at the top. Refrigerate the molds again for about 10 minutes to firm up the caramel a bit. Turn the mold upside down and flex it gently to remove the skull halves.
- Re-melt some coating and place it in a paper cone or plastic bag with a hole snipped in the corner. Pipe a circle of coating around the edge of one of the skull halves, and press a second half on top. Run your finger around the edge to remove any excess coating. Repeat until you’ve stuck all of the skull halves together, and repeat as necessary until you have as many 3D skulls as you need.
- Use a soft, dry paintbrush to brush gold and copper luster dust on the skulls, to give them a burnished gold look.
Measuring Tips
Our recipes are developed using weight measurements, and we highly recommend using a kitchen scale for baking whenever possible. However, if you prefer to use cups, volume measurements are provided as well. PLEASE NOTE: the adage “8 oz = 1 cup” is NOT true when speaking about weight, so don’t be concerned if the measurements don’t fit this formula.
Want to learn more about baking measurements and conversion?
Nutrition


What are the shelf life of these completed?? My son’s birthday is in october and want to make these instead of a cake. If i made these the night before and refrigerated them would they still be ok the day of his party?? Or should i just make them separately and assemble the day of?? Any suggestions would be very helpful. Thank you
Most definitely! You don’t even have to refrigerate them as long as they stay cool on the counter overnight. However, if you would like to refrigerate them, make sure you give them enough time to thaw the day of!! If you refrigerate, it would probably turn out the best if you refrigerate everything and then assemble the day of; just make sure you whip the frosting again so it goes on smoothly! Best of luck! Let me know how it turns out!
Did you sift the flour and cocoa powder before or after you measured it?
How far in advance can you make the skulls already filled ? And how to store them and how long will they keep? I have 1 Halloween birthday cake to make, 2 doz Halloween cupcakes,3 doz Halloween royal icing cookies that take at least 3 days because of dry time. I bake most ahead of time. I freeze my cookies decorated my cake and cupcakes undecorated and freeze some of my frosting. And in the end give 70% of it is all given away Halloween Week as gifts. Leave some for our Halloween dinner get together while passing out candy. So making the skulls in advance would be a great help. Thanks
Hi Pamela, you can store the caramel-stuffed skulls for 2 weeks in the fridge or 2-3 days at room temperature. If you need to make them more in advance, I would suggest making the skulls solid chocolate, without the caramel so they can keep for longer (up to 3 months in cool room temp).
Your conversions from oz. to cups in caramel recipe are wonky… Example: 8 oz = 1 cup. 5.5 oz does not equal 1/2 cup… more such errors
Hi Marguerite, this is a common question. The ounces in the recipe card are weight ounces, not volume/liquid ounces. If you are measuring liquids in a liquid measuring cup, then yes, 8 ounces is 1 cup. If you are measuring dry goods using a scale, as in this recipe, you cannot rely on this formula. Every ingredient will have its own individual weight. In my recipes, fluid ounces are indicated by “fl oz” and weight ounces are just “oz.” You can find more information here: https://www.sugarhero.com/frequently-asked-questions/?swcfpc=1#measurements