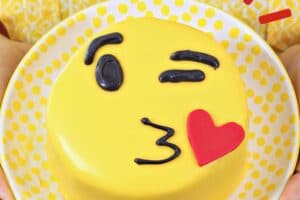


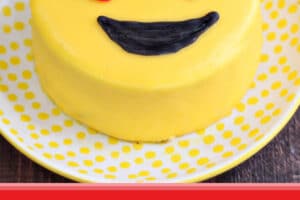

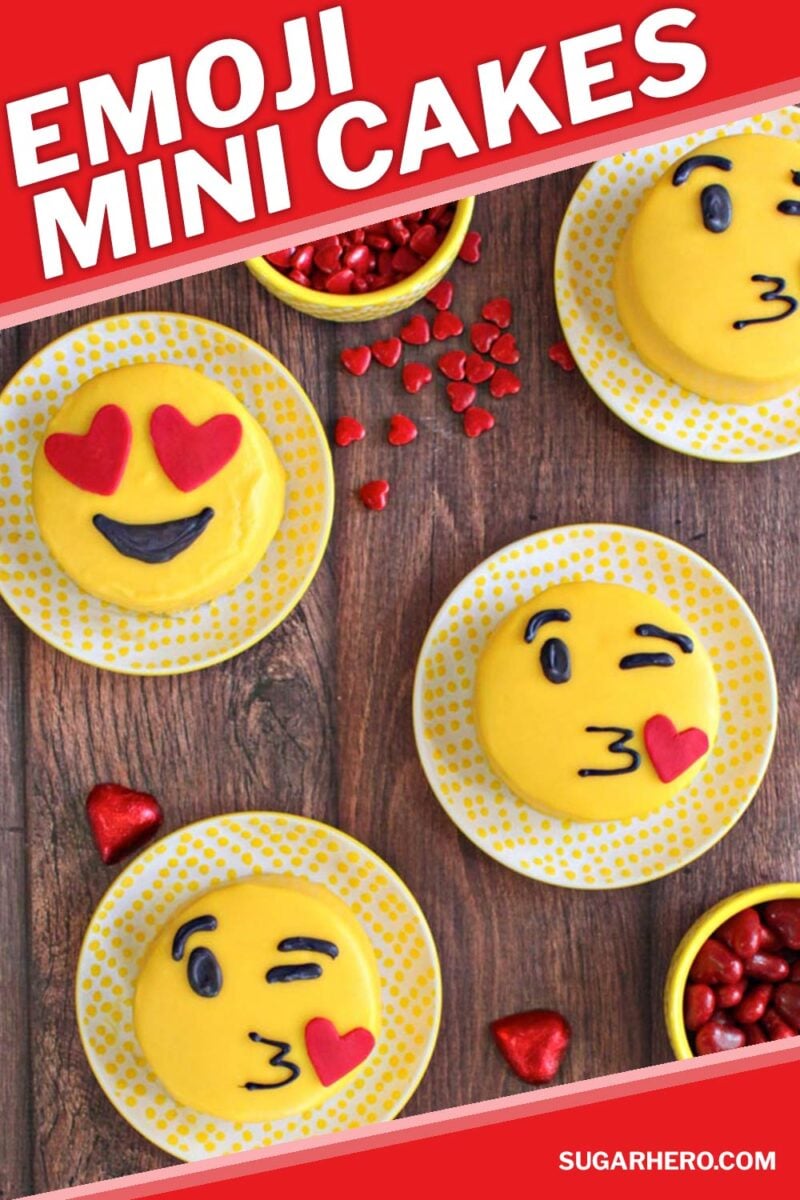
Emojis aren’t just for your phone anymore! These adorable Mini Emoji Cakes are made with chocolate cake, buttercream, and lots of sass. Recreate your favorite emoji expressions in mini cake form!

Lots of people like to complain about cell phones. No one wants to hear them in public spaces! Text-speak is producing a generation of terrible spellers! (Do U think so 2?) They’re maybe-probably killing us with brain-liquefying radiation!
To which I say: Perhaps those are true (except for that last one). But have you considered the single greatest gift cell phones have given us?
BEHOLD. The humble emoji! The single best way to express complex emotions with minimal effort. Do you want to convey “I’m so embarrassed right now and also I really want a taco”? That’s like 2 emojis right there. What about “I’m feeling fine fresh fierce, like a lady dancing in a foxy red dress”? There’s an emoji for that too!
My favorite emojis, though, are the heart-eyes and kissy face. I use heart-eyes for everything from cute little babies to delicious chocolate cakes, and everything in between. And kissy face? That one’s good for finishing sarcastic retorts AND sincere expressions of love. Emojis: versatile, fun, and now…delicious!

There’s nothing wrong with making traditional Valentine’s sweets like a truffle cake or chocolate-covered strawberries. But if you want to shake things up a little, and really delight your valentine this year, show them how you really feel with a sincere expression of love, 2017-style: edible emojis.
Since it’s Valentine’s season, I naturally chose to use the love-iest of emojis, but you can you can switch things up and use your personal favorites as inspiration instead. And hey, if you’re really mad at someone this year, I think the angry purple devil would also make a cute and delicious cake design!


These mini emoji cakes are made from 3 basic elements: homemade chocolate cake, yellow buttercream, and a shiny yellow glaze. The decorations are easy, too: red fondant hearts and black candy coating. They’re like a gourmet and trendy version of everyone’s favorite guilty pleasure, Hostess snack cakes!

I love these because they’re not only cute, but they also taste AMAZING. The glaze does a wonderful job of sealing the cakes and keeping them moist, so they have a longer shelf life than just individual slices of cake. I kept things simple and just went with chocolate and vanilla, but the buttercream can be flavored with any extract, so you can make these chocolate/lemon cakes, chocolate/almond, chocolate/coconut….you get the idea. Customize them to your own tastes!
And of course, the chocolate cake can also be switched out…but if you’re not a chocolate fan, I’m not sure that you can be my valentine.

This recipe makes 8 mini cakes, but each cake is sizable enough that I think you could easily split them and not have anyone go hungry. You’ll also have a lot of cake + frosting scraps left after assembling the cakes, so save those and make cake truffles out of them! Or just eat them over the sink like an animal…not like I’d know anything about that. (Imagine the monkey covering eyes emoji here)

Enjoy! And tell me—what emoji would best describe you? I want to say mine’s a friendly, smiling emoji, but if we’re being honest, it’s probably the sassy emoji rolling its eyes. I should probably work on my attitude. Kissy face emojis to you all!
💓More Valentine’s Day Recipes
Don’t miss the step-by-step tutorial showing how to make Emoji Cakes – check out the web story here!

Emoji Mini Cakes
Ingredients
For the Chocolate Cake:
- 6 oz unsalted butter, at room temperature
- 4.75 oz granulated sugar, (2/3 cup)
- 5 oz brown sugar, (2/3 cup packed)
- 2 large eggs, at room temperature
- 2 tsp vanilla extract
- 7.8 oz all-purpose flour, (1¾ cups)
- 3 oz unsweetened cocoa powder, (1 cup)
- 1½ tsp baking soda
- ½ tsp salt
- 12 oz buttermilk, (1 ½ cups)
For the buttercream:
- 4 oz pasteurized liquid egg whites, (1/2 cup)
- 1 lb powdered sugar, (4 cups)
- ¼ tsp salt
- 1 lb unsalted butter
- 1 ½ TBSP vanilla extract
- Yellow gel food coloring
To Assemble:
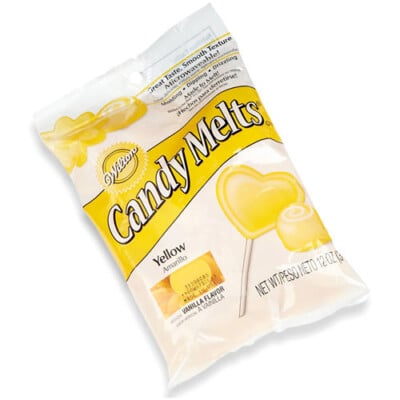
- 18 oz yellow candy coating melts
- ¾ cup heavy cream
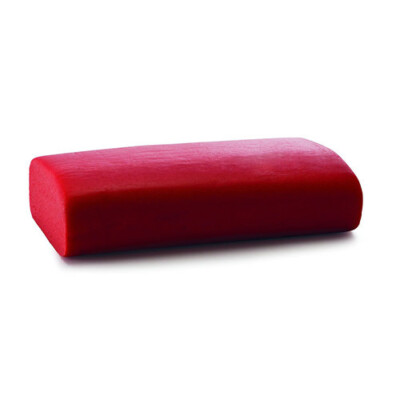
- 2 oz red fondant
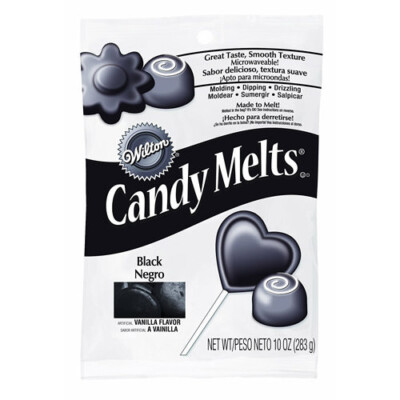
- 2 oz black candy coating melts
Instructions
To Make the Cake:
- Line a half sheet pan (13×18”) with parchment or foil, and spray it with nonstick cooking spray. Preheat the oven to 350 F.
- Add the butter and both sugars to the bowl of a large stand mixer fitted with a paddle attachment. Beat them together on medium-high speed, until light and fluffy, about 5 minutes. Add the eggs one at a time, beating well after each addition. Add the vanilla extract and mix it in.
- In a different bowl, sift together the flour, cocoa powder, baking soda, and salt. With the mixer running on low, add a quarter of the sifted flour mixture. When the flour streaks have almost all disappeared, add a third of the buttermilk to the mixing bowl. When that’s incorporated, continue to add the drys and wets in an alternating pattern, ending with the dry ingredients.
- When the dry ingredients are nearly incorporated, stop the mixer. Scrape down the bottom and sides of the bowl with a rubber spatula, and finish mixing the cake by hand. Pour the batter into the prepared pan and smooth it into an even layer. Bake the cake for 15 minutes, until a toothpick inserted into the center comes out with just a few moist crumbs attached. Cool the cake completely before using.
To Make the Buttercream:
- Combine the whites, powdered sugar, and salt in the bowl of a large stand mixer fitted with a paddle attachment. Mix everything together on low speed, until the sugar is moistened and no dry patches remain. Turn off the mixer, scrape down the sides and bottom of the bowl with a spatula, then turn the mixer to medium speed. Beat on medium for 5 minutes.
- After 5 minutes, turn the mixer to medium-low and start adding the softened room temperature butter, 1-2 tablespoons at a time. Once all of the butter is incorporated, add the vanilla extract and mix it in. Stop the mixer and scrape down the bottom and sides once more. Turn the speed to medium and beat the buttercream for 10 minutes. At the end, you’ll have a frosting with a wonderfully light and creamy texture. Add the yellow gel food coloring, a few drops at a time, until you get a bold yellow color you like.
To Assemble:
- Cut the cooled cake in half widthwise, and transfer one half to a sturdy cake cardboard or cutting board. Spread a layer of frosting about ½-inch thick on the cake, and top with the second half of the cake. Refrigerate the cake for about an hour to firm up the frosting and make it easier to get clean cuts.
- Use a 3-inch circular cutter to cut 8 circles out of the cake—you’ll need to space them closely together to get them all to fit. Use a paring knife to cut all the way down around the cutter if you have trouble getting it through the thickness of the cake.
- Place each cake on a little cardboard circle, to make it easier to transfer, and spread a thin layer of frosting on the outside of each cake. This traps the crumbs and prevents them from showing through the yellow glaze. Refrigerate the cakes briefly to firm up the frosting while you prepare the hearts and glaze.
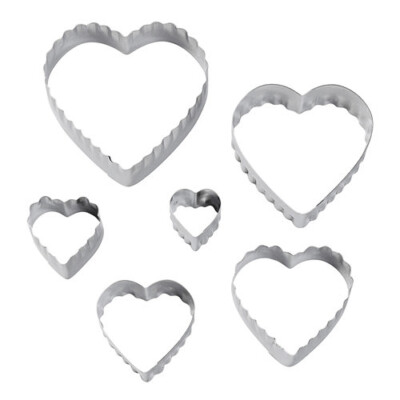
- Dust a work surface with a thin layer of powdered sugar and roll the fondant to less than 1/8-inch thick. Use a small heart cutter to cut hearts out of the fondant—you’ll need 2 hearts per cake if you want to make heart-eye emojis, and 1 heart/cake if you want to make the kissy face emoji.
- Combine the yellow candy coating and the cream in a bowl, and microwave for 1 minute. Whisk, and continue to stir and microwave in short increments until the coating is completely melted and smooth. At first it will be very thin, so let it cool at room temperature for 15-20 minutes, until it has thickened a bit. It should still flow like maple syrup—don’t wait until it’s too thick to be fluid. If it’s gotten too thick, reheat it in 5-second increments and whisk until it’s fluid again.
- Cover your work surface with waxed paper or parchment, place a wire rack on the paper, and put the frosted cakes on the wire rack. Pour the glaze over the cakes. Pour it right in the center so that it flows down and covers the sides. Touch up any bald spots with a spatula, and let them sit at room temperature until the yellow coating is set.
- Melt the black candy coating in the microwave, and transfer it to a piping bag or paper cone. Pipe a dab of coating on the back of a fondant heart to affix it to the cake, and decorate the top with the emoji design of your choice.
Video

Recipe Notes
Measuring Tips
Our recipes are developed using weight measurements, and we highly recommend using a kitchen scale for baking whenever possible. However, if you prefer to use cups, volume measurements are provided as well. PLEASE NOTE: the adage “8 oz = 1 cup” is NOT true when speaking about weight, so don’t be concerned if the measurements don’t fit this formula.
Want to learn more about baking measurements and conversion?
Nutrition
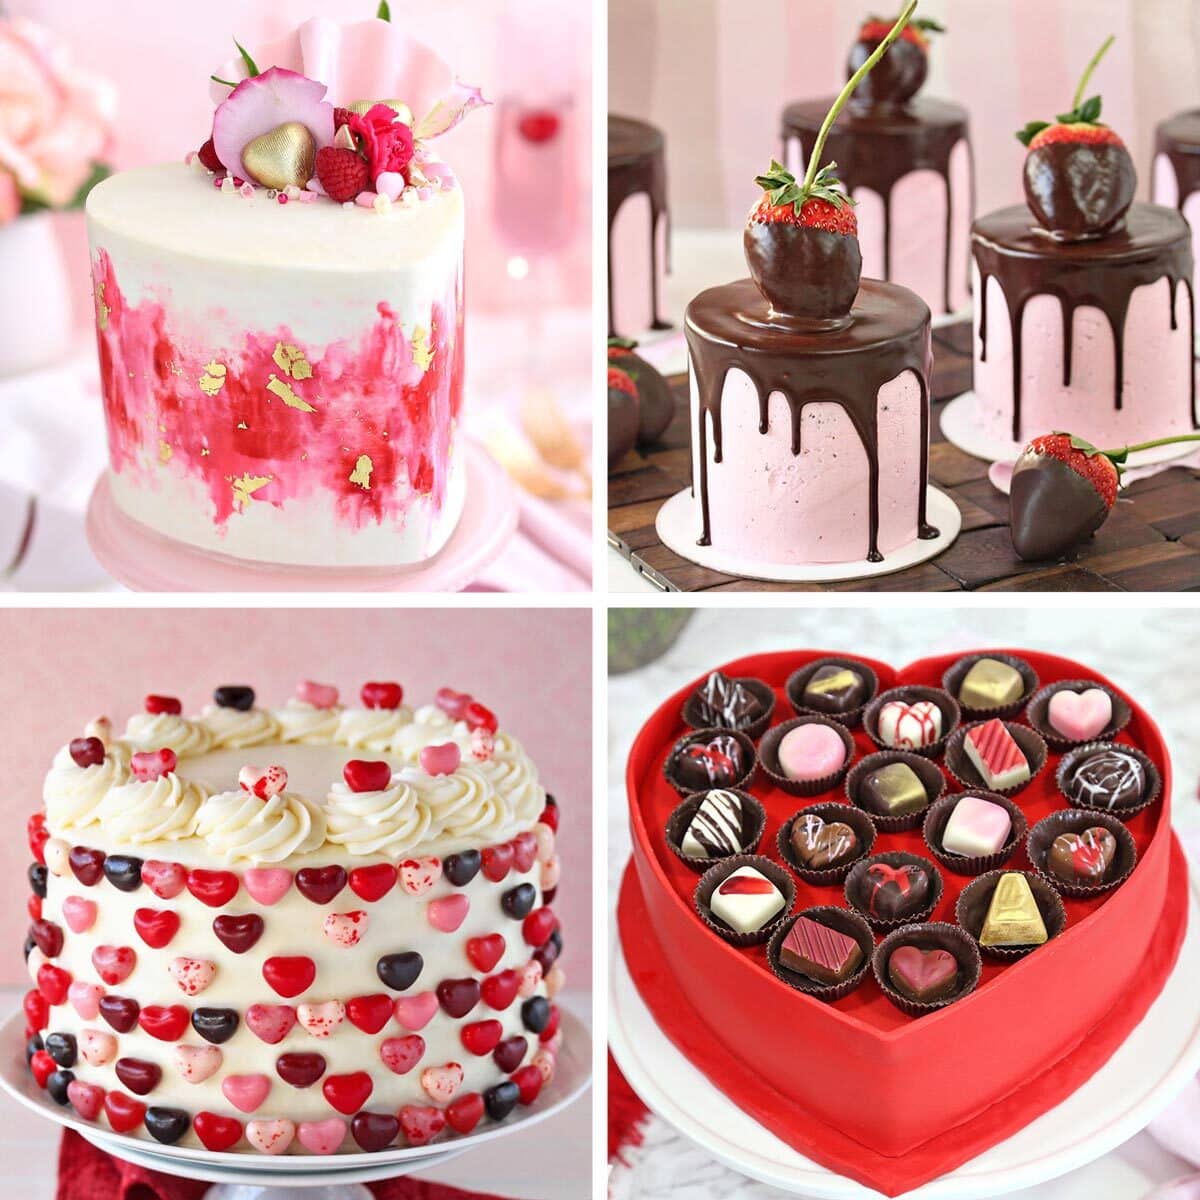
THE BEST VALENTINE’S DAY CAKES
Check out our collection of the 27 best Valentine’s Day cake ideas — click here to get all the recipes!


Emoji kiss!
Red-dress dancing lady back at ya!
These are so cute! I have a ten year old who would go mad over these if I made them for her. A great Valentine’s idea! 🙂
Thanks Elizabeth! My son is pretty emoji crazy too. 🙂 I think it would make a cute birthday party theme too!
Love this idea… I know a few people what are emoji mad and would love love love a cake like this!
Thanks Cristie! I’m a little emoji mad myself. 😀
These cakes are so creative and just absolutely adorable! I’m going to send this to my friend for her daughter’s birthday party. I bet all of her friends would love these!
Thank you Amanda, and thanks for sharing the love!
These are the cutest little cakes! My daughter would love these!
Thanks Christine! My 4-year old went crazy over them. 🙂
Such cute cakes! Perfect for a kids party or Valentines day 🙂
Thanks Bintu! I totally agree. I might do them for my son’s teachers as a V-Day gift!
I would like to do these as the valentine’s for my son’s class. Can they be bagged with this glaze or will it run?? TIA
That’s such a cute idea! The glaze doesn’t run (you can touch it without leaving fingerprints once it’s set) but it might get dented or smushed if the cakes are stacked/roughly handled after bagging. If you can find inexpensive mini boxes that would probably be the safest solution to make sure they’re delivered in one piece. Please share a pic if you end up doing this!
Thank you and I absolutely will! I think I’ll look into the boxes. I wanted to have them in their desks with the note from my son attached by ribbon. We shall see lol
So sweet! I’ve seen mini bakery boxes at Michael’s craft stores if you have access to one of those.
Good morning. Do you think they will melt if I carry them in those big plastic boxes to carry cupcakes or cakes? Happy valentines.
Hi Brenda, I think as long as it’s not too hot outside they’ll be fine. The coating is fairly stable (you can touch it and not leave fingerprints) so it’s not particularly delicate. It will get soft in high temperatures, like anything chocolate-based, but otherwise I think you’ll be good!
Can I combine to make one large cake? Trying to find a good recipe for chocolate cake. Thanks!
Sorry I didn’t see this earlier! Yes, this makes a GREAT chocolate cake, and also cupcakes. It’s my go-to for everything!