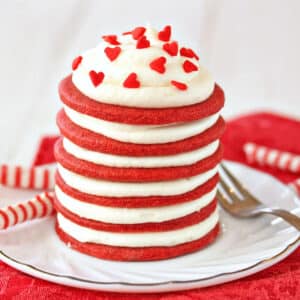
Red Velvet Icebox Cakes are adorable mini cakes made from red velvet-flavored cookies and cream cheese whipped cream! They’re a sweet and romantic dessert, perfect for sharing.
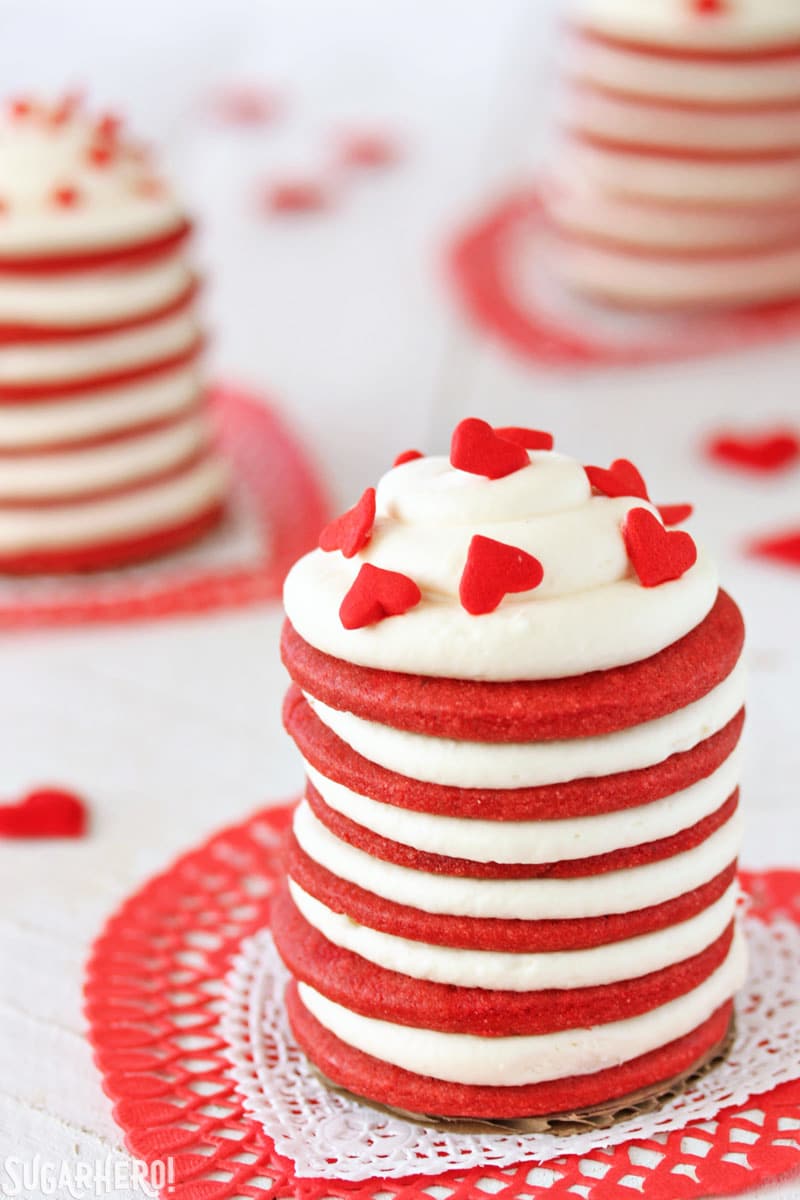
I’ve been SO EXCITED to share this recipe with you, because these sweet mini Valentine’s cakes are my very favorite thing right now.
It feels wrong to admit to having favorites. Blog posts are like children and blah blah I love them all equally, but really? Of course I have favorites. Just like my parents claim to love us kids equally, but in reality I’m their favorite child. (Sorry brothers, the truth hurts sometimes…maybe try remembering their birthdays more often. Snap!) I never post anything I don’t enjoy eating, but some things I love, and others I love-love. These Red Velvet Icebox Cakes were love-love at first bite.
You know what’s not my favorite, though? The term “icebox cake.” It’s 2013–can we get a little rebranding, please? No one’s owned an “icebox” since the days of horses and buggies, but the name persists, serving no purpose except confusing people and making modern desserts seem a bit old-fashioned and dated.
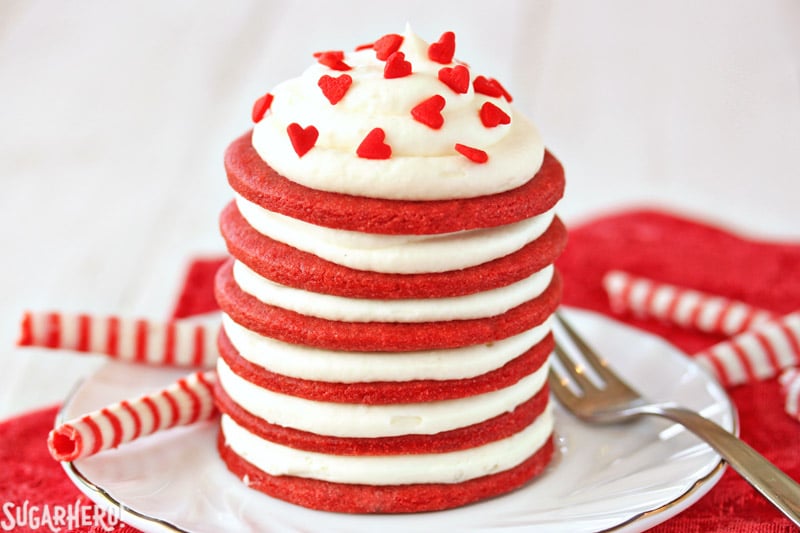
Traditionally, icebox cakes are made with chocolate wafer cookies, layered with whipped cream and left in the icebox refrigerator overnight. The extended chilling time lets the cream soak into the cookies, softening them until they have an almost cake-like texture. The next day, the cookies can be easily sliced and served, just like cake. The idea is genius. It’s fun. And it obviously needed to be red velvet-ified.
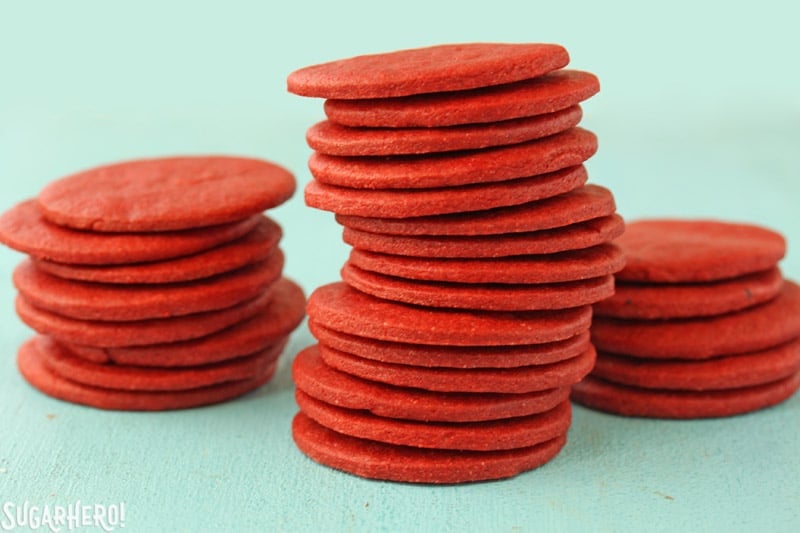
I would say something flippant about how icebox cakes are for lazy people who don’t want to bake a real cake, but honestly, there is nothing lazy about rolling, cutting, and baking dozens of red velvet wafer cookies. This is a task for the detail-oriented among you, those who enjoy arranging your books alphabetically and who treat spreadsheet-making like a sport. (You know who you are.) It’s a little fiddly, yes, but it’s a small price to pay for the magic yet to come.
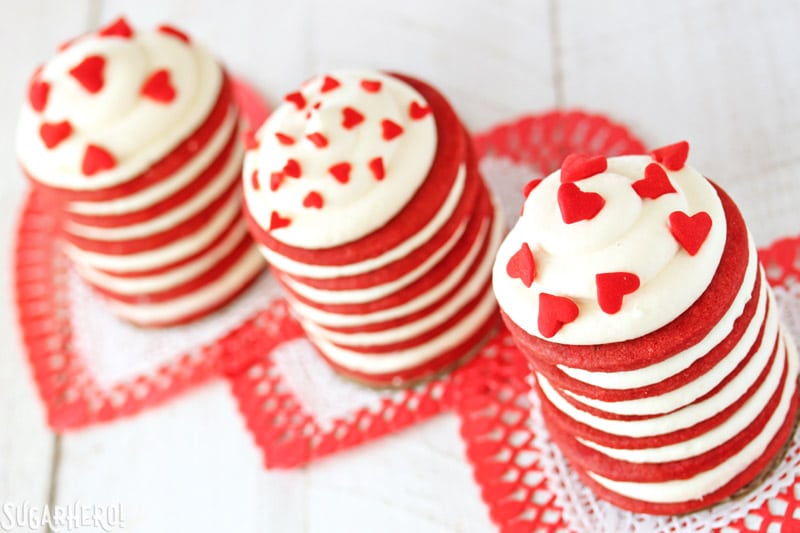
The crunchy wafer cookies, which have just a hint of cocoa flavor, are layered with a whipped cream/cream cheese frosting hybrid. It has the lightness of whipped cream, but the tangy flavor and stability of cream cheese frosting. It’s the best of both worlds, and it’s so good I had to stop myself from sucking it out of the piping bag like a Slurpee.
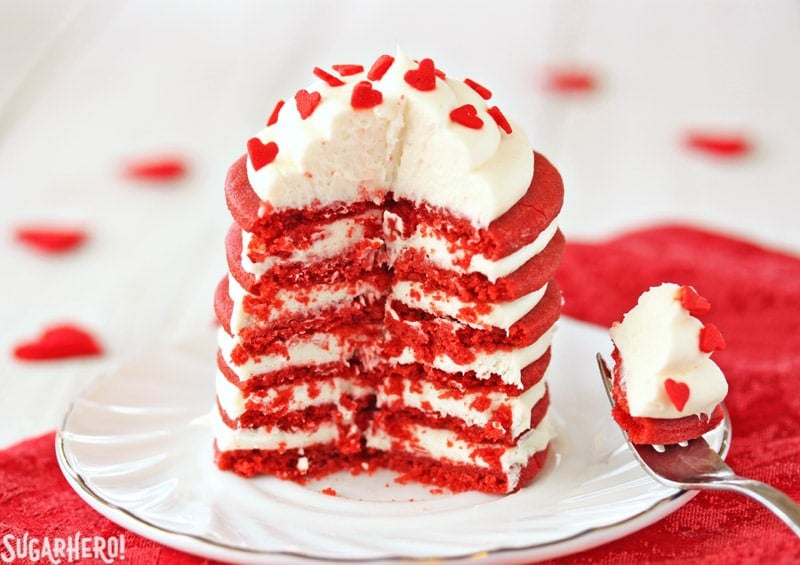
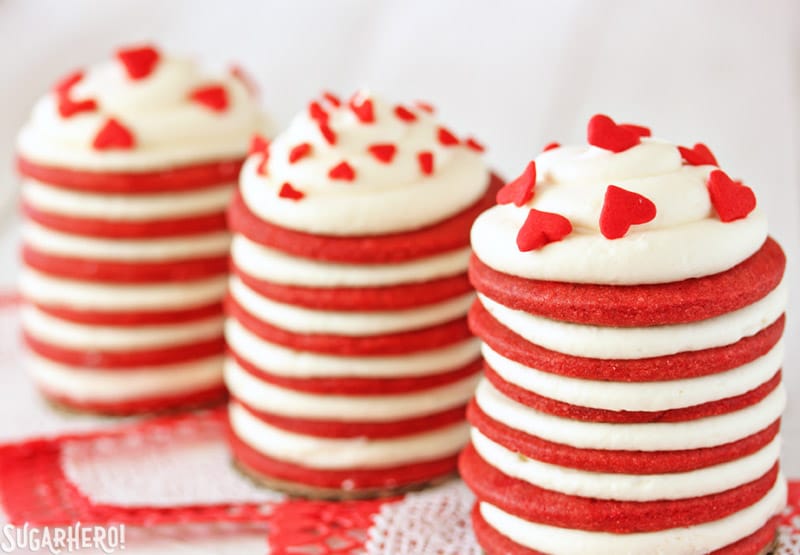
After the cakes had an overnight vacation in my icebox cold-storage appliance, I was anxious to try them and see if they tasted as good as they looked. Success! The cookies had a soft texture that practically melted into the sweet and tangy frosting. I love everything about them—their gorgeous layered look, their cute miniature size, and the generous filling-to-“cake” ratio that’s perfect for a frosting fanatic like myself.
At just over 2.5” around and 5” tall, each miniature cakes is perfectly portioned—enough dessert to feel like a treat, but petite enough to avoid the sugar avalanche that comes from most jumbo cake slices. Extras can be stored in your icebox Frigidaire for up to a week, and unlike other cakes, they won’t get dry and stale with age!
Red Velvet Cake In A Jar
Sky-High Pink and Red Velvet Cake
Don’t miss our collection of the 10 Best Valentine’s Day Cakes – see the whole web story here!
Red Velvet Icebox Cakes
Ingredients
For the Red Velvet Wafer Cookies:
- 1 cup granulated sugar
- 4 oz unsalted butter, at room temperature
- 1 large egg
- 1 tsp vanilla extract
- 1/2-1 tsp red gel food coloring, I used Americolor brand Super Red
- 2 cups all-purpose flour
- 2 tbsp unsweetened cocoa powder
- 3/4 tsp salt
- 1/2 tsp baking powder
For the Cream Cheese Whipped Cream:
- 8 oz cream cheese, at room temperature
- 1/2 cup granulated sugar
- 1 tsp vanilla extract
- 2 cups heavy cream, chilled
- Sprinkles, optional but very cute!
Instructions
To Make the Red Velvet Wafer Cookies:
- In the bowl of a large stand mixer fitted with a paddle attachment, combine the sugar and butter. Mix on medium-high speed until well-combined. Add the egg and vanilla extract, and mix again until combined. Add 1/2 tsp of red gel food coloring and mix everything together until you get a vibrant red color. If your color seems muted, add a bit more food coloring—it will darken when you add the dry ingredients, so you want to start with a really bold color.
- In a small bowl, sift together the flour, cocoa powder, salt, and baking powder. Add the dry ingredients to the mixing bowl, and mix on low speed until almost fully incorporated. Stop the mixer and finish mixing everything together with a spatula, take special care to scrape the bottom and sides of the bowl. Form the dough into a disc and wrap it in plastic wrap. Refrigerate the dough for 30 minutes.
- Preheat the oven to 350 degrees Fahrenheit. Roll out the dough between two sheets of parchment or waxed paper until it’s 1/8-inch thick. Cut 2.5” circles of dough, and transfer the cookies to a parchment-lined baking sheet. If the cookies are too delicate to transfer cleanly, slide the rolled-out dough onto a baking sheet and freeze it briefly, until you can easily move the cookies onto the baking sheet. Bake the cookies at 350 for 10 minutes.
- Press the scraps together and re-roll the dough, continuing the process of cutting, freezing, and baking until all of the dough is used. You should end up with at least 36 cookies. Cool completely. Cookies can be made several days in advance—just store them in an airtight container so they don’t get stale.
To Make the Frosting and Assemble the Cakes:
- Place the cream cheese, sugar, and vanilla in the bowl of a stand mixer fitted with a whisk attachment. Beat them on medium speed until light and fluffy, and the cream cheese is free of lumps. Keeping the mixer running, slowly stream in the heavy cream. Once all of the cream is in, stop and scrape the bottom and sides of the bowl, then continue whipping until the frosting holds firm peaks. Transfer it to a piping bag fitted with a 1/2-inch round coupler.
- If you want to be able to easily move the icebox cakes after they’re assembled, cut 2.5” cardboard rounds to put underneath them. Otherwise, assemble the cakes directly on the serving dishes.
- Place a small dab of frosting onto a cardboard round, and press a wafer cookie on top to affix it. Pipe a thin layer of frosting on top of the cookie, about the same thickness as the cookie itself. Place another cookie on top and gently press down, to squeeze the frosting until it is flush with the edge of the cookies. Add more frosting, and repeat the layering process until you have added 6 cookies total. Top the final cookie with a swirl of frosting and a pinch of sprinkles. Repeat until all 6 cakes are assembled.
- Refrigerate the cakes overnight. If your refrigerator has any strong odors, it’s a good idea to keep them in an airtight container, so they don’t absorb any funky smells. Icebox cakes can keep up to a week in the refrigerator.
Recipe Notes
Measuring Tips
Our recipes are developed using weight measurements, and we highly recommend using a kitchen scale for baking whenever possible. However, if you prefer to use cups, volume measurements are provided as well. PLEASE NOTE: the adage “8 oz = 1 cup” is NOT true when speaking about weight, so don’t be concerned if the measurements don’t fit this formula.
Want to learn more about baking measurements and conversion?
Nutrition
Special equipment/ingredients for this recipe:
— Red Gel Food Coloring (I Like AmeriColor)
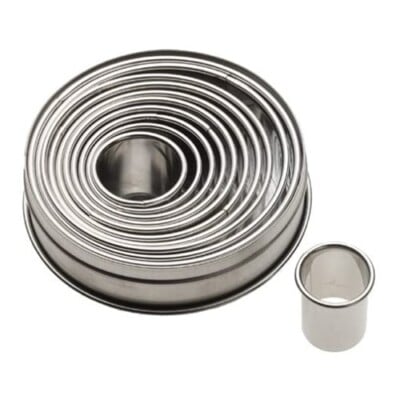
— Round Cookie Cutter
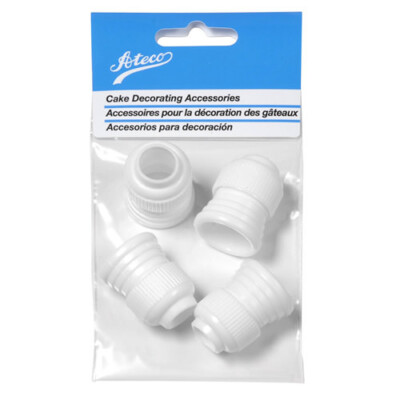
— Piping Bag and Coupler![]() —Jumbo Heart Sprinkles and Miniature Heart Sprinkles
—Jumbo Heart Sprinkles and Miniature Heart Sprinkles

THE BEST VALENTINE’S DAY CAKES
Check out our collection of the 27 best Valentine’s Day cake ideas — click here to get all the recipes!









These are so adorable Elizabeth! Perfect for a dinner party with friends 🙂 I think I just found my dessert recipe for my next party…thanks!
Thanks fellow Liz! I think icebox cakes are awesome for parties because they’re 100% make-ahead…no stress the night of!
What about using a small paper doily instead of cardboard?
Hi Laura,
The cookies get soft after sitting with the whipped cream, so the cardboard helps stabilize the cakes and makes it so you can easily transfer them from the refrigerator to the plate. Something flimsy like a doily would make it really difficult to move and work with them. As a compromise you could try heavy posterboard, but my recommendation would still be cardboard. You can always put a doily under the cardboard like I did in the pictures!
Looks so yummy. Love your recipes 🙂
Hey Marie, I am thrilled to hear it! Thank you so much!!