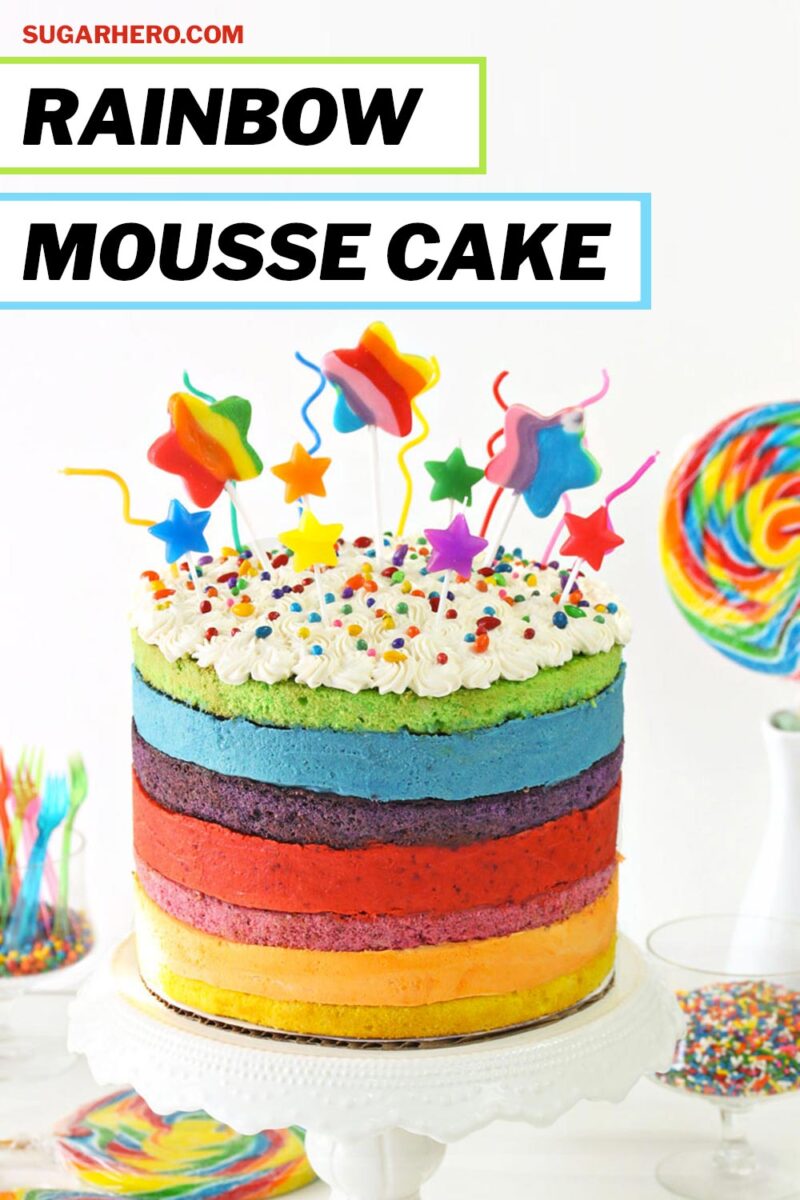
This Rainbow Mousse Cake is seven gorgeous layers of cake and mousse in vibrant, fruity flavors. It’s a color and flavor explosion that is perfect for any party or celebration!
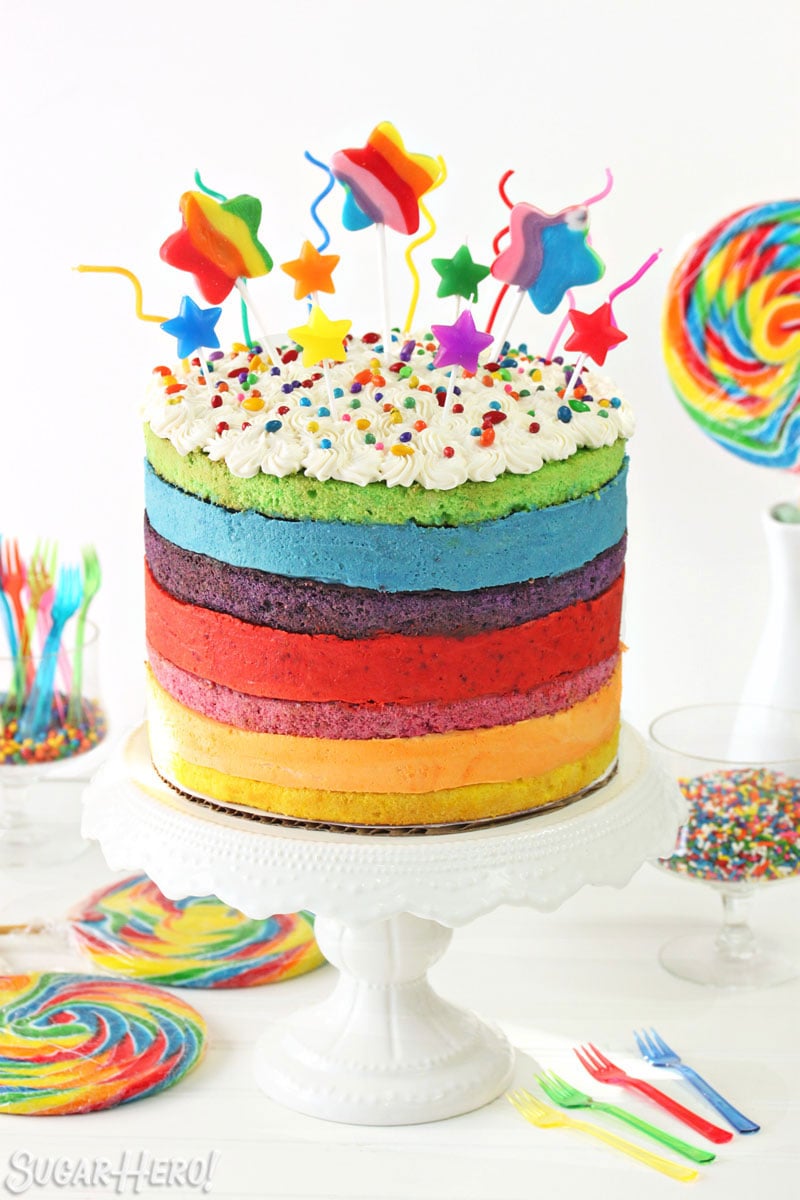
🌈 Fun and Colorful Mousse Cake
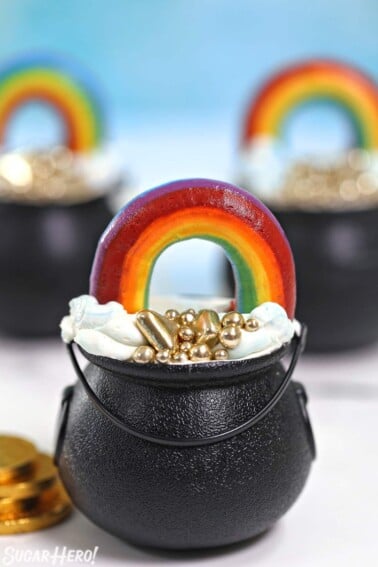
Nothing says “party” more than an over-the-top rainbow cake. The layers! The sprinkles! The punch-you-in-the-eyeballs colors! To me, nothing feels more celebratory than a big ole dessert packed with layers of bright colors. Some of my favorite cakes I’ve made over the years have been rainbow themed – like this surprise-inside Rainbow Cake, this Gold-Topped Rainbow Cake, or these super clever Buttercream Rainbows (see them in action on these Pot of Gold Cupcakes).
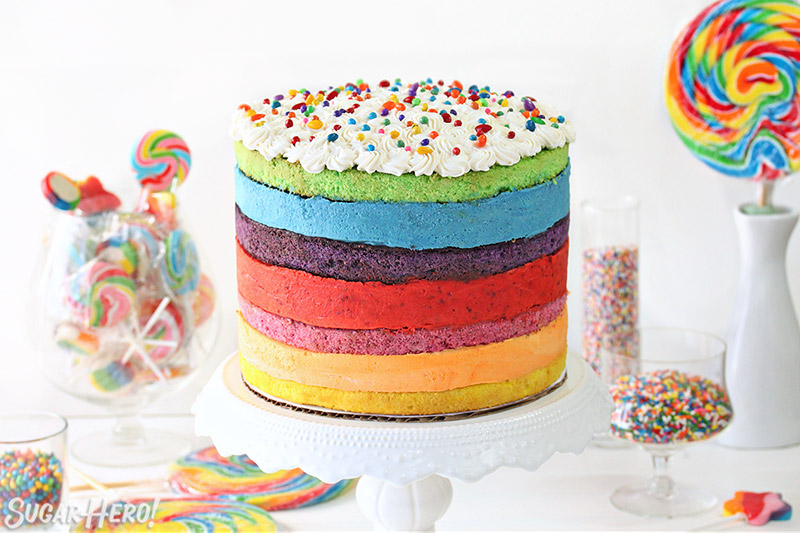
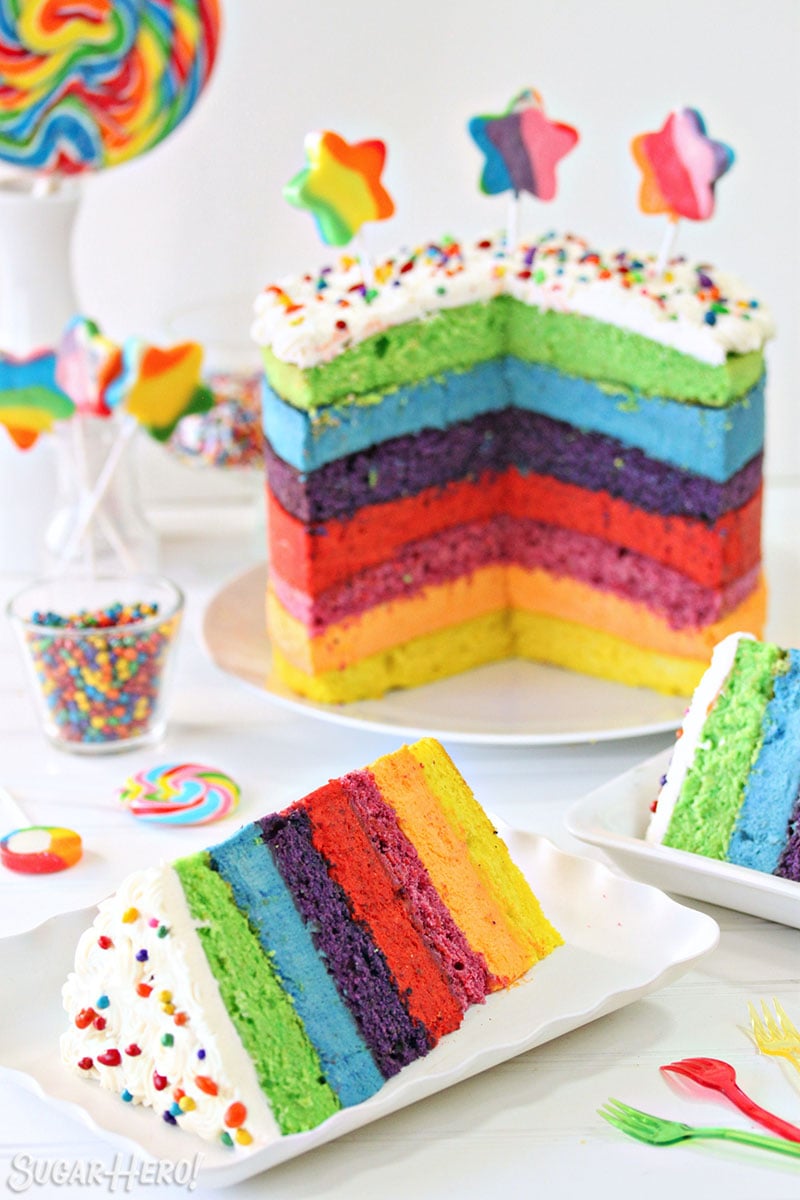
Today’s cake is another entry in the Rainbow Dessert Hall of Fame (and yes, I am the only member and the only inductee.) This version is a seven-layer beauty alternating layers of moist butter cake and rich mousse.
The BEST part? Each colorful layer is a different fruit flavor, so this cake is bursting with bright, sweet-tart flavor. I thought about calling it a “Taste the Rainbow Mousse Cake,” but it doesn’t actually contain Skittles (plus I’m scared of getting on the wrong side of the powerful Big Candy industry) so I kept things simple. But if you love light and fluffy mousse cakes, and you enjoy playing with color and flavor, this cake’s for you!
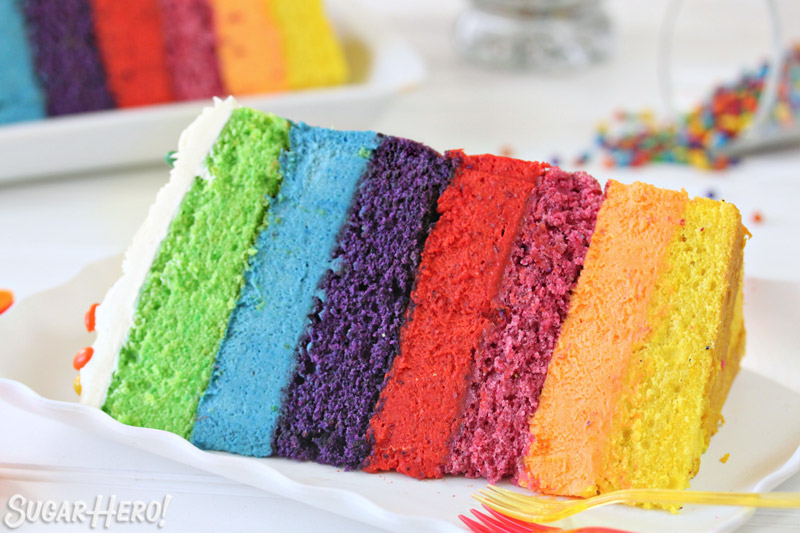
This year’s version is a seven-layer beauty alternating layers of moist butter cake and rich mousse. Each colorful layer is a different fruit flavor, so this cake is bursting with bright, sweet-tart flavor. I thought about calling it a “Taste the Rainbow Mousse Cake,” but it doesn’t actually contain Skittles (plus I’m scared of getting on the wrong side of the powerful Big Candy industry) so I kept things simple.
🍓 Rainbow Mousse Fruit Flavors
Here’s the actual breakdown of the cake flavors, listed from top to bottom:
- lime cake
- blackberry mousse
- blueberry cake
- cranberry mousse
- raspberry cake
- passion fruit mousse
- lemon mousse
The layers are flavored with a mix of extracts, zests, fruit purees, and powdered freeze-dried fruit. (Oh freeze-dried fruit, I wish I could quit you!)
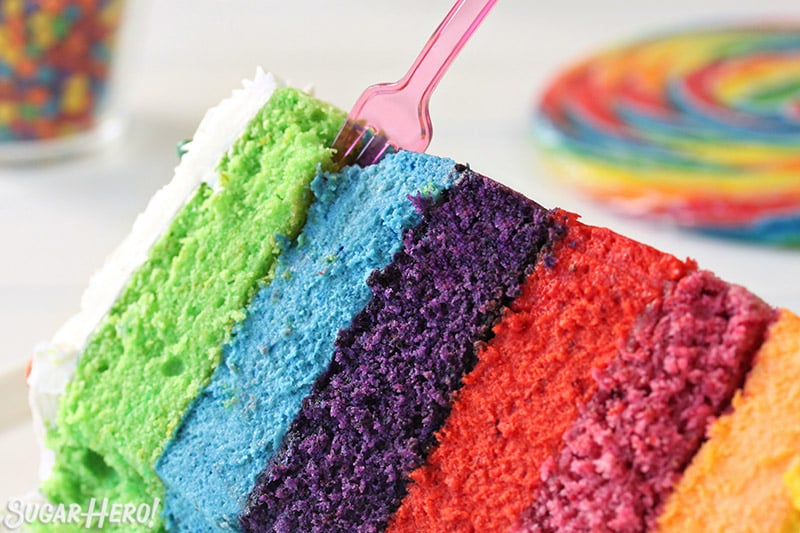
Although it could be made with just extracts, I love that each layer contains actual fruit products in the form of juice or puree or powder, so each has a different bold, vibrant realistic taste. You’ll notice that I used a lot of tart fruits, which went a long way toward keeping this cake from being too sweet, cloying, or overwhelming.
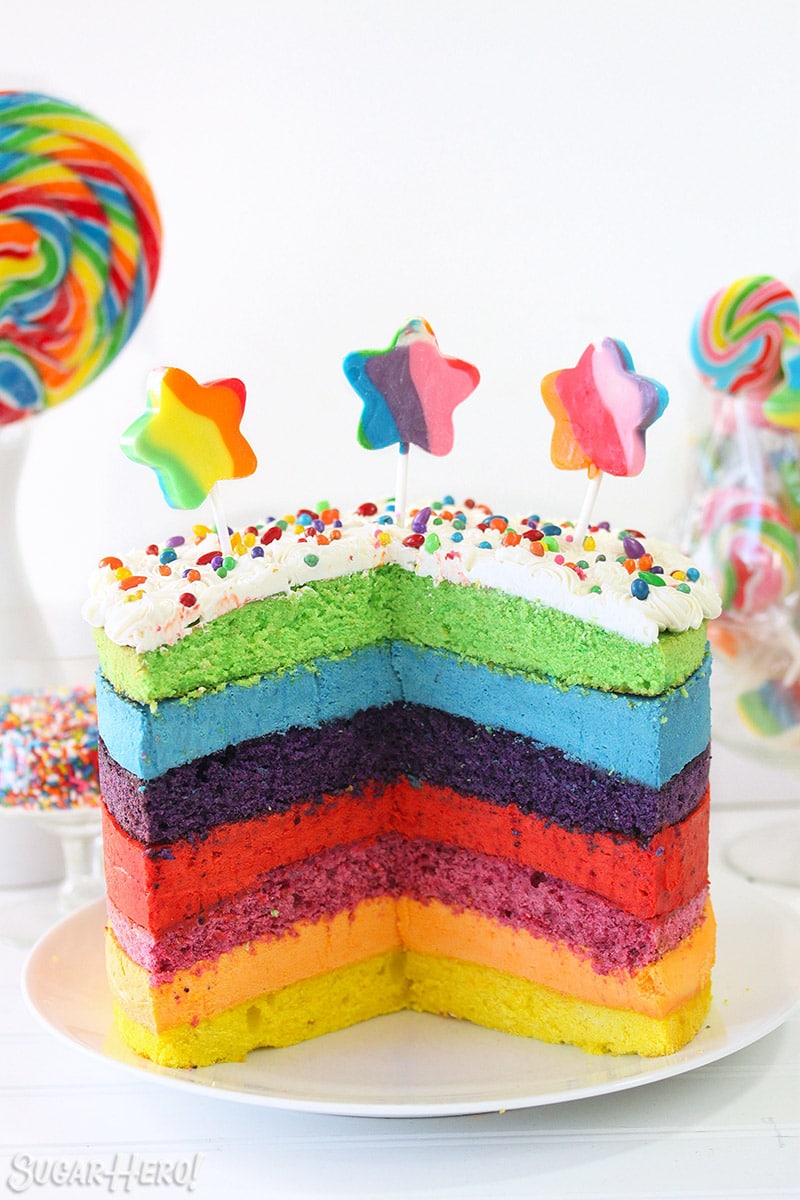
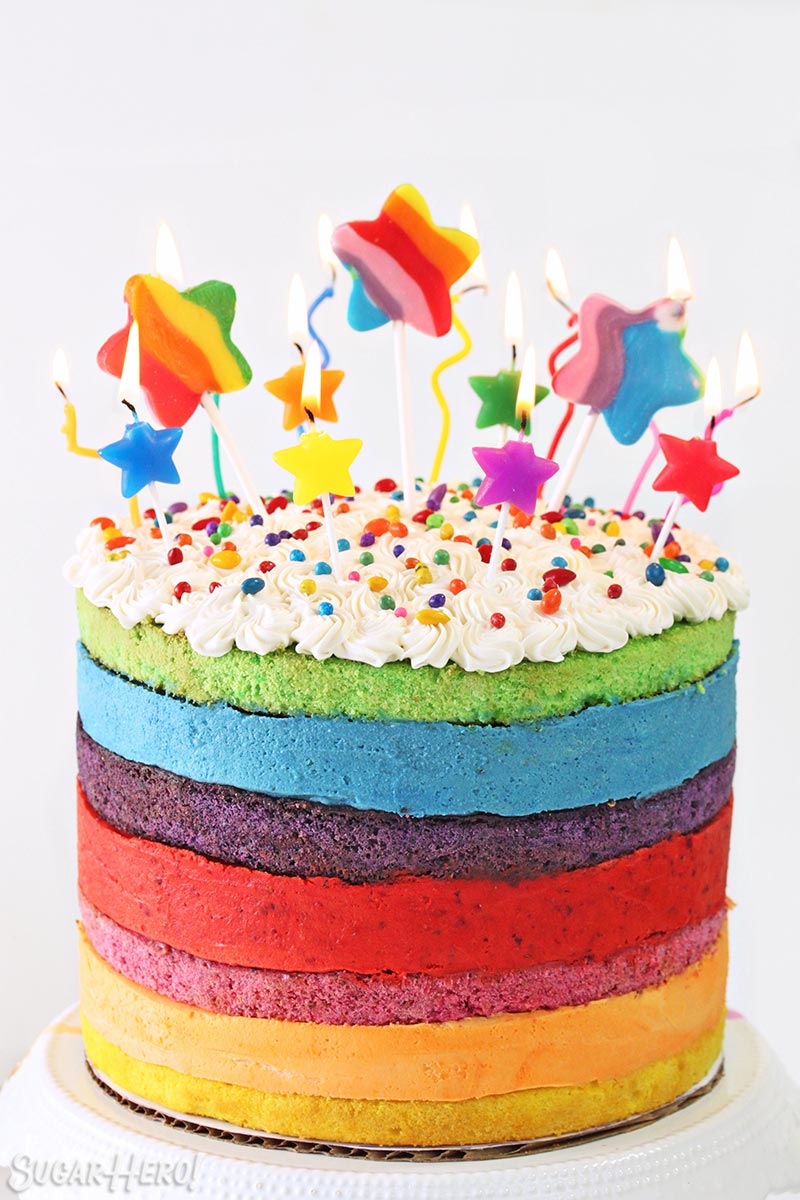
The cake is topped with a quick buttercream, lots of colorful sprinkles, and every rainbow candle and lollipop I could find. After all, you can’t spell “over-the-top rainbow cake” without “star-shaped rainbow lollipops,” right? (Riiiiiight)
This cake is as fun to eat as it is to look at! It’s sweet, for sure, but also refreshing in the way that the best fruit desserts are. One of our favorite ways to eat it is to mix-and-match the flavors, trying new combinations of fruits, just like you might do with a handful of Skittles. And of course, since it’s such a tall cake, it serves a ton of people, making this perfect for a big celebration.
💡 Tips and FAQs
Yes! With such an involved recipe, it really helps to spread the work out over a few days vs trying to do it all in one day. I recommend baking the cakes a day in advance and keeping them well-wrapped until you’re ready to assemble the cake. The finished cake will have to chill for at least 6 hours to set after you finish assembly, so factor this into your time estimate. The assembly process itself takes some time, because the mousses have to be made as you’re assembling and chilling it between steps—because they start to set quickly, the mousse layers cannot be made in advance. I recommend reading through the recipe several times before beginning, to make sure you understand the flow and have all the components ready at the right time.
You can get the same visual impact by using two cake mixes, divided into 4 portions and colored with food coloring. You can keep all layers the same flavor, or add 1 tsp of various extracts to the portions before baking them off. You can also omit the buttercream and use a simple whipped cream on top instead. Finally, you can do only half the layers for a more manageable cake size!
This cake calls for a lot of different flavorings, but don’t feel obligated to use exactly the flavors and ingredients listed–feel free to experiment and switch up the layers depending on what ingredients you have available! For the mousses, you can omit the freeze-dried fruit and purees and use extracts and food coloring instead. These changes will not give the cake the same realistic fruit flavor, but they will greatly simplify the process and reduce expenses.
Mousse cakes tend to keep very well, since the mousse layers keep the cake soft and moist. Since this cake doesn’t have frosting around the outside, you will want to wrap the outside with plastic wrap to keep it from drying out, and store the cake in the refrigerator. Well-wrapped, this cake will keep for up to a week. For the best taste and texture, let it sit at room temperature for 10-15 minutes before serving so the cake has a chance to warm up and soften a bit.
Great question! It can be hard to know the difference between regular limes and key limes. Check out my detailed blog post about the difference between these two types of limes.
🌈 More Rainbow Desserts You’ll Love
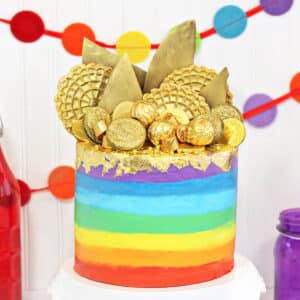
Gold-Topped Rainbow Cake
Buttercream Rainbows
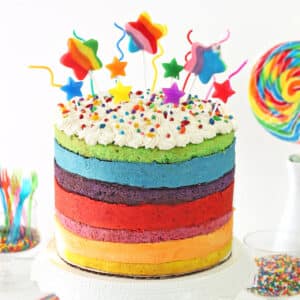
Rainbow Mousse Cake
Ingredients
For the Cake Layers:
- 14 oz granulated sugar, 2 cups
- 16 oz cake flour, 4 cups
- 1 tsp baking powder
- 1 tsp baking soda
- 1 tsp salt
- 4 large eggs, at room temperature
- 11 oz full-fat sour cream, 1 1/3 cup, at room temperature
- 12 oz unsalted butter, at room temperature
- 1 tsp lemon extract
- 1 lemon, large
- 1 tsp lime extract
- 2 limes, large
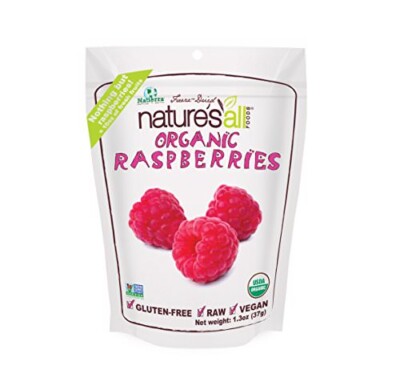
- 1 oz freeze-dried raspberries, 1 cup
- 1 oz freeze-dried blueberries, 3/4 cup
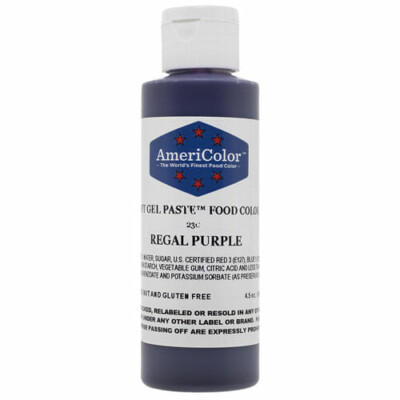
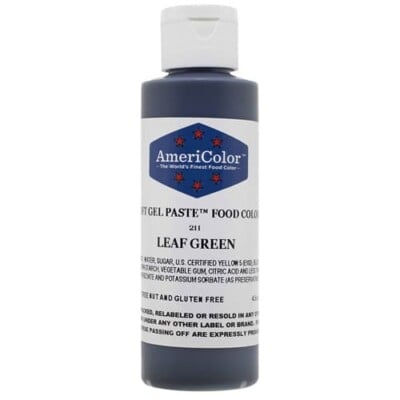
- Assorted gel food coloring, I used Americolor brand: Lemon Yellow, Leaf Green, Deep Pink and Regal Purple
For the Passion Fruit Mousse:
- 9 oz white chocolate, chopped
- 1 1/4 cups heavy cream, divided use
- 1/2 cup passion fruit puree, I used Goya brand, from the freezer section, defrosted
- Pinch of salt
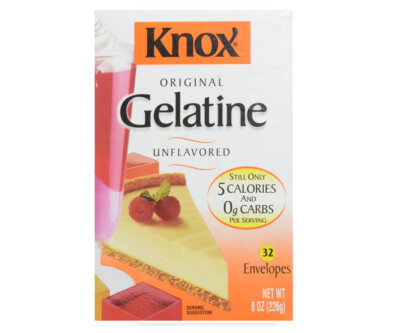
- 2 tsp unflavored powdered gelatin
- 2 tbsp cold water
- Orange gel food coloring, I used Americolor brand.
For the Cranberry Mousse:
- 9 oz white chocolate, chopped
- 1 1/2 cups heavy cream, divided use
- Pinch of salt
- 2 tsp unflavored powdered gelatin
- 2 tbsp cold water
- 1 cup freeze-dried cranberries
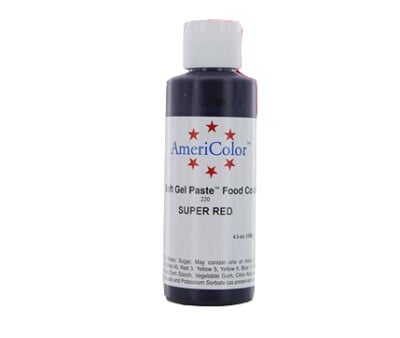
- Red gel food coloring, I used Americolor Super Red.
For the Blackberry Mousse:
- 9 oz blackberries, fresh or defrosted from frozen
- 9 oz white chocolate, chopped
- 1 1/4 cups heavy cream, divided use
- Pinch salt
- 2 tsp unflavored powdered gelatin
- 2 tbsp cold water
- Blue gel food coloring, I used Americolor brand.
For the Vanilla Frosting:
- 12 oz powdered sugar, 3 cups, sifted after measuring
- 4 oz unsalted butter, 1 stick, at room temperature
- 2 tbsp milk, plus more if necessary
- 1 tsp vanilla extract, or other flavoring extracts
- 1/8 tsp salt
Instructions
To Make the Cake Layers:
- Preheat the oven to 300 F. (That is not a typo—I use a low and slow bake time for these, to help prevent the cakes from doming.) Line four 9-inch cake pans with parchment rounds, and spray the parchment and pan sides with nonstick cooking spray.
- Combine the sugar, cake flour, baking powder, baking soda, and salt in the bowl of the stand mixer fitted with a paddle attachment. Mix on low speed for about a minute to combine the dry ingredients.
- Lightly whisk together the eggs and 1/3 cup of sour cream, and set aside for now.
- Add the remaining 1 cup sour cream and the softened butter to the large mixing bowl and mix on low speed until the dry ingredients are moistened. Turn the mixer to medium speed and mix for a minute and a half.
- Add the egg mixture in three batches, mixing for 20-30 seconds after each addition, until you have a smooth batter. Scrape the bottom and sides of the bowl with a rubber spatula, and give the batter a few more stirs to make sure everything is incorporated. Divide the batter into four equal portions—if you are using a kitchen scale, this will be about 15 oz of batter per bowl.
- To one portion of the batter, add the zest from one large lemon, 1 tsp lemon extract, and a few drops of yellow food coloring. Taste, and add more extract if desired, then scrape into one of the cake pans and smooth.
- To the second portion of the batter, add the zest from two large limes, 1 tsp lime extract, and a few drops of green food coloring, with an additional drop or two of yellow. Scrape into the second cake pan.
- Place the freeze-dried raspberries in a food processor and process until they’re a fine powder. Add the raspberry powder and some pink food coloring to the third portion of batter, and gently stir until it’s incorporated. Try not to over-mix, or your cakes will be tough. Pour into the third cake pan.
- Process the freeze-dried blueberries in the food processor, and add the blueberry powder and purple coloring to the final portion of batter. Pour into the fourth cake pan.
- Bake the cakes at 300 F for 20-25 minutes, rotating halfway throughout, until the tops spring back when lightly pressed and a toothpick inserted into the center comes out clean.
- Let the cakes cool on a wire rack for 10 minutes, then gently turn them out and let them cool completely. If you are making these in advance, they can stay in the freezer for up to several weeks.
To Assemble:
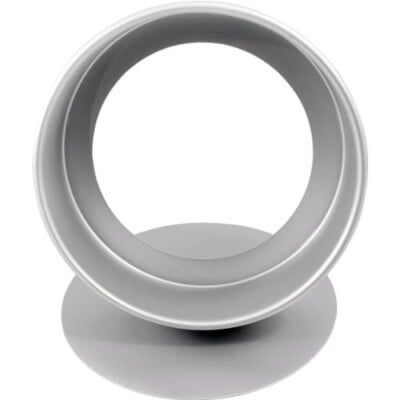
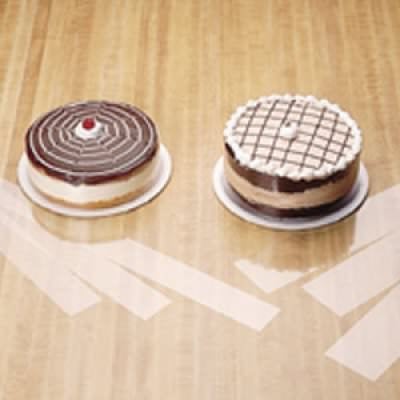
- Prepare your pan. You need a 9-inch pan with tall sides, and the ability to remove the bottom. Either a cake pan with a removable bottom or a springform pan will work. Place a cake cardboard in the bottom of the pan. Tape two long strips of an acetate cake collar together, to make one 8-inch tall strip of acetate. Line the inner wall with your extra-tall acetate collar. Make sure the acetate is long enough so that it overlaps itself. I strongly recommend using acetate—it will provide you with a firm structure in which to build your cake, and clean edges along the sides. If you don’t have acetate collars, you can try using a double layer of heavy-duty foil, 8 inches tall, to wrap around the inside of the cake pan. This should be stable enough, but it won’t produce the clean edges that acetate does.
- Set your lemon cake layer in the bottom of the cake pan on the cardboard. Prepare your passion fruit mousse (instructions below), pour it on top of the lemon cake, and smooth it into an even layer. You’ll notice that the mousse is somewhat loose and fluid, which is why it’s so important to have a stable layer of acetate or heavy duty foil around the sides of the cake, to prevent the mousse from overflowing the sides.
- Chill the cake for 10 minutes, so the mousse just starts to set but is still tacky to the touch. Add the raspberry cake layer on top, and return to the refrigerator while you prepare the cranberry mousse layer (instructions below).
- When the cranberry mousse is done, pour it on top of the raspberry cake, and spread it into an even layer. Chill the cake again for 10 minutes, then add the blueberry cake on top. Refrigerate again while preparing the final mousse, the blackberry layer (instructions below.)
- When the blackberry layer is done, pour it on top of the blueberry cake and smooth it. Chill for 10 minutes, then top with the final lime cake layer. Refrigerate the cake for at least 6 hours (longer is okay!) to firm up all the mousse and make it a stable, solid cake.
- To serve, remove the cake from the cake pan, then carefully unwrap the acetate or foil collar from around the cake. Top with vanilla frosting (recipe below) or whipped cream, and lots of sprinkles and candles! This cake is easiest to cut when it’s straight from the refrigerator, but I like it best when it’s sat at room temperature for 20-30 minutes, so the cake is not completely cold.
To Make the Passion Fruit Mousse:
- Combine the white chocolate, passion fruit puree, 1/4 cup of cream, and salt in a large microwave-safe bowl. Microwave in 30-second increments, stirring every 30 seconds, until the chocolate has melted and the mixture is smooth. Let it cool to room temperature, stirring occasionally. It should not be warm to the touch at all.
- While you wait for the white chocolate mixture to cool, prepare the gelatin. Whisk together the gelatin and the cold water in a small bowl, and set it aside to let the gelatin absorb the water. When the chocolate is at room temperature, microwave the bowl of gelatin for 15 seconds, until it is melted. Whisk the melted gelatin and white chocolate together. Add several drops of orange food coloring, and stir them in. The color will get very diluted when you add the whipped cream, so go darker than your intended color.
- Whip the remaining 1 cup heavy cream to firm peaks. Fold half of the whipped cream into the white chocolate, and once it’s incorporated, gently fold in the remaining whipped cream. Try not to fold more than necessary, or the mousse will start to get grainy and break. Use immediately after it’s made.
To Make the Cranberry Mousse:
- Follow the instructions for passion fruit mousse, but with a few small changes: combine the white chocolate, 1/2 cup cream, and salt and microwave together. Use red food coloring instead of orange, and add enough to make a very bright red color. Place the freeze-dried raspberries in a food processor and process until they’re a fine powder. After you fold in the whipped cream, add the cranberry powder and stir it in gently.
To Make the Blackberry Mousse:
- First, blend the blackberries in a blender or food processor, then strain them to remove the seeds. Measure out 1/2 cup puree (save any additional puree for another use) and combine 1/2 cup puree, the white chocolate, and the salt in a microwave-safe bowl. Follow the instructions for the passion fruit mousse, but use blue food coloring instead of orange.
To Make the Vanilla Frosting:
- Place all of the ingredients in the bowl of a large stand mixer fitted with a paddle attachment. Mix on low speed until the sugar is moistened. Scrape down the sides of the bowl, then beat again on medium speed until light and fluffy, 2-3 minutes. You can add more milk or sugar, if desired, to get the consistency you want.
Recipe Notes
Measuring Tips
Our recipes are developed using weight measurements, and we highly recommend using a kitchen scale for baking whenever possible. However, if you prefer to use cups, volume measurements are provided as well. PLEASE NOTE: the adage “8 oz = 1 cup” is NOT true when speaking about weight, so don’t be concerned if the measurements don’t fit this formula.
Want to learn more about baking measurements and conversion?
Nutrition
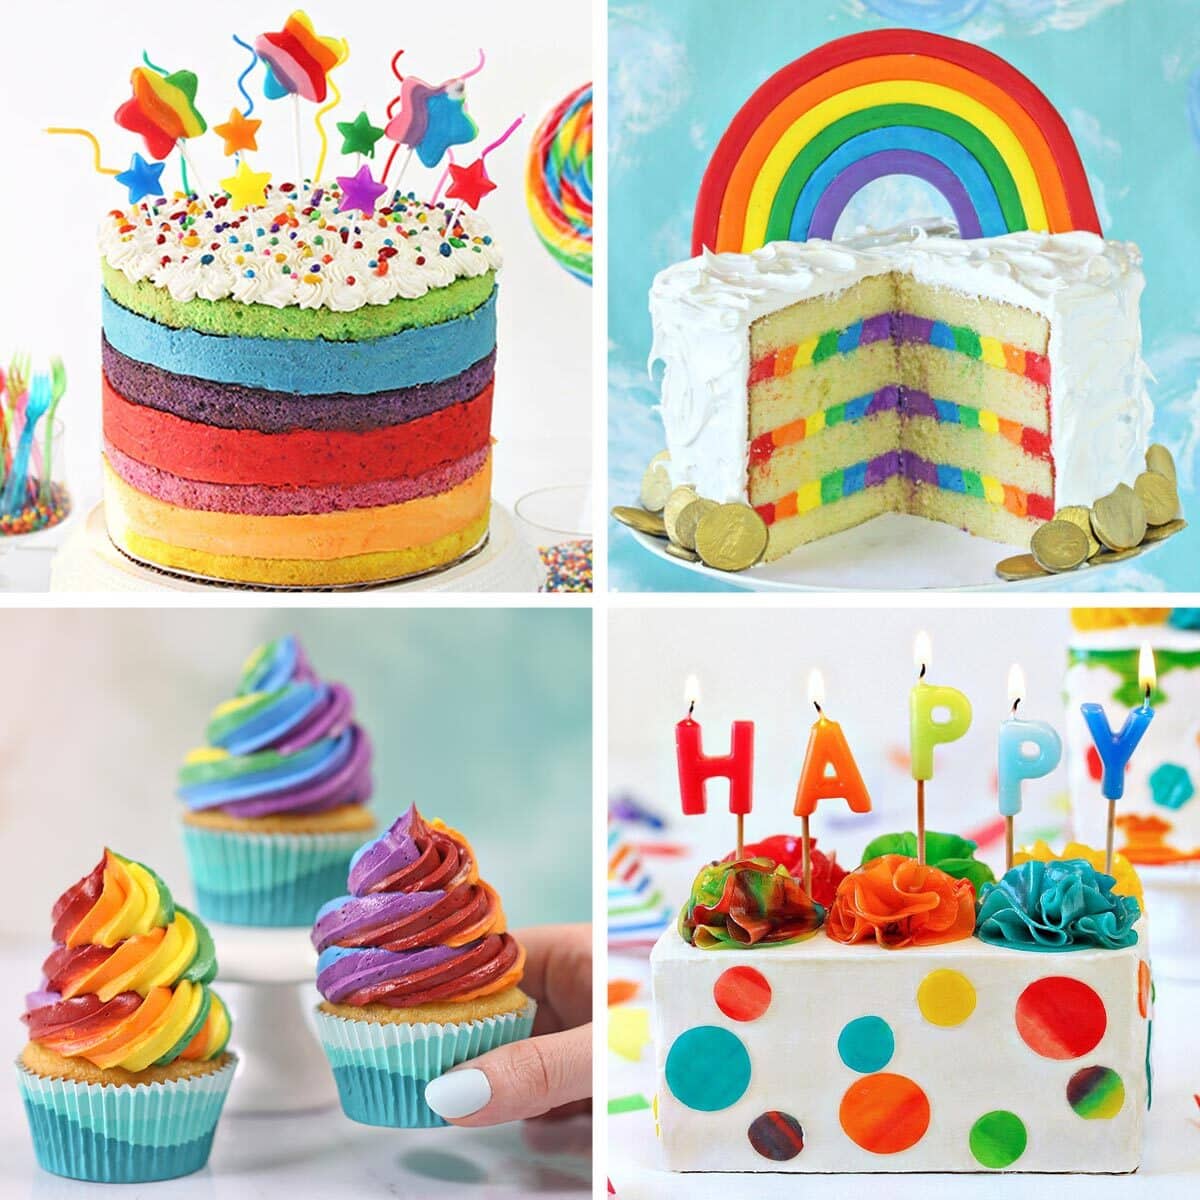
🌈 COLORFUL RAINBOW DESSERTS 🌈
We’ve rounded up 23 of our FAVORITE rainbow dessert recipes & ideas that are sure to make you smile — click here to get all the recipes!




What a fun idea! I’m a fan of anything rainbow, and this cake is stunning!
Thank you Hailey! I love all the colorful layers in this cake!
Great web site. Lots of helpful info here. I’m sending it to some buddies ans additionally sharing in delicious. And of course, thanks for your sweat!