


No need to visit a bakery when you can make perfect sugar cookies at home! Our recipe for foolproof cut-out sugar cookies produces cookies that are crisp around the edges and tender in the center. Top them with a smooth, easy-to-pipe buttercream frosting that holds its shape beautifully and is ideal for decorating.

Easy Buttercream Decorated Cookies
For some beginning bakers, piping frosting can be the most intimidating part of a recipe. If you’ve ever looked at a piping bag and heard the Jaws theme song playing in your head, this might just be the recipe that gets you over your fear for good.
Don’t believe me? All you need are a few different frosting tips and colors of buttercream to make your cookies look like they came from the best bakery in town.
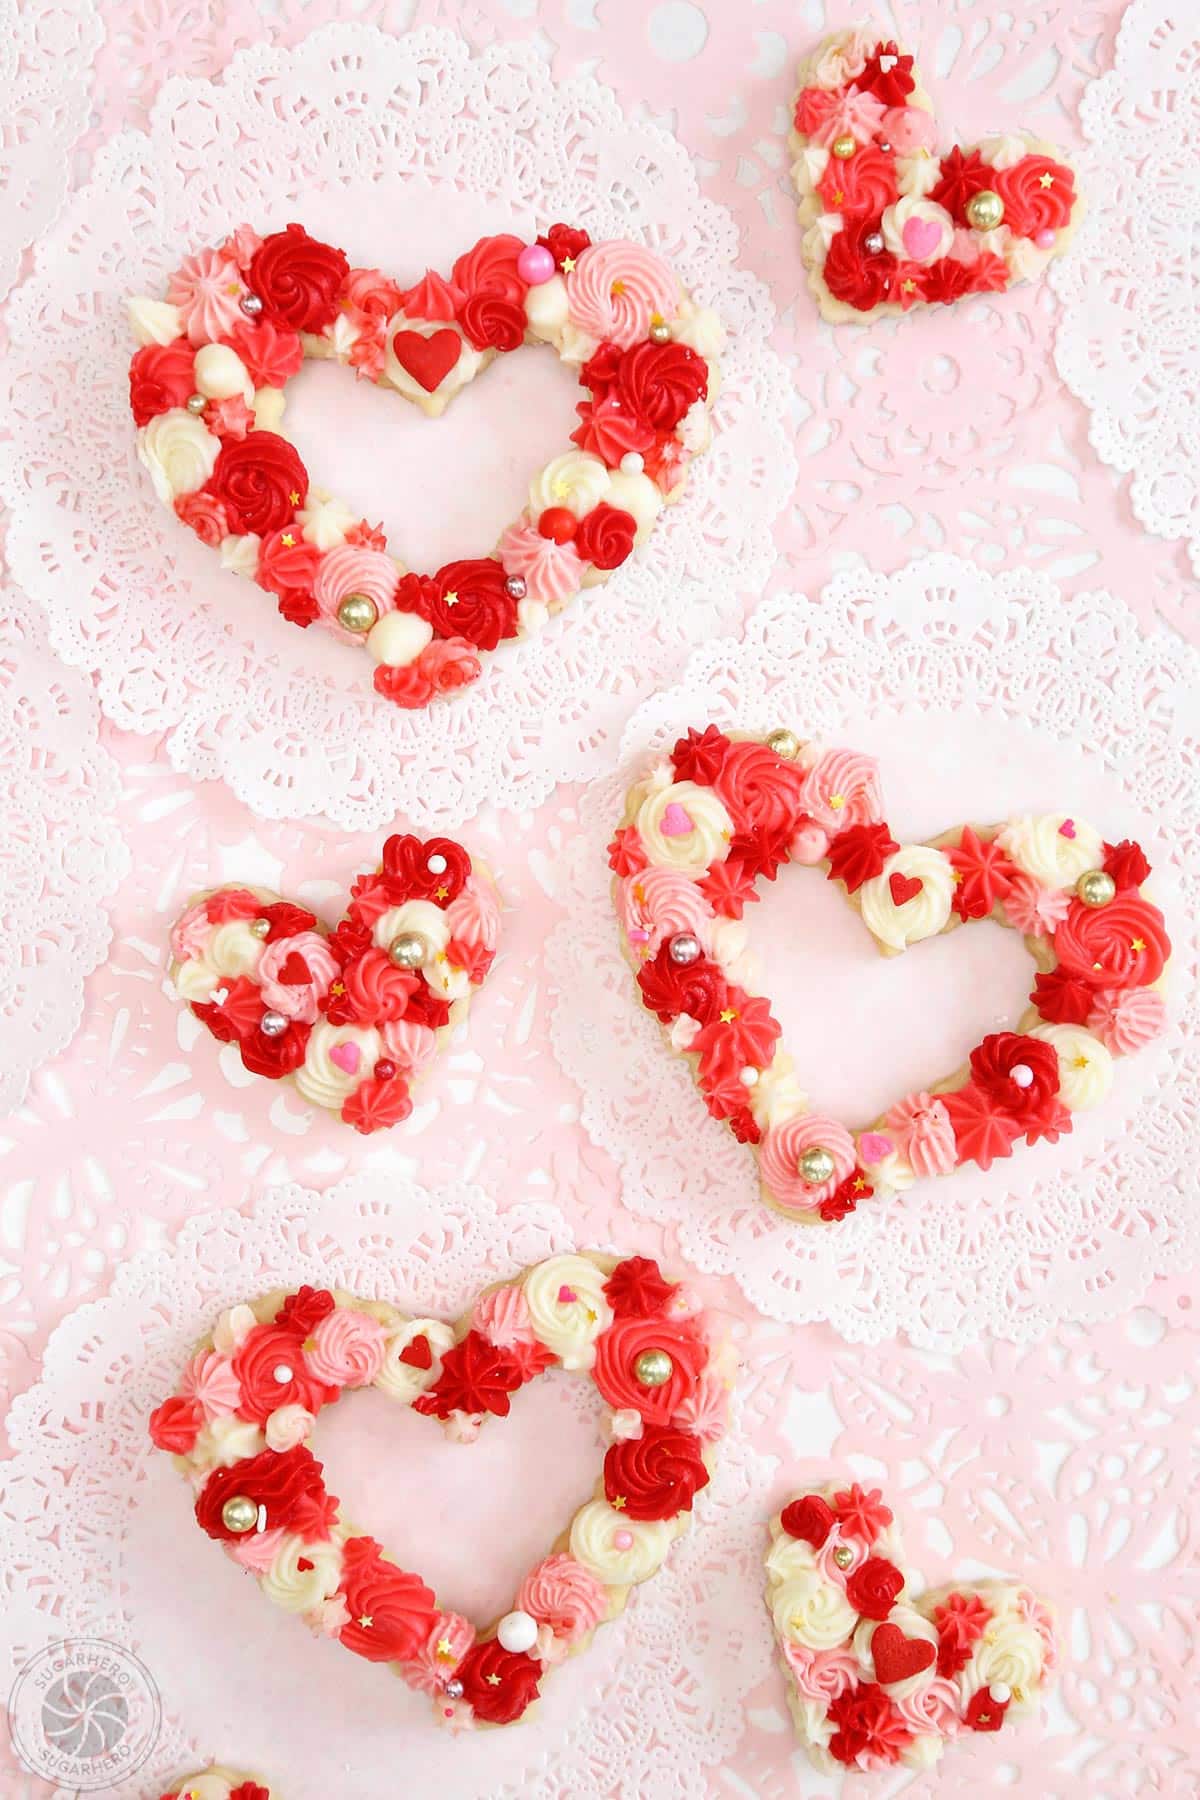
These deceptively simple cookies start with my favorite cut-out sugar cookie dough recipe. I’m using scalloped cutters and creating a “wreath” shape to make them a little fancier, but any shape will work for this technique.
The frosting is an easy American-style buttercream, meaning it has just a handful of ingredients and takes about 5 minutes to whip up.
What Makes These Great for Beginners?
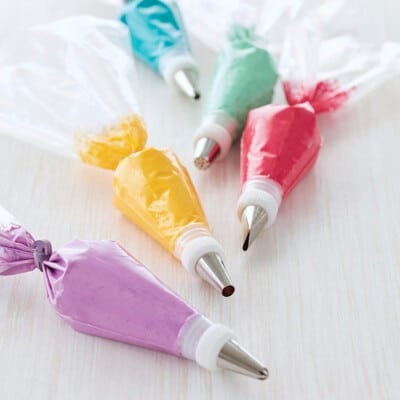
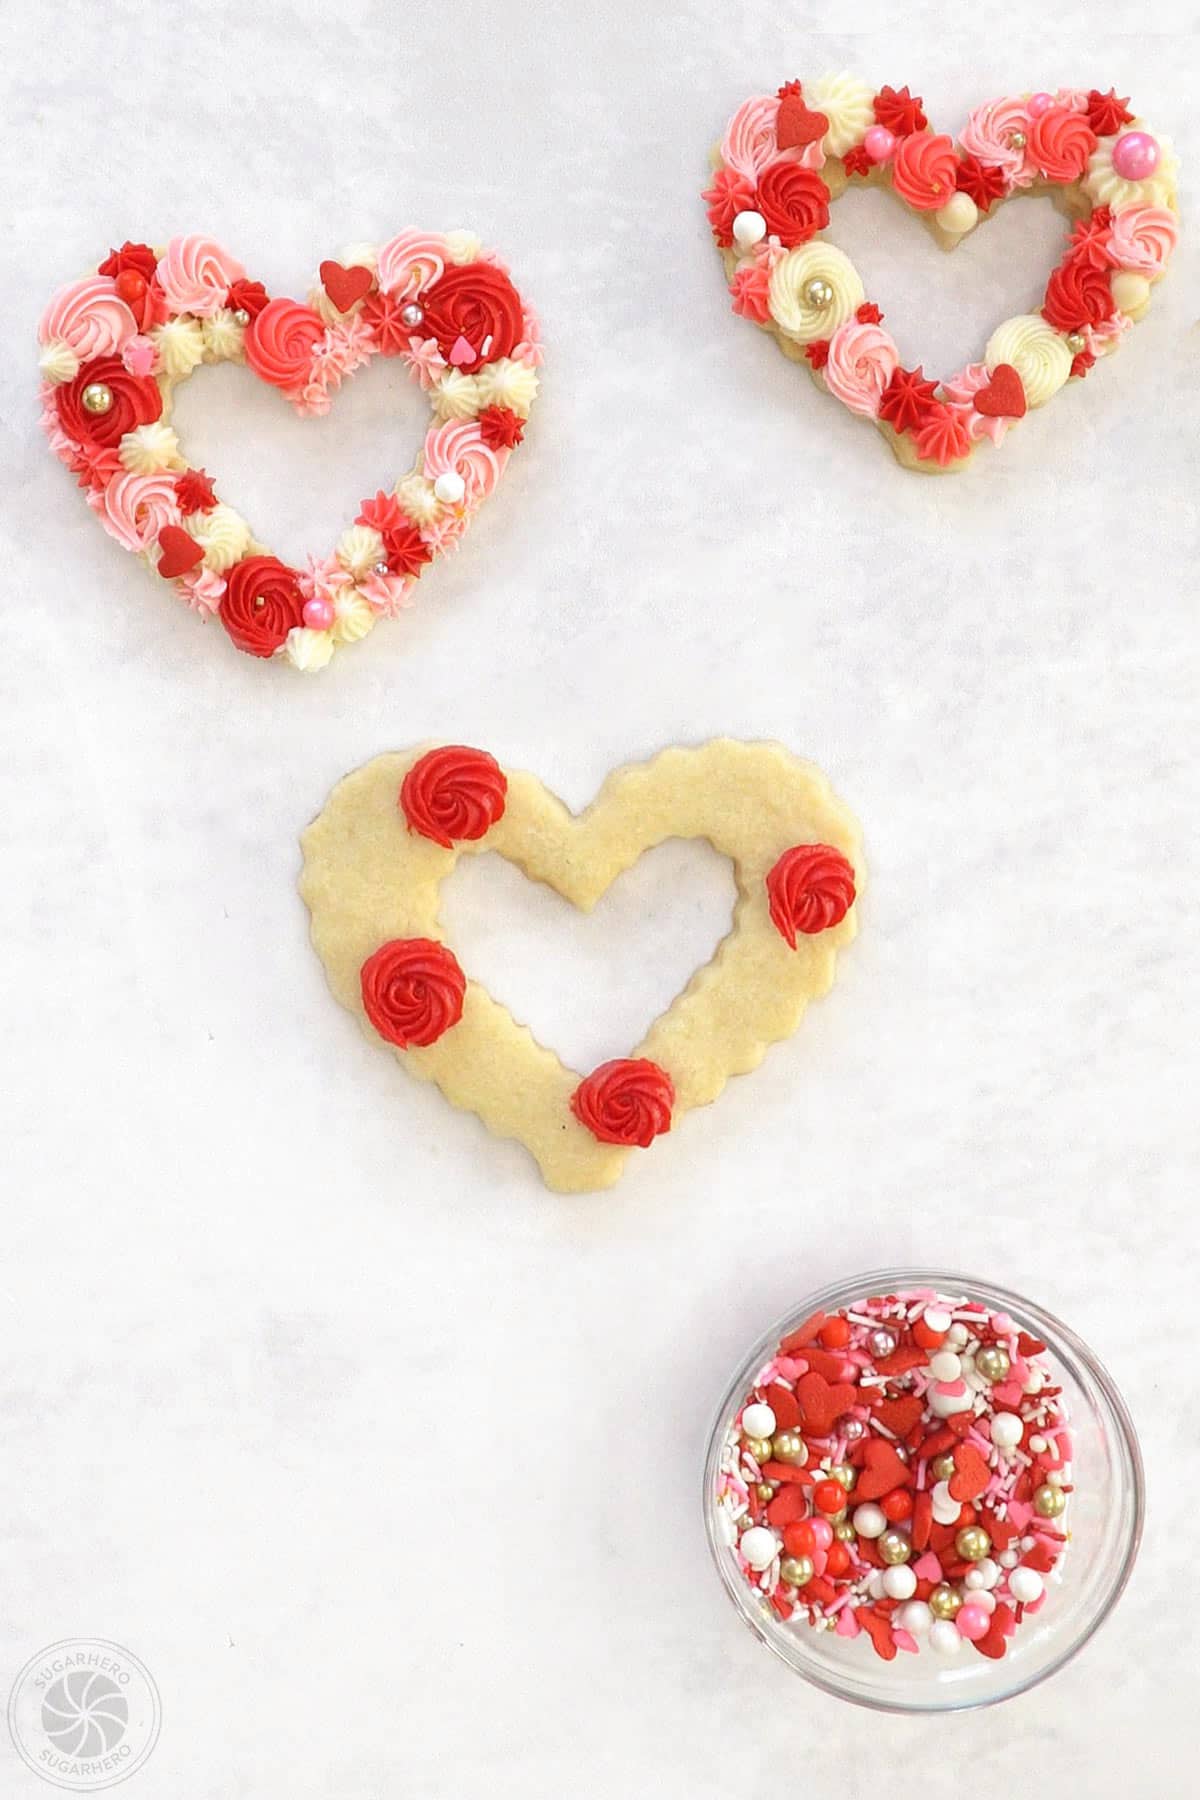
The not-at-all-secret “secret sauce” of this decorating technique is to use a variety of colors and piping tips. So for these cookies, I used white, dark red, dark pink, and then mixed the dark pink and some white to make a lighter pink.
Each color gets its own piping bag and its own small star piping tip – don’t worry about matching exact piping tip numbers, if it’s small and has ridges along the opening, you’re good to go!
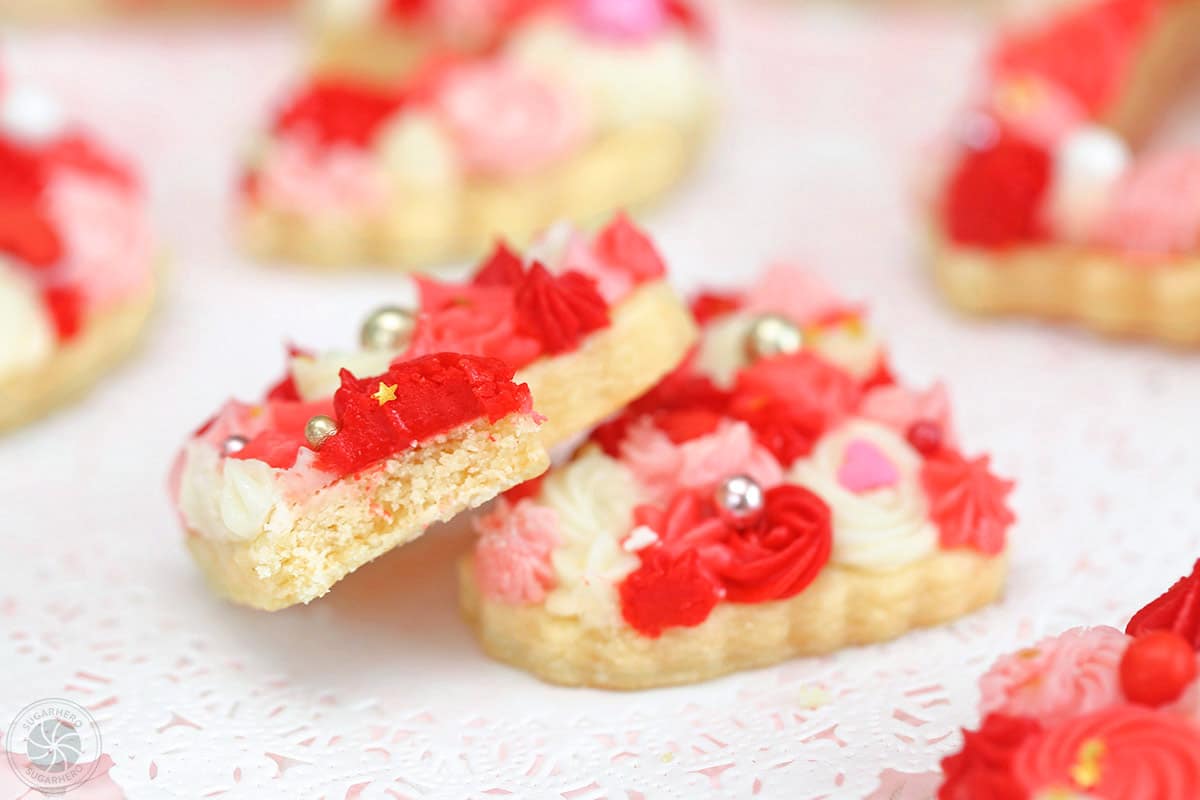
The beauty of this technique, and what makes it so beginner-friendly, is that there’s no wrong way to do it. You don’t have to be precious or precise. Go crazy piping swirls, dots, and squiggly lines of different colors next to each other, covering the entire cookie. Add a few sprinkles on top for a finishing touch, and your beautifully chaotic masterpieces are complete.
Don’t believe me? Check out the photo tutorial down below that shows just how simple these cookies are!

Table of Contents
🧾 What You’ll Need
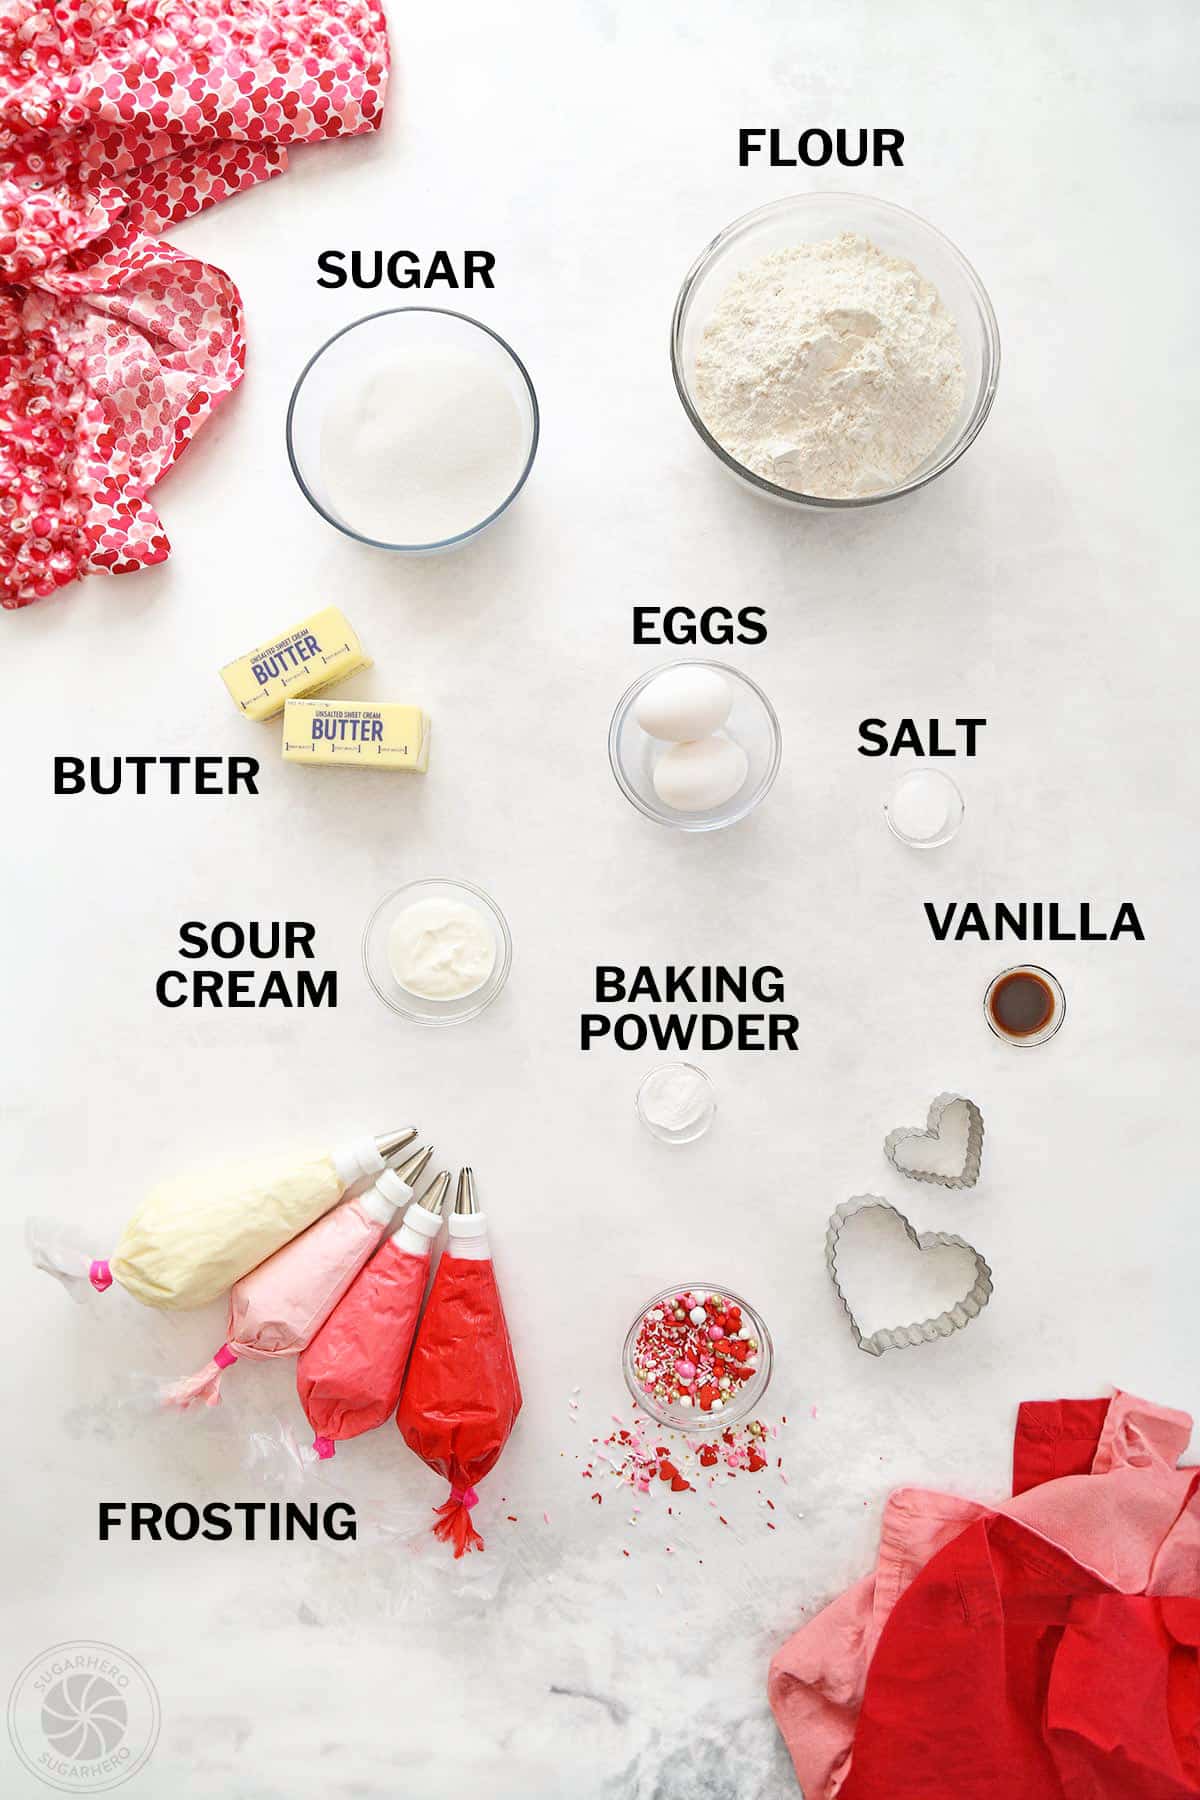
Ingredients
Take a look at these ingredient tips as you gather everything you’ll need to get started. Full ingredient amounts can be found in the recipe card below. (Links are affiliate links and I earn a small commission from qualifying purchases.)For the Sugar Cookies
- Flour:It’s best to use a scale to measure ingredients, but if you don’t have one, make sure you’re measuring your all-purpose flour using the spoon-and-scrape method. Spoon flour into your measuring cup, then use the back of a knife to level off the top of the cup. This method is better and more precise than just dipping your measuring cup in the flour bin to fill it.
- Baking powder
- Granulated Sugar
- Unsalted butter and salt: I like to use unsalted butter and precisely control the amount of added salt. If you only have salted butter, feel free to use it — just omit the extra salt. Make sure your butter is at room temperature so it mixes easily.
- Eggs: Use large, room temperature eggs (not medium or extra large). To make sure they’re at room temperature, either let them sit out for 20-30 minutes, or submerge them in a bowl of warm water for a few minutes to warm up quickly.
- Vanilla extract: Vanilla is the classic sugar cookie flavor, but you can experiment and add other extracts in addition to or instead of vanilla. Try almond or lemon extract, or use vanilla bean paste for a really intense vanilla vibe.
- Sour cream: The secret to my extra-soft, super tender cookies! Make sure to bring it to room temperature so everything blends together nicely.
- Powdered Sugar: The buttercream uses powdered sugar for sweetness and structure. It may seem strange, but I am very picky about my powdered sugar, and this is my powdered sugar of choice. Some sugar can make frosting gritty or starchy, but this one produces lovely results.
- Food coloring: I used Americolor Super Red and Soft Pink gel coloring for these cookies.
- Sprinkles: Using a mix of different sizes and shapes makes these cookies extra-fun.
Equipment
All the tools you need to make cookie-making and decorating a breeze!
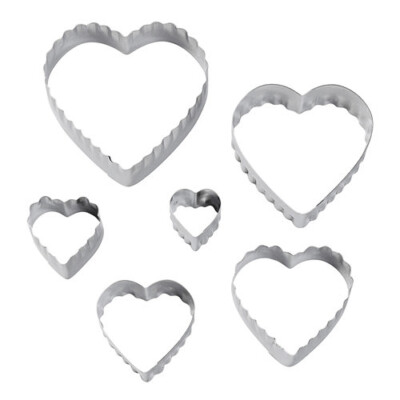
- Scalloped heart-shaped cookie cutters: I used scalloped heart-shaped cookie cutters, but you can use any style of cookie cutter you like. You could go with regular hearts or any other shape, letters, or numbers.
- Piping tips: Depending on the designs you’d like to make, you’ll need a few piping tips. I recommend small star tips – I used tip #21, tip #15, and tip #18.
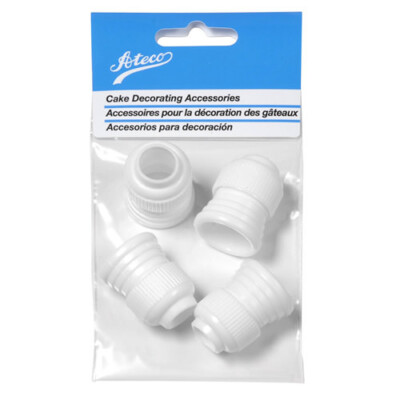
- Piping bags and couplers: I like these disposable piping bags (I wash them and re-use them to reduce waste!). Piping couplers aren’t a necessity, but are helpful if you want to swap tips between colors.
- Stand mixer: I highly recommend using a stand mixer to make the cookie dough and buttercream for the best results.
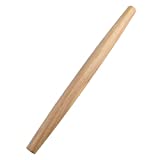
- Rolling pin: You’ll be rolling out the cookies so you’ll need a good rolling pin. To prevent your dough from sticking to your work surface, I recommend rolling the dough between sheets of parchment paper. It will also make clean up so much easier.
❤️ Desserts You’ll Fall For


Leave a Review!
If you make this recipe, let us know! Leave a ⭐️⭐️⭐️⭐️⭐️ rating on the recipe below, and leave a comment, take a photo and tag me on Instagram @elabau, or use #sugarhero on IG!

Buttercream Sugar Cookies
Equipment
- Scalloped heart cookie cutters (3" and 2")
Ingredients
For the cookies:
- 19 oz all-purpose flour, (4 ¼ cups)
- 1 tsp salt
- 1 tsp baking powder
- 12.25 oz granulated sugar, (1 ¾ cups)
- 8 oz unsalted butter, (1 cup), at room temperature
- 2 large eggs, at room temperature
- 1 tsp vanilla extract, can substitute lemon or almond extract
- 1 oz sour cream, (2 TBSP), at room temperature
For the frosting:
- 8 oz unsalted butter, (1 cup), at room temperature
- 1 TBSP vanilla extract, use clear extract to avoid yellow frosting
- 1 tsp salt
- 24 oz powdered sugar, (6 cups), sift after measuring
- ¼ cup milk, slightly warmed
To decorate:
- Gel food coloring, I used Americolor Soft Pink and Super Red
- Assorted sprinkles, like heart shapes, jimmies, nonpareils, etc
Instructions
To make the cookies:
- Combine the dry ingredients: In a bowl, whisk together the flour, salt, and baking powder, and set aside for now.
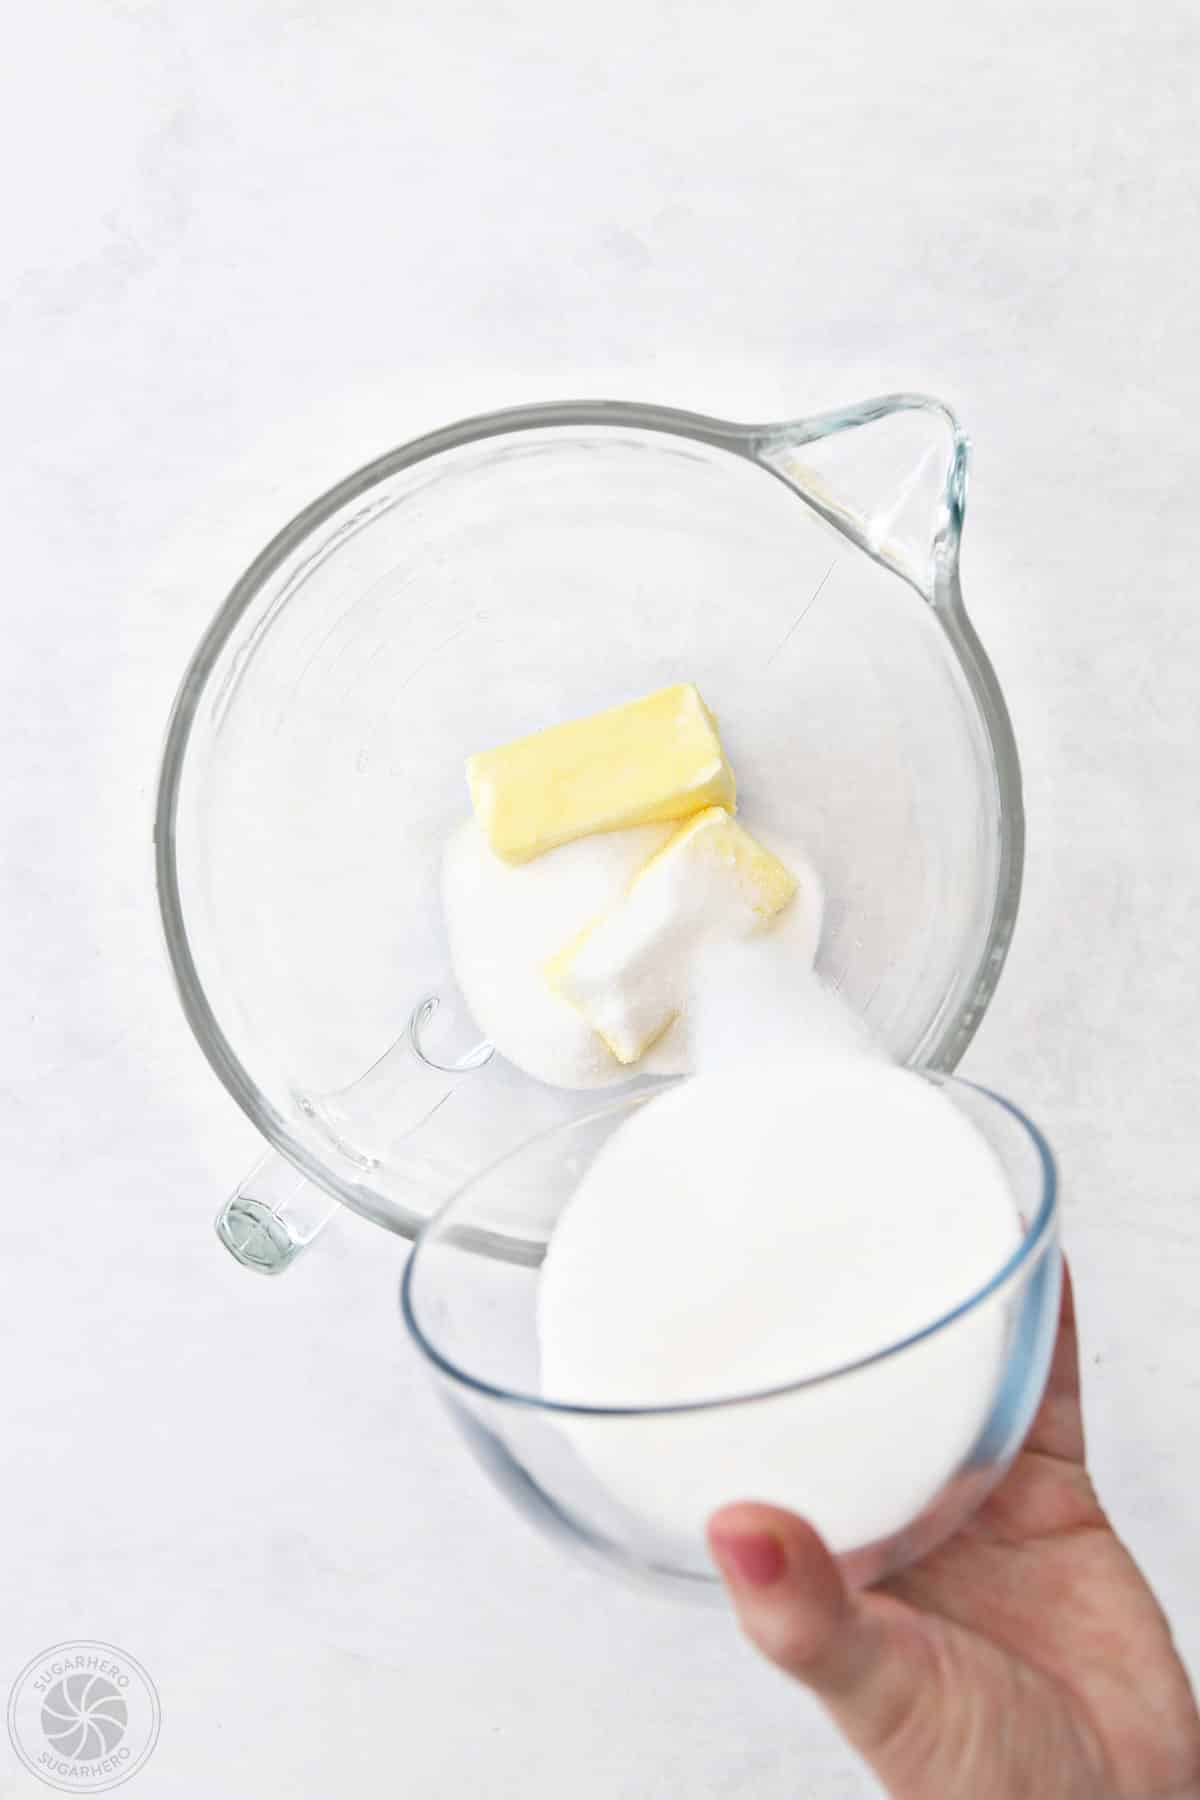
- Cream the butter and sugar: In the bowl of a large stand mixer fitted with a paddle attachment, combine the butter and sugar, and mix everything together on medium speed until fluffy and well-mixed, about 1-2 minutes.
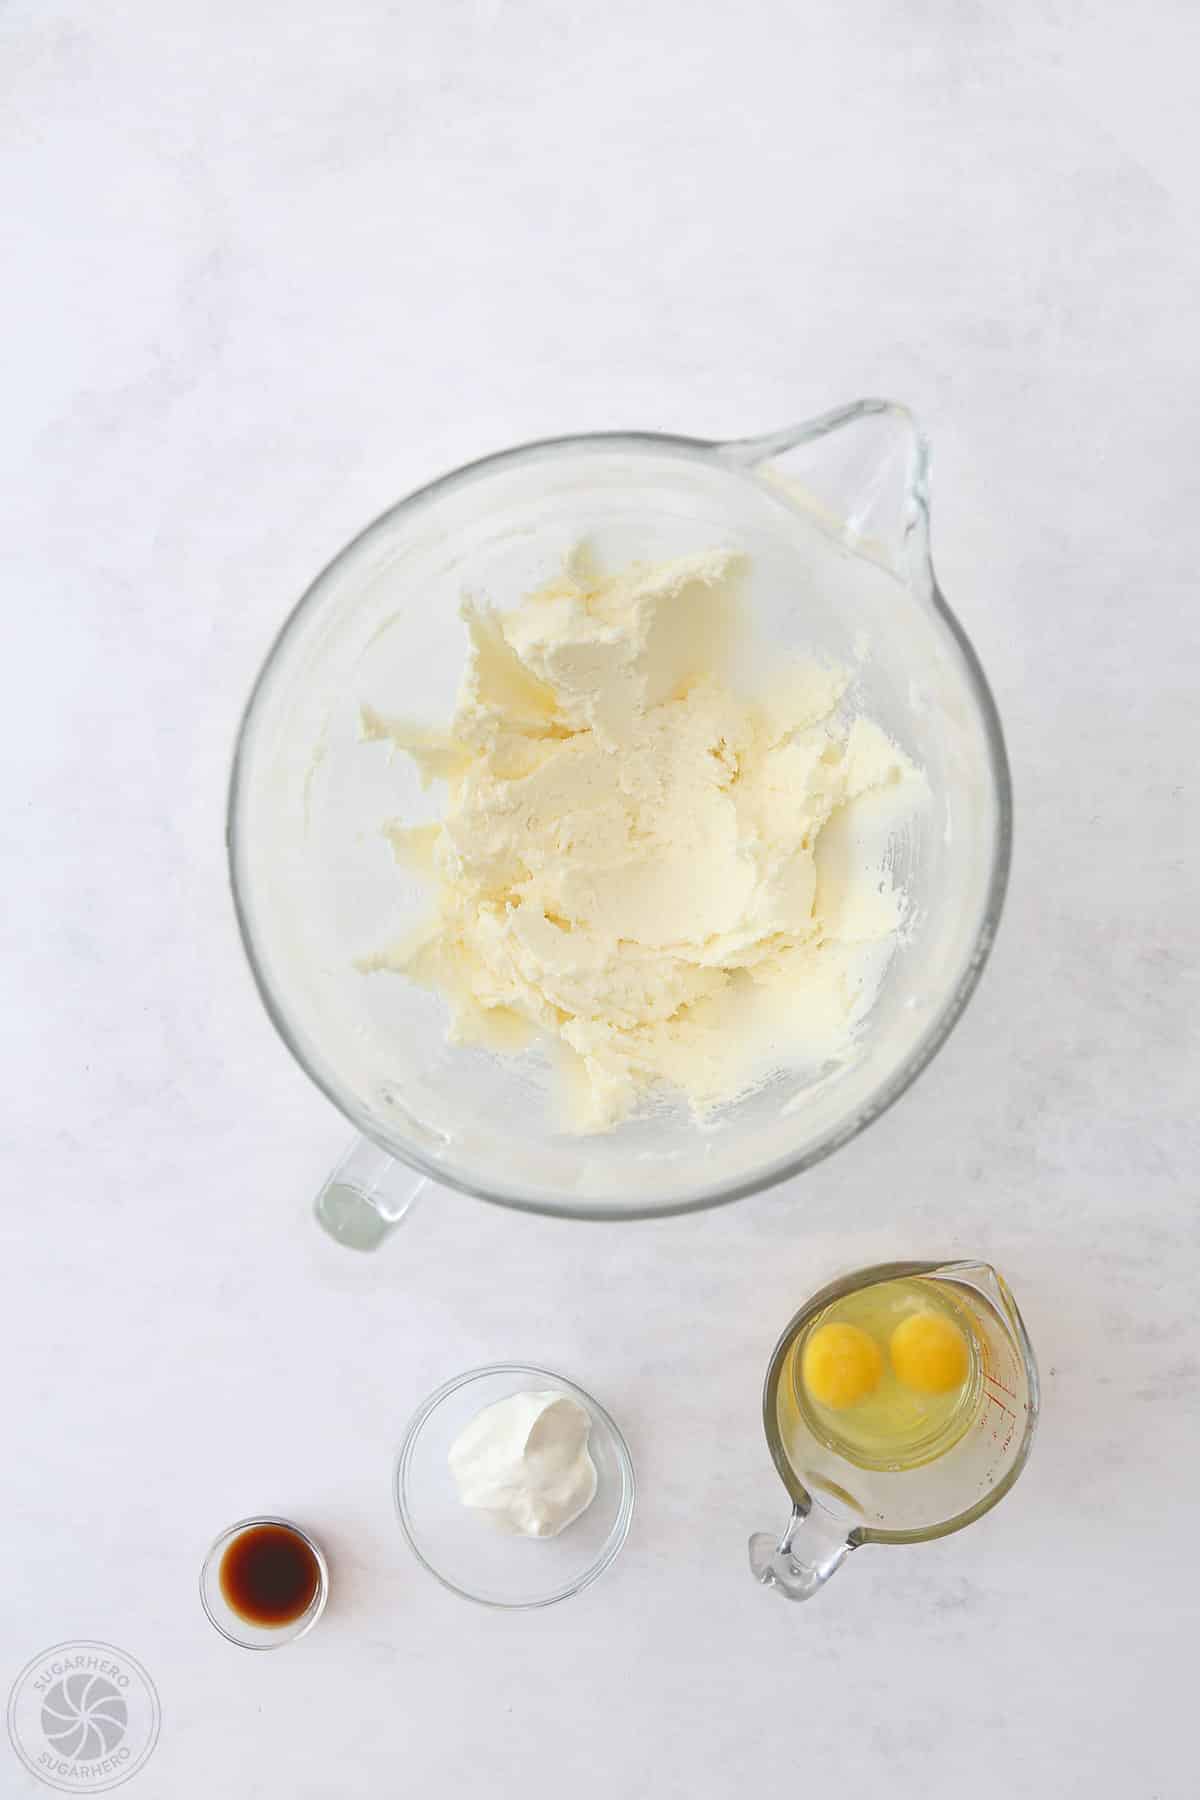
- Add the liquid ingredients: Add the eggs one at a time, beating well after each addition, then add the vanilla extract and sour cream.
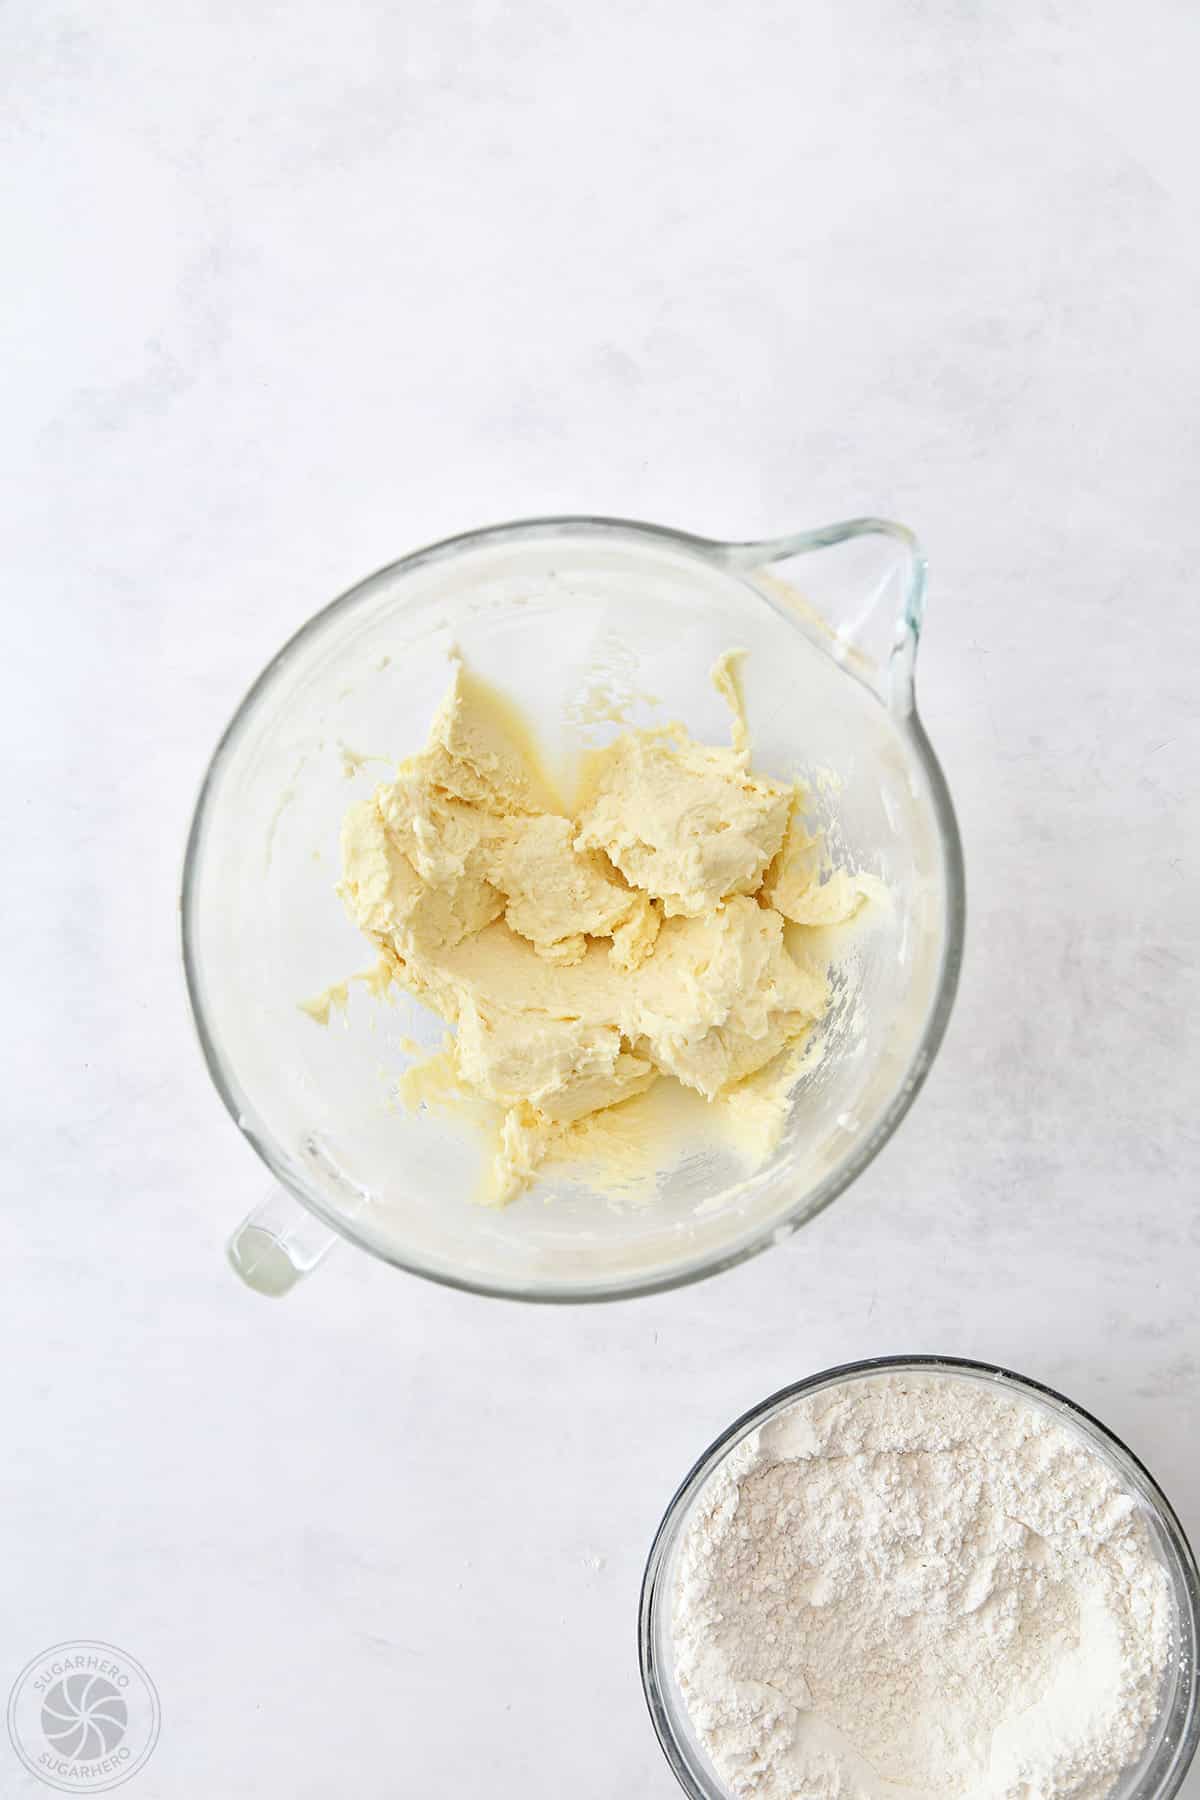
- Slowly add the drys: With the mixer running on low, add the dry ingredients gradually, and mix until they’re just about incorporated. Stop the mixer when only a few streaks of flour remain. Scrape the bottom and sides of the bowl with a spatula, and finish mixing all the dough by hand.
- Portion the dough: Divide the dough in half. If you want to use a kitchen scale, your dough portions should be about 22 oz each.
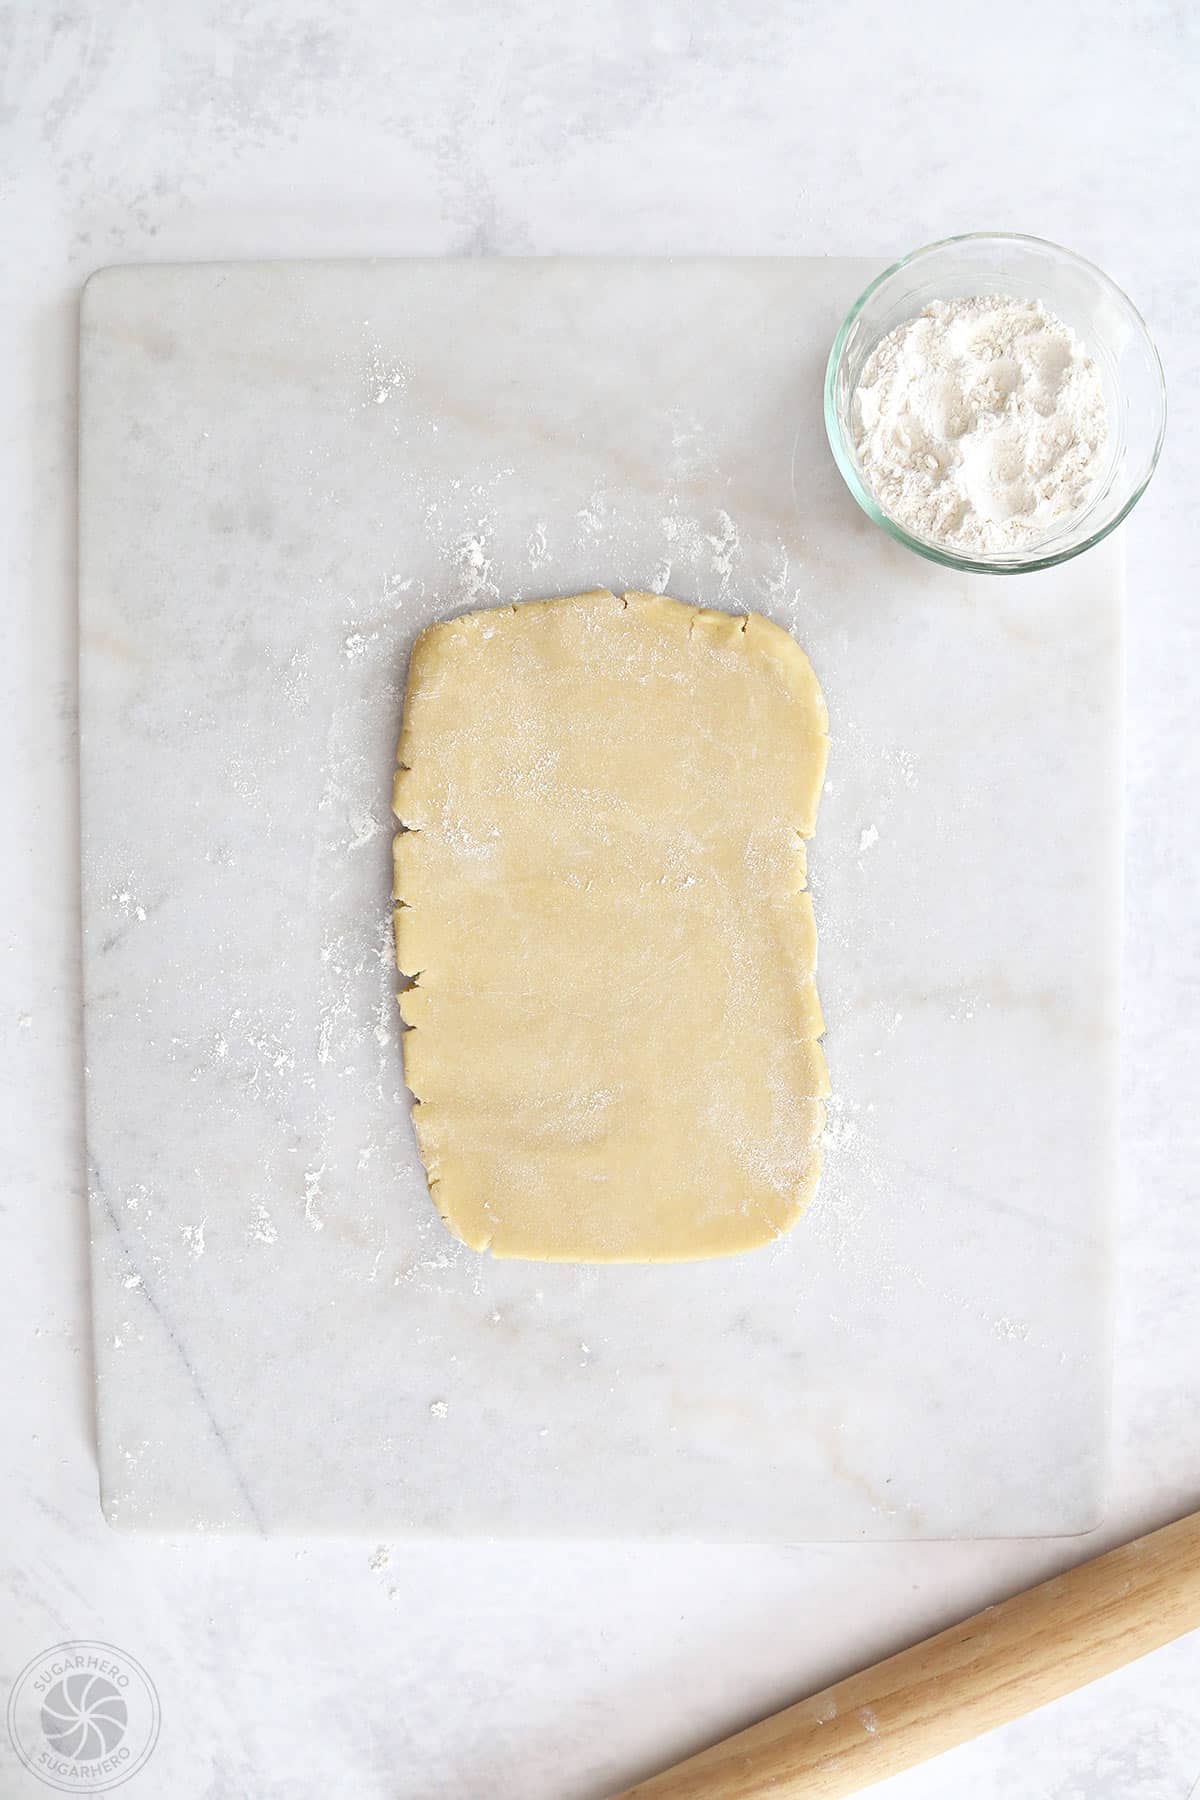
- Roll out the dough: This is my trick for making rolled-out cookies easier! Roll the dough BEFORE it’s chilled, so you don’t struggle with rolling out rock-hard dough. Place the dough between two sheets of parchment paper, and roll out the dough until it is about 1/4-inch thick. Place the rolled-out dough, still between the parchment sheets, on a baking sheet. Repeat with the second portion of dough, stacking it right on top of the first.
- Chill the dough: Chill the baking sheet with the rolled-out dough for 45 minutes, until the dough is firm. It can be left in the refrigerator for several days – if you are not going to be using it within a day, wrap the baking sheet in plastic wrap to keep the dough from drying out.
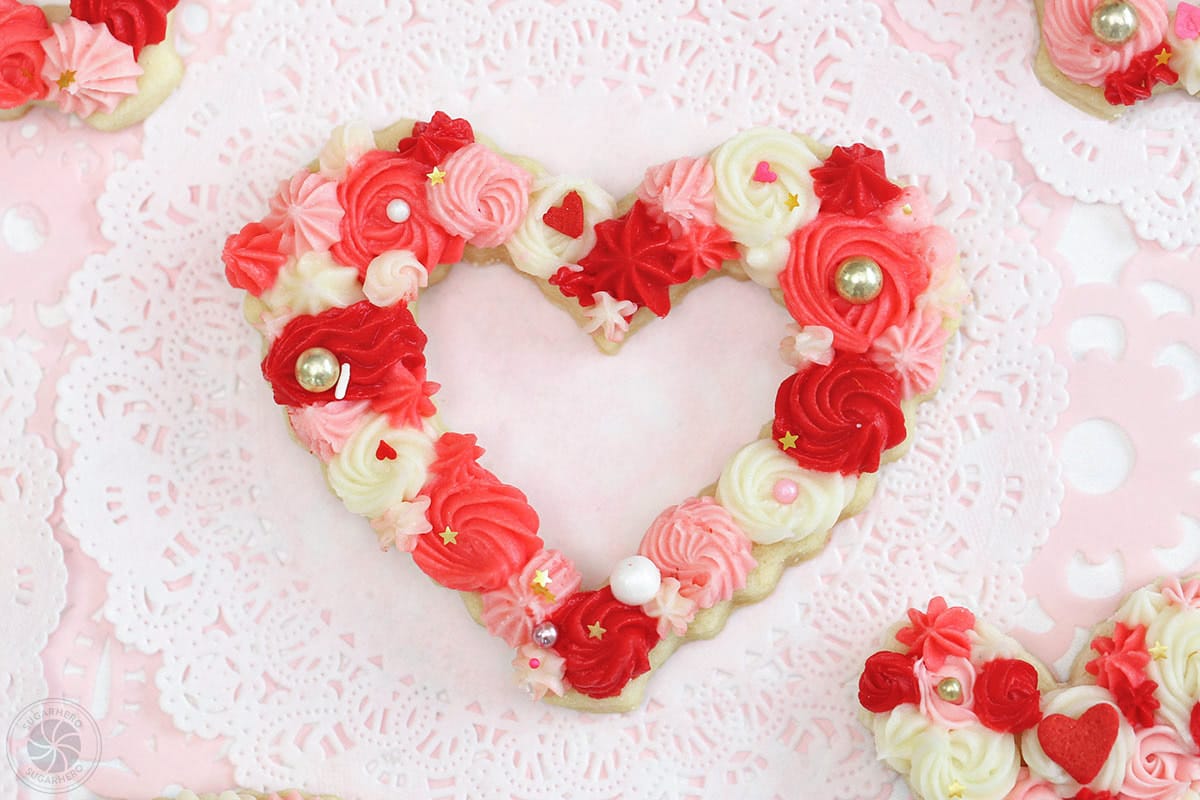
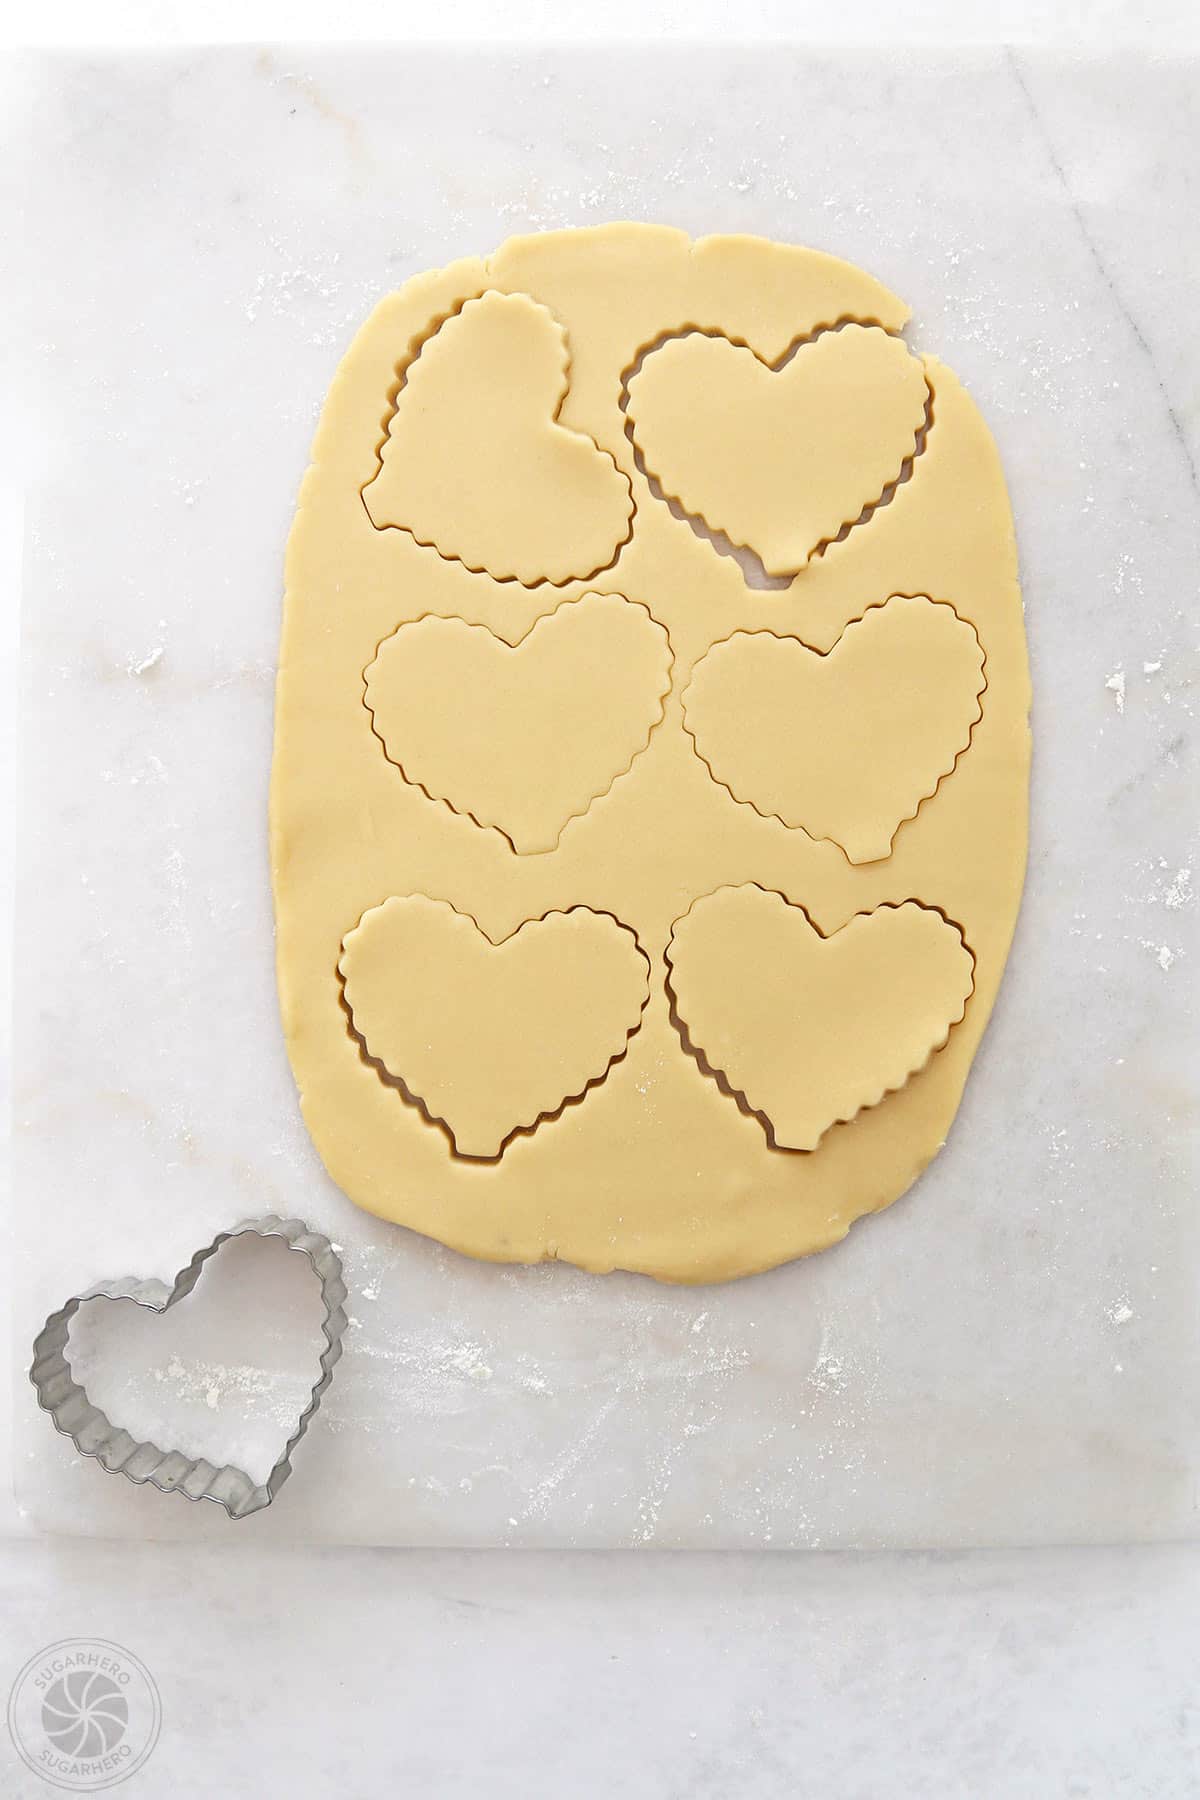
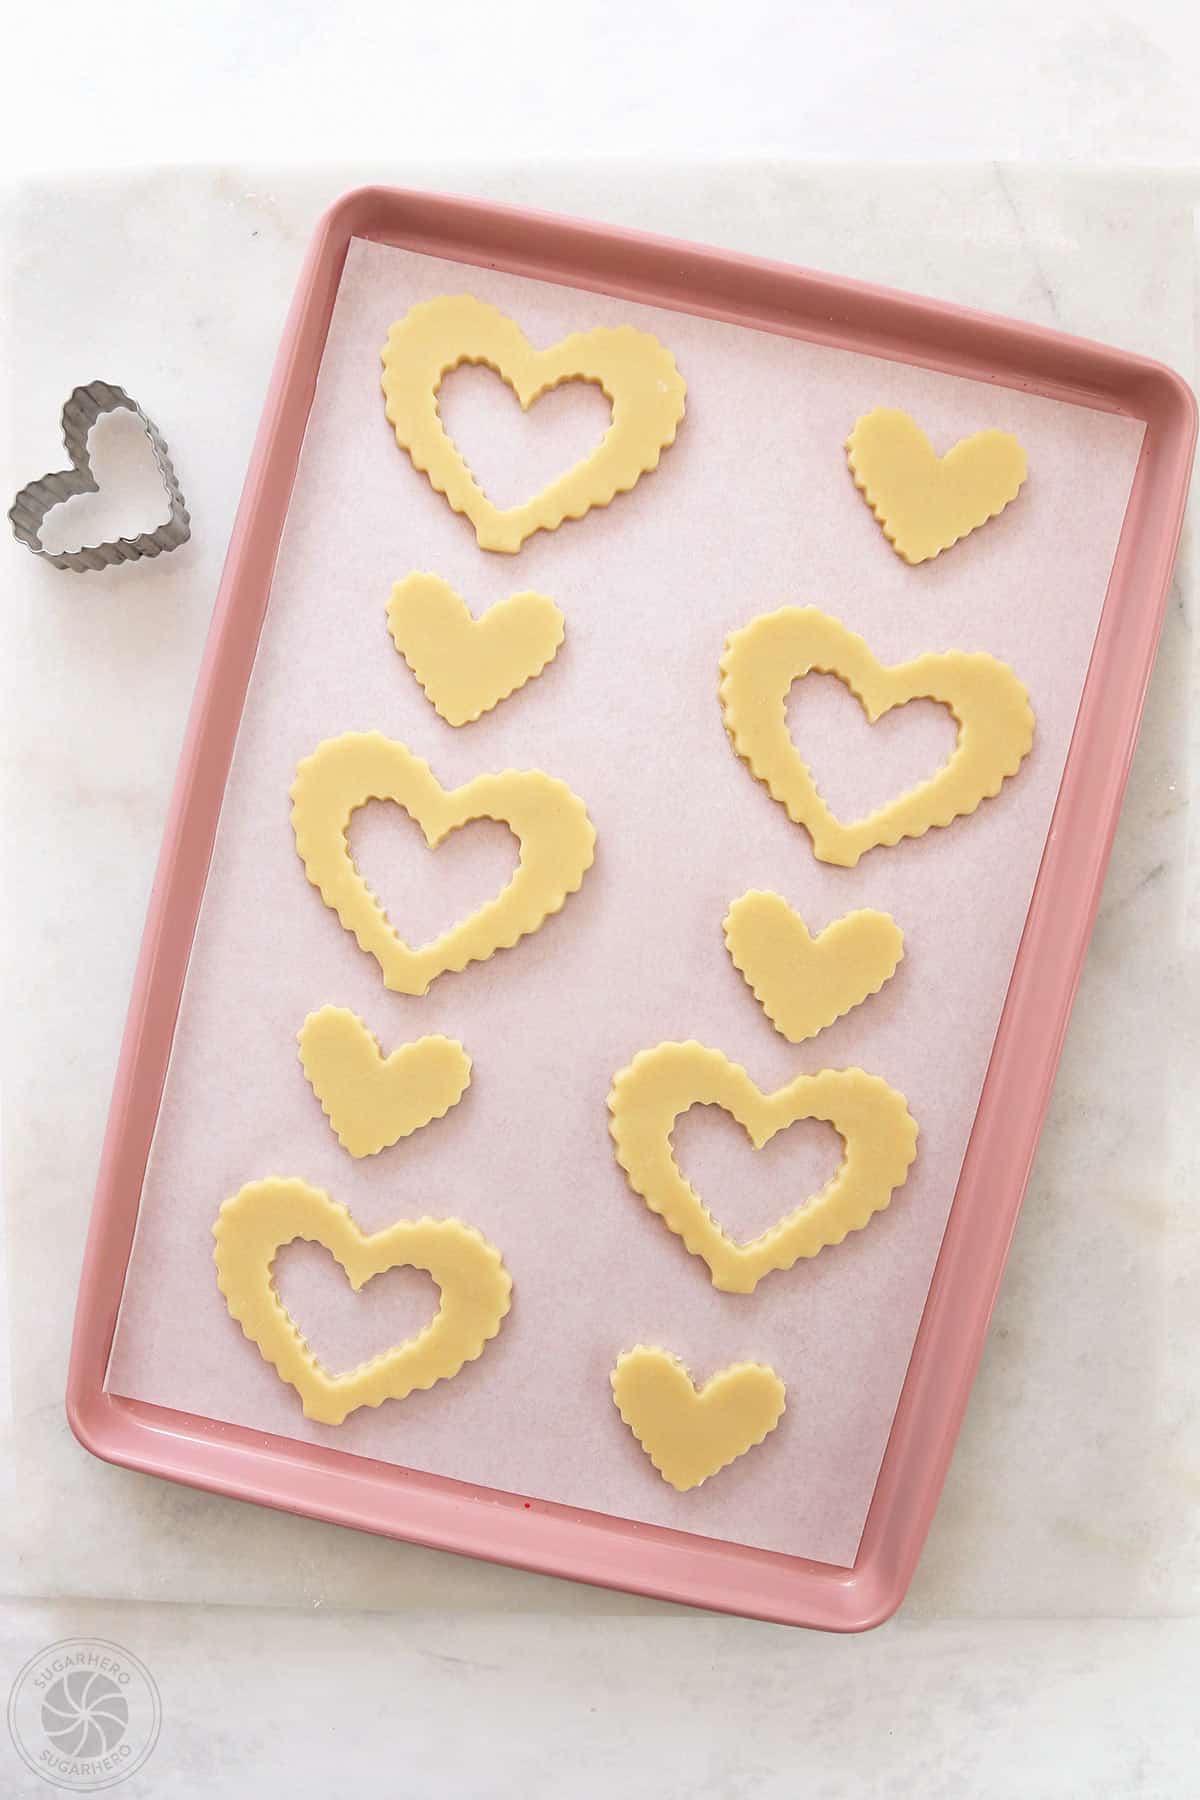
- Cut out the cookies: Preheat the oven to 350 degrees F. Use a 3-inch scalloped cookie cutter to cut hearts out of the chilled dough. Transfer the hearts to a parchment-covered baking sheet, then use a smaller scalloped cutter to cut hearts out of the center. Place the small hearts on a different baking sheet. It helps to keep the different shapes on separate sheets, since they might bake at different rates.
- Re-roll as needed: Combine the scraps and re-roll the dough to cut more cookies. You should get about 16-18 large heart cookies and a similar number of smaller ones. If at any time the dough becomes too soft and sticky to easily work with, refrigerate it briefly until it firms up again.
- Freeze the cookies: Put the sheets of cut-out cookies in the freezer for 10 minutes before baking to help the cookies hold their shape. This is optional, but helpful if your cookies are a more intricate shape.
- Bake the cookies: Bake the trays of cookies for 8-10 minutes, until the edges are just starting to take on color and they have lost the raw shine in the middle. Let them cool on the baking sheet for 5 minutes, then remove them to wire racks to cool completely before decorating them.
To make the frosting:
- Beat the butter: Beat the butter with an electric mixer fitted with a paddle attachment on medium speed for about 2 minutes, until creamy and light in color. Don’t skip this step, it gives your frosting a smooth and creamy texture, and prevents it from being overly yellow.
- Add vanilla and salt: Turn the mixer to medium-low, add the vanilla and salt, and mix until incorporated.
- Add partial sugar and milk: With the mixer running on low, gradually add half of the powdered sugar. Once it’s mostly incorporated, add the milk and mix it in.
- Add remaining sugar: Add the second half of the sugar, and once it’s mostly mixed, stop the mixer and scrape down the bottom and sides of the bowl. Mix once more on medium speed until light and creamy.
- Adjust the texture: If the frosting is too stiff for your liking, you can add a little more milk a bit at a time, until you get a texture you like. If it is too soft, add a few spoonfuls of powdered sugar to adjust the texture. A stiffer texture is for these better, so the piped decorations hold their shape well.
- Color the frosting: Decide how many colors you want to have, and divide the frosting into that many separate bowls. Keep a piece of cling wrap pressed on top of any frosting you’re not working with, so it won’t crust over. Add gel food coloring to each bowl and mix well. See the Notes section below for tips on how to get vibrant colors.
- Storage: If you are not not using this frosting right away, store in an airtight container and press a layer of plastic wrap directly on top of the frosting to avoid the frosting crusting. Store at room temperature for 1-2 days, in the refrigerator for up to a week, or in the freezer for up to 3 months.To use after storage, allow the frosting to come to room temperature, then mix it again before using to restore its creamy texture.
To decorate:
- Fill piping bags: Fit piping bags with small star tips (I used #15, 18, and 21, but any small star tip will work). Fill each bag with buttercream and snip off the tip so they’re ready to go.
- Pipe stars: Start with one color, and pipe 4 or 5 small stars or rosettes around a cookie, leaving space in between for other colors. Repeat with 2 more cookies. (This frosting crusts quickly, so if you’re adding sprinkles on top, you’ll only want to decorate about 3 cookies at a time, or else the sprinkles won’t stick.
- Add other colors: Use a different color and pipe a different size/shape around the cookie, spacing them out like you did before. Repeat with the rest of the frosting colors, until the cookie is covered with small stars and flowers. These cookies look best when you use a variety of tips, shapes, and sizes.
- Add sprinkles: As soon as the frosting is done, add your sprinkles on top. For large sprinkles, press them in gently to adhere them to the buttercream.
- Repeat: Repeat the process until all of your cookies are decorated.
Recipe Notes
- Make the frosting a day ahead of time – the color will darken and deepen over time.
- Use an immersion blender to mix the coloring into the frosting – this does a much better job than mixing by hand.
- If the immersion blender trick doesn’t do it, try a small amount of heat. Place a few tablespoons of red frosting in a small bowl, and microwave it until just barely melted. It should be slightly warm but definitely not hot. Mix this melted frosting into the rest of the red color, and you’ll see the color darken right before your eyes.
Measuring Tips
Our recipes are developed using weight measurements, and we highly recommend using a kitchen scale for baking whenever possible. However, if you prefer to use cups, volume measurements are provided as well. PLEASE NOTE: the adage “8 oz = 1 cup” is NOT true when speaking about weight, so don’t be concerned if the measurements don’t fit this formula.
Want to learn more about baking measurements and conversion?
Nutrition
📸 Tutorial: How to Make & Decorate Buttercream Sugar Cookies
Don’t let a new recipe intimidate you! Follow along with this photo tutorial to stay on track and avoid common mistakes. Full instructions are included in the recipe card above.
To Make the Sugar Cookies
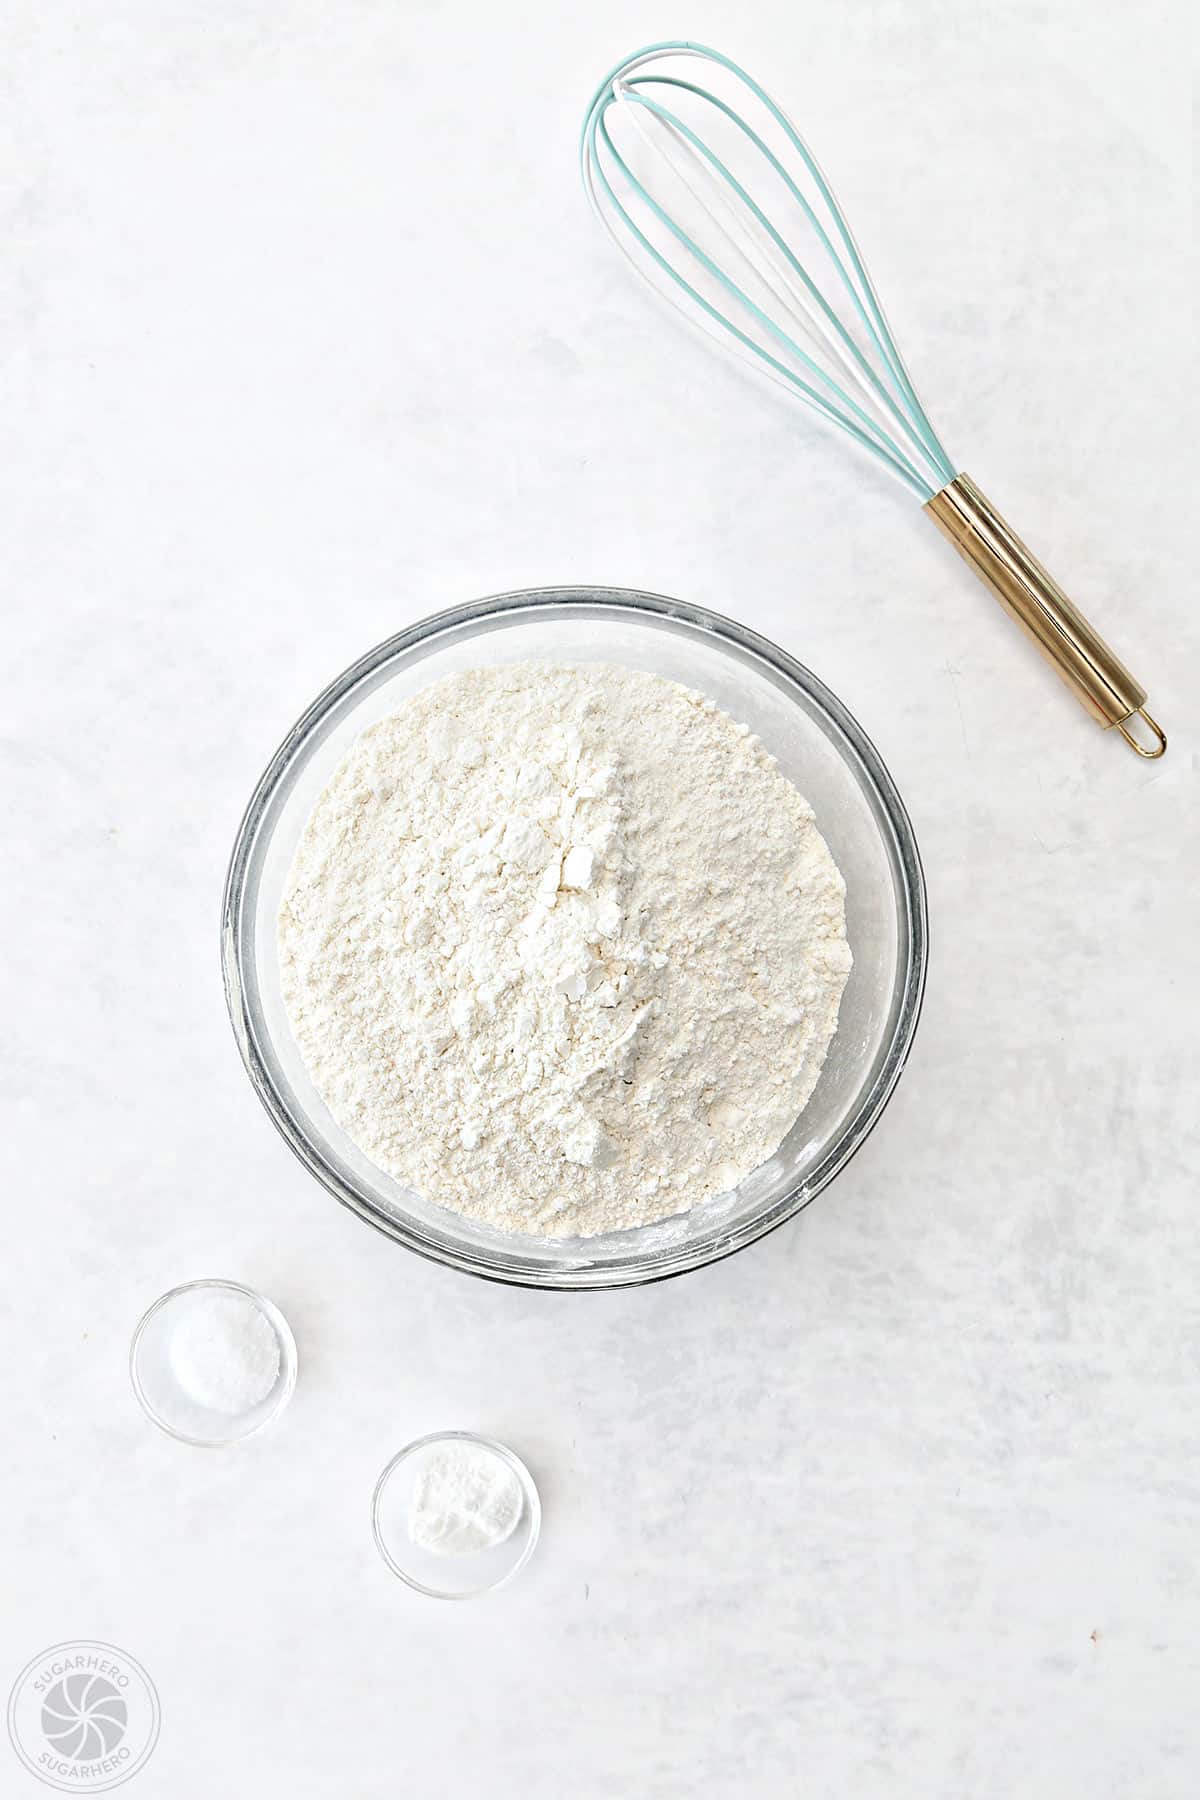
- Combine dry ingredients: In a bowl, whisk together the 19 oz (4 1/4 cups) flour, 1 tsp salt, and 1 tsp baking powder, and set aside for now.
- Cream the butter and sugar: Combine 8 oz (1 cup) softened butter and 12.25 oz (1 3/4 cups) sugar in the bowl of a stand mixer. Mix together on medium speed until fluffy, 1-2 minutes.
- Add eggs: Add 2 large eggs (one at a time), beating well after each.
- Add vanilla and sour cream: Then add 1 tsp vanilla extract and 1oz (2 TBSP) sour cream.
- Mix in dry ingredients: Turn the mixer to low, and slowly start adding the dry ingredients. Mix until just combined and only a few streaks or flour remain.
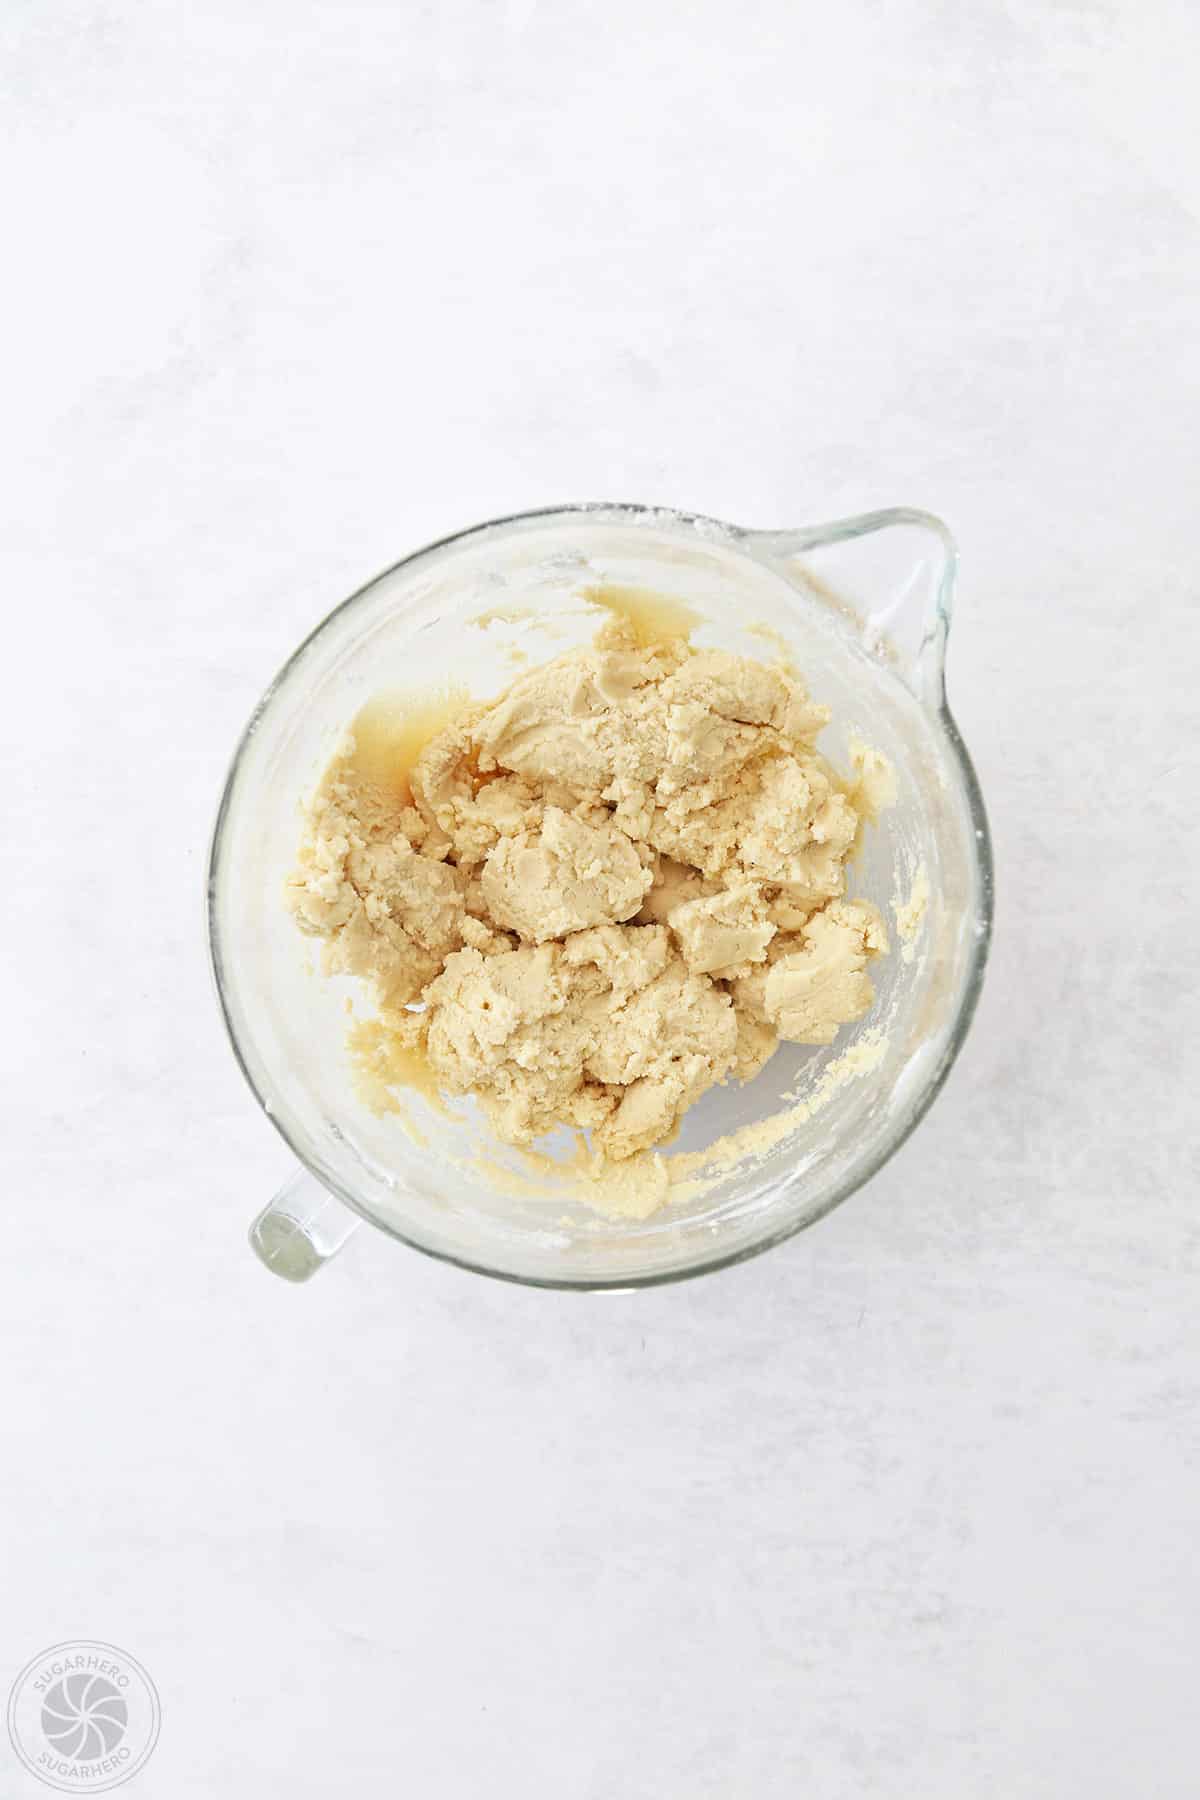

- Finish mixing by hand: Stop the mixer, scrape the bowl with a spatula, and finish mixing the dough by hand.
- Divide dough and refrigerate: Portion the dough into 2 thin discs and wrap them well with plastic. Refrigerate until firm but not hard, about 30 minutes.
- Prepare to bake: Preheat oven to 350 degrees F and line baking sheets with parchment.
- Roll out dough: Place a disc of dough between two sheets of parchment, and roll it out to 1/4-inch thick.
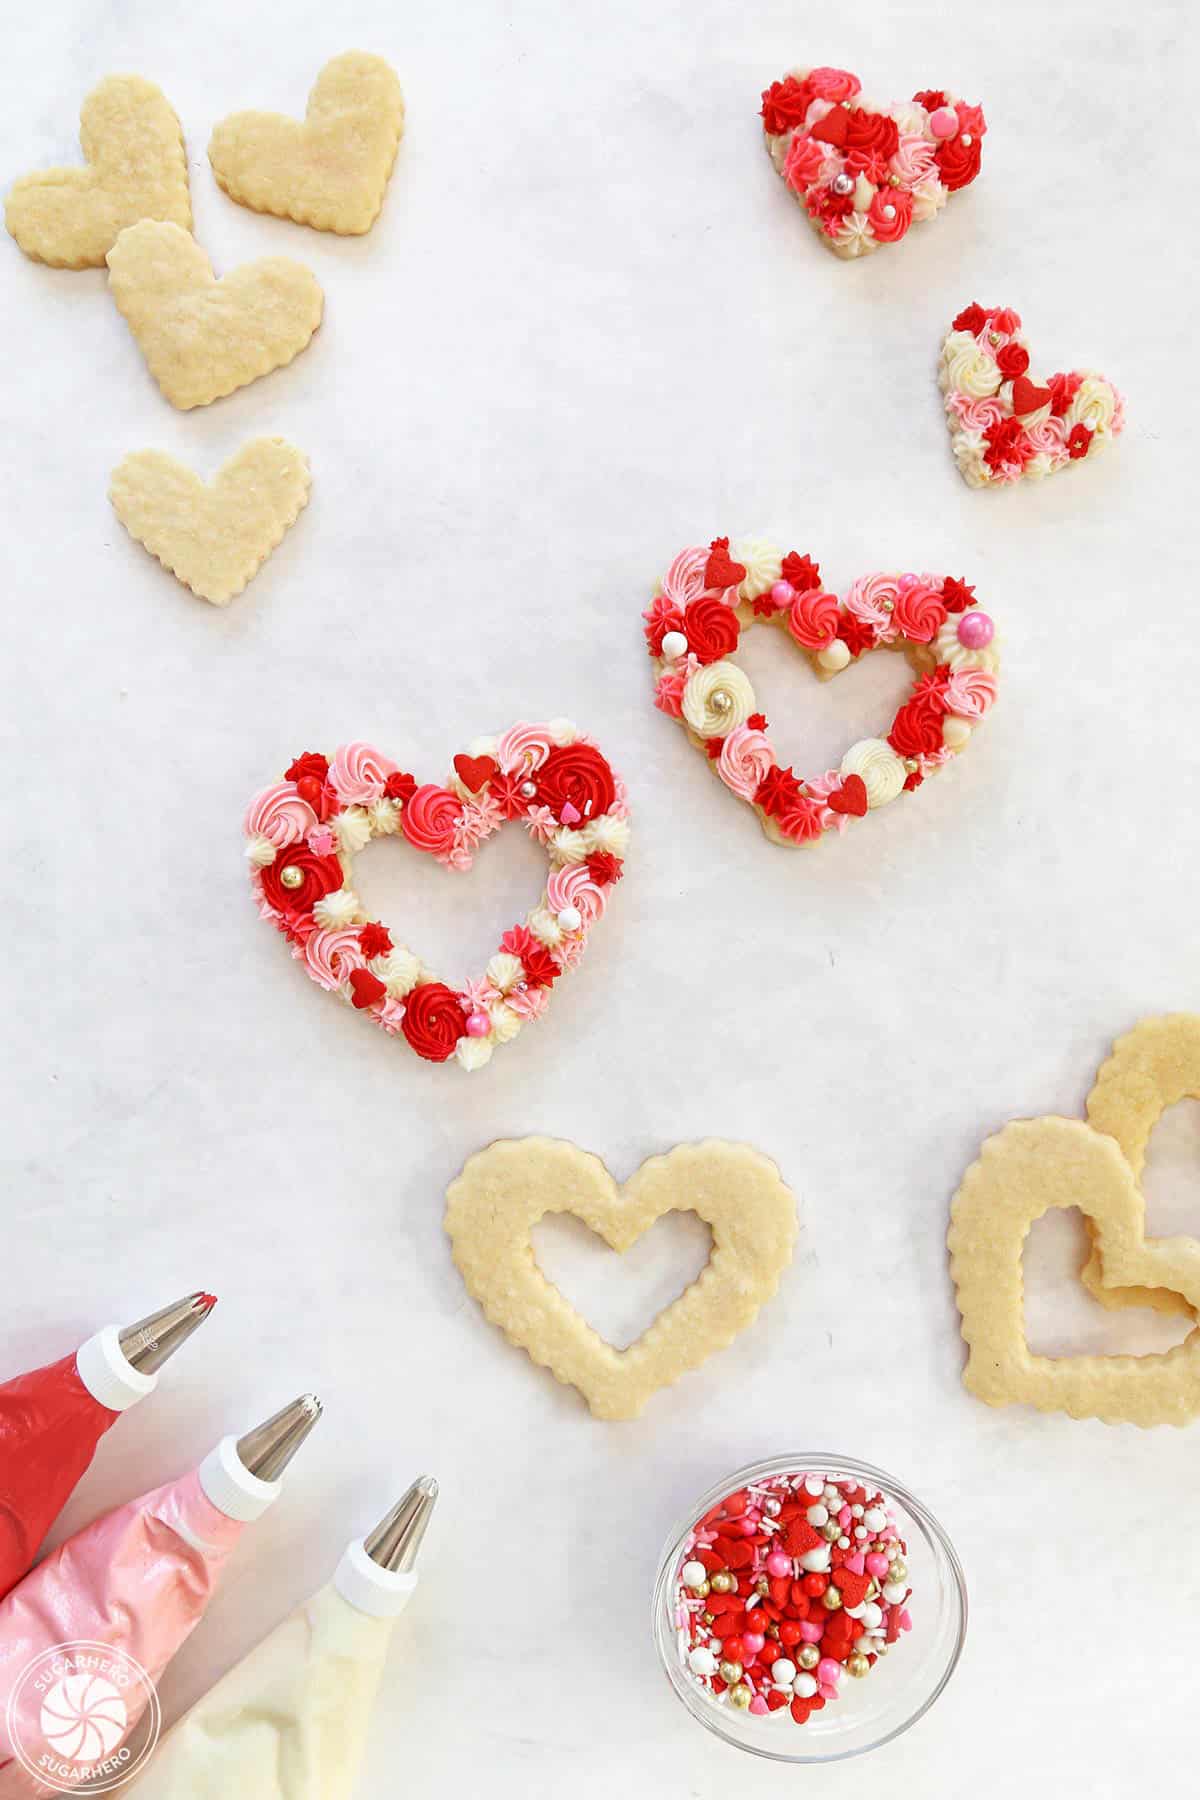
- Cut large cookies: Use a 3-inch heart cookie cutter to cut out your cookies and place them on a parchment-lined baking sheet. Combine the scraps and re-roll the dough until you have 16-18 large heart cookies.
- Cut out centers: Use a smaller 2-inch scalloped cutter to cut hearts out of the center of each large cookie. (Tip: Put the smaller hearts on their own baking sheet. Different sizes of cookies bake at different rates.)
- Freeze for 10 minutes: Put the cookie sheets in the freezer for 10 minutes before baking to help the cookies hold their shape.
- Bake: Bake the cookies for 8-10 minutes, until the edges are just starting to brown and the raw shine is gone from the middle.
- Cool: Let cookies cool on the baking sheet for 5 minutes, then cool completely on wire racks before decorating them.
To Make the Cookie Frosting
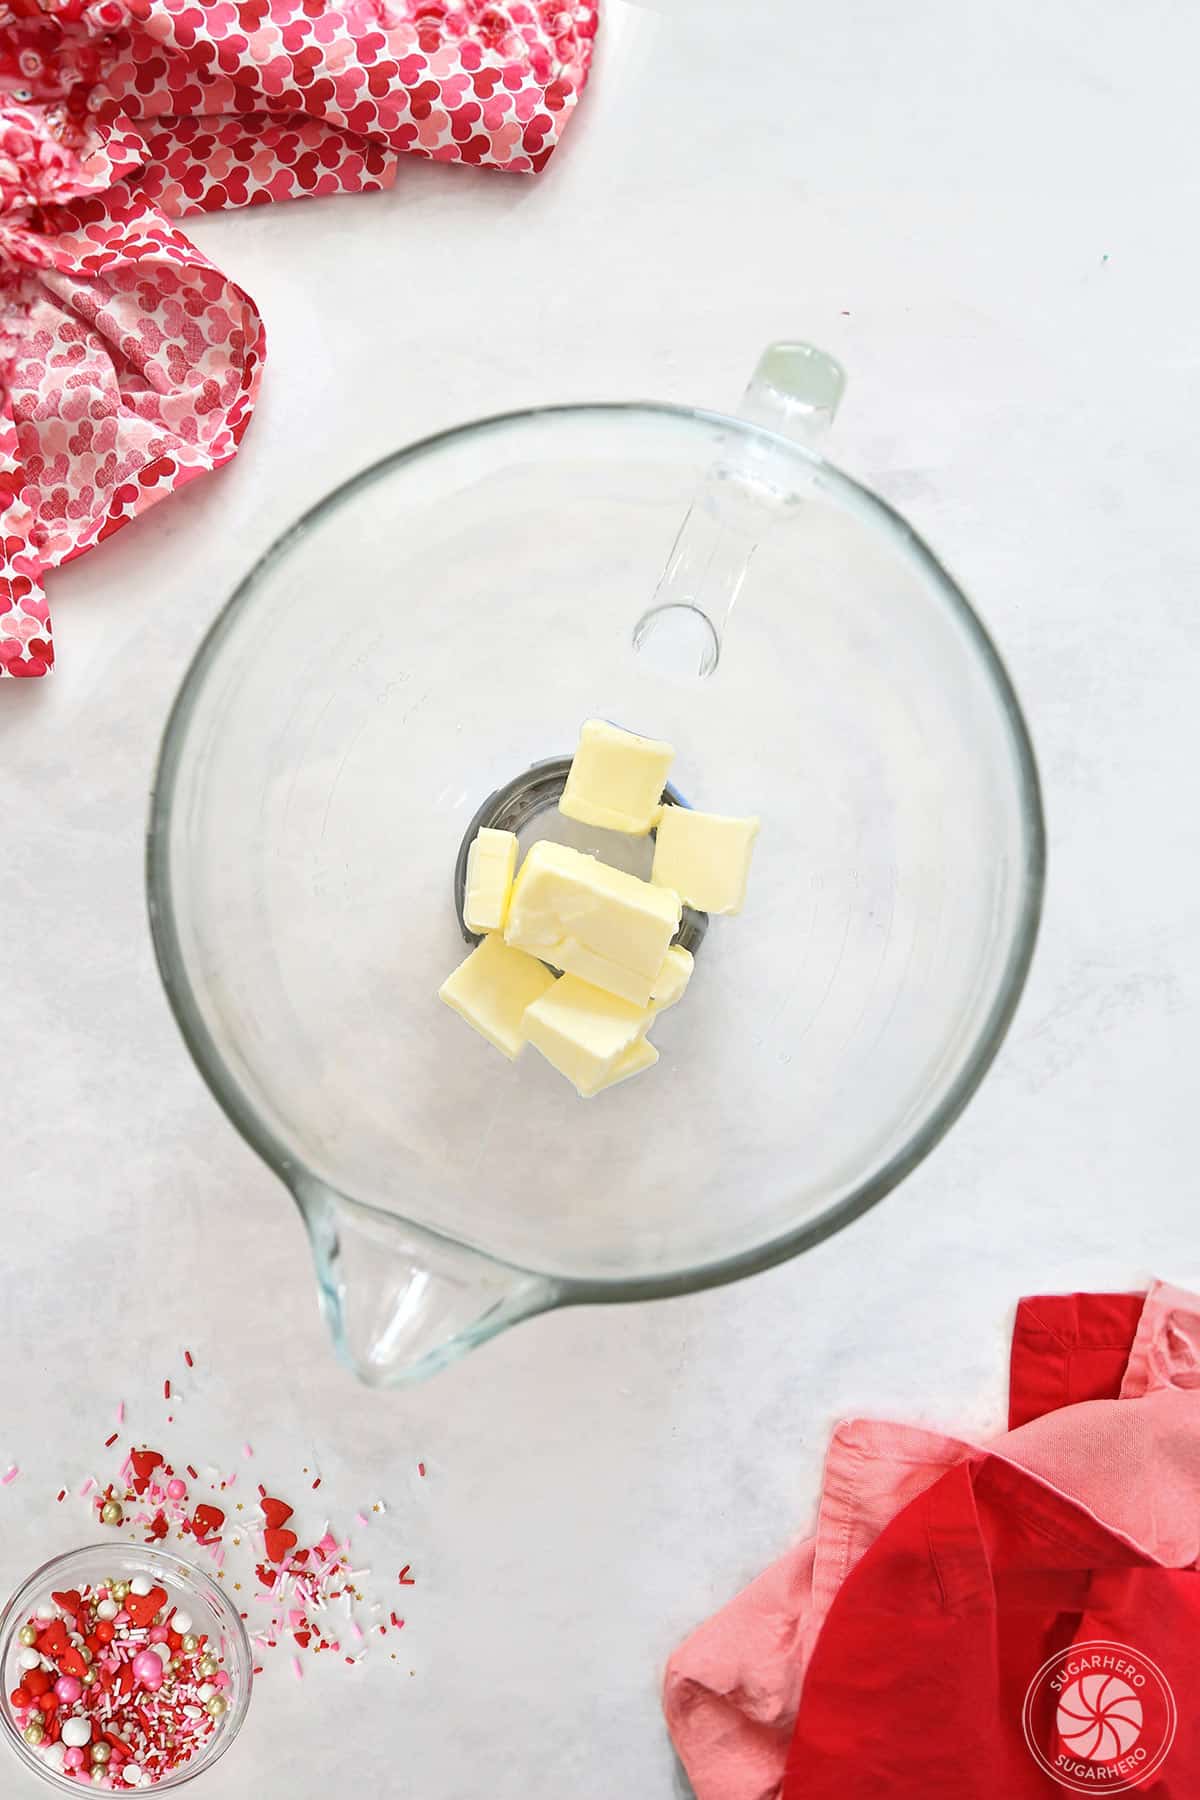
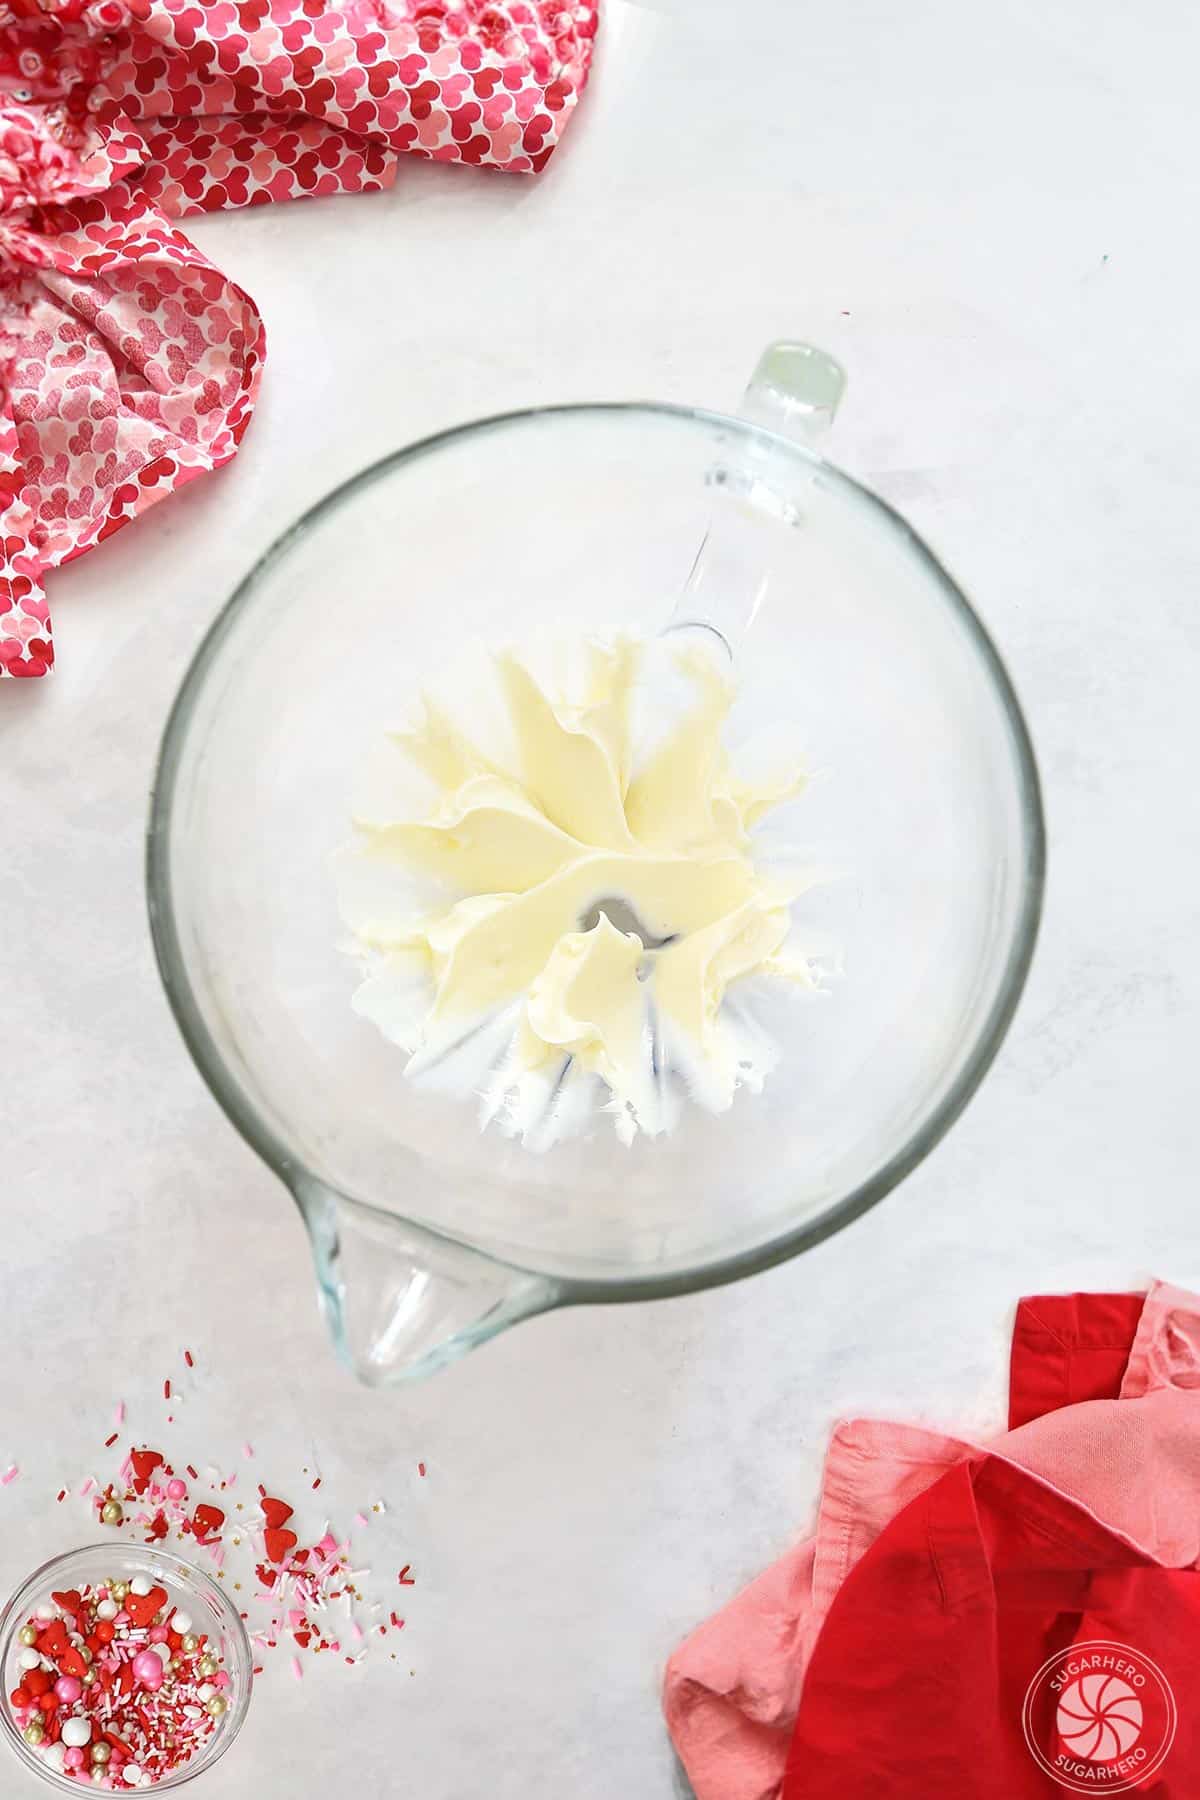
- Beat the butter: Beat the butter on medium speed for about 2 minutes, until light and creamy.
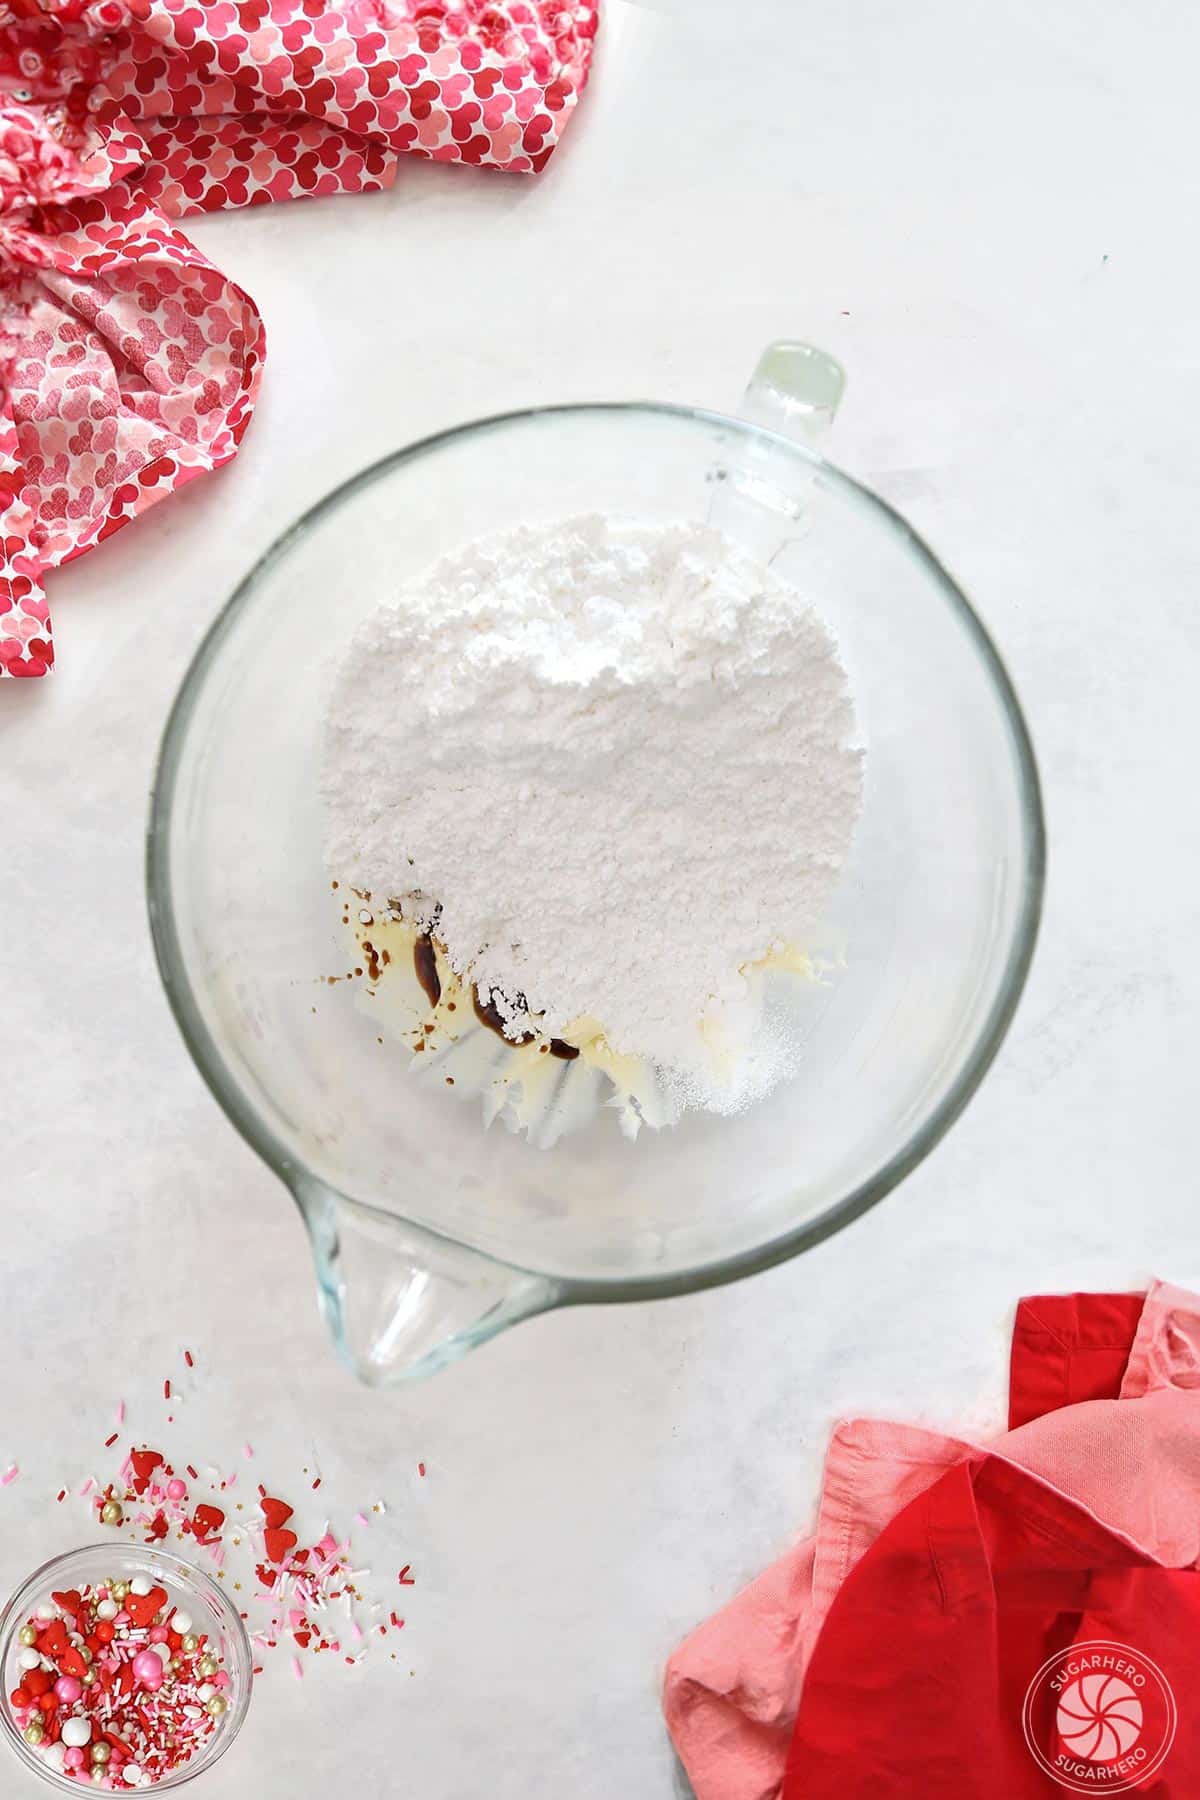
- Add vanilla and salt: Turn the mixer to medium-low and mix in the vanilla and salt until combined.
- Add sugar and milk: Put mixer on low and slowly add half of the powdered sugar, mixing until mostly incorporated. Mix in the milk and then finish with the second half of the sugar, scraping down the sides as needed until fluffy.
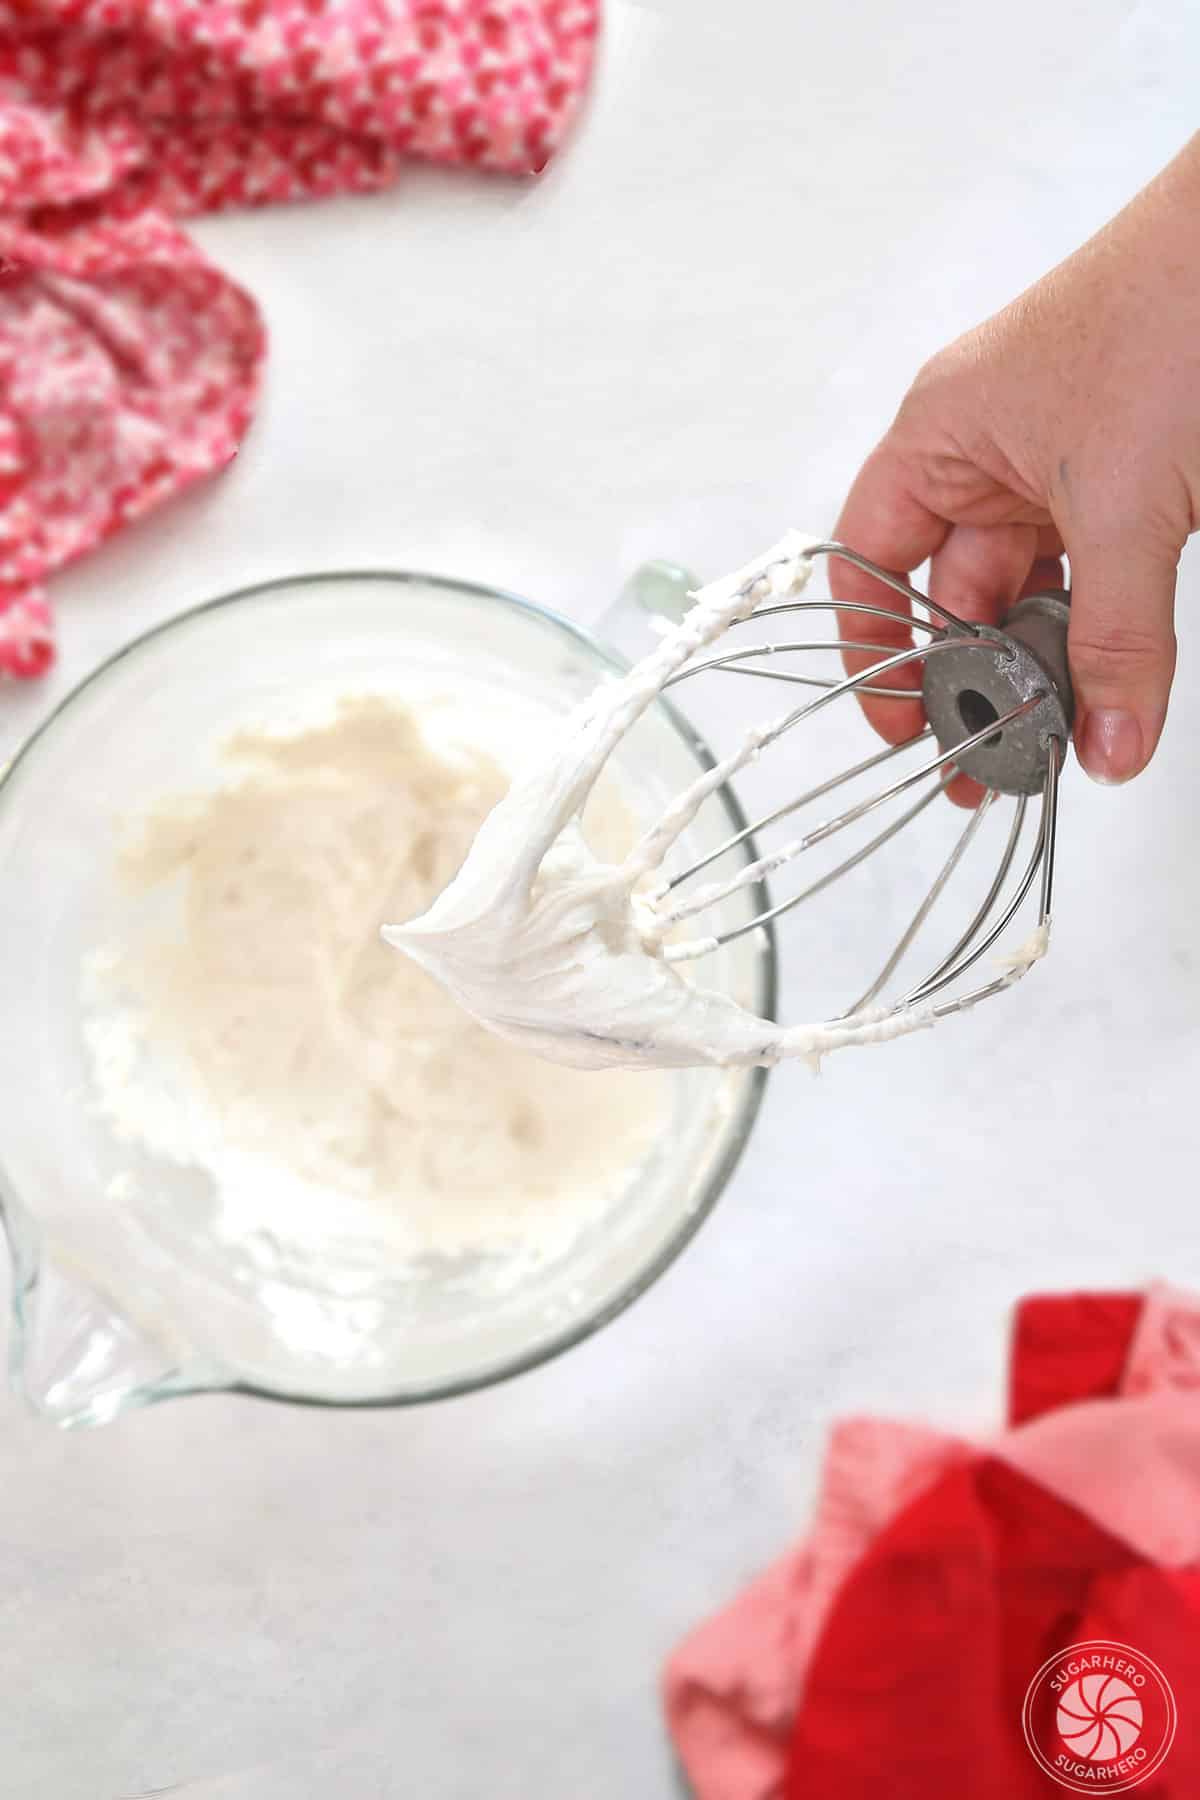
- Add remaining sugar: Add the second half of the sugar, and once it’s mostly mixed, stop the mixer and scrape down the bottom and sides of the bowl. Mix once more on medium speed until light and creamy.
- Adjust the texture: A stiffer frosting is needed for the piped decorations to hold their shape. If the frosting is too soft, mix in a little powdered sugar; if it is too firm, mix in a little more milk.
To Decorate the Sugar Cookies
- Divide frosting: Decide how many colors of frosting you want to have, and put the frosting into that many individual bowls. Press cling wrap on top to prevent crusting.
- Color frosting: Add gel food coloring to one bowl at a time and mix well. See Tips below for how to get vibrant colors.
- Fill piping bags: Fit piping bags with small star tips (I used #15, 18, and 21) and fill each bag with buttercream.
- Pipe stars: Since the frosting crusts quickly, decorate in batches of 3 cookies at a time. Start with one color, and pipe 4 or 5 small stars or rosettes, leaving space other colors.
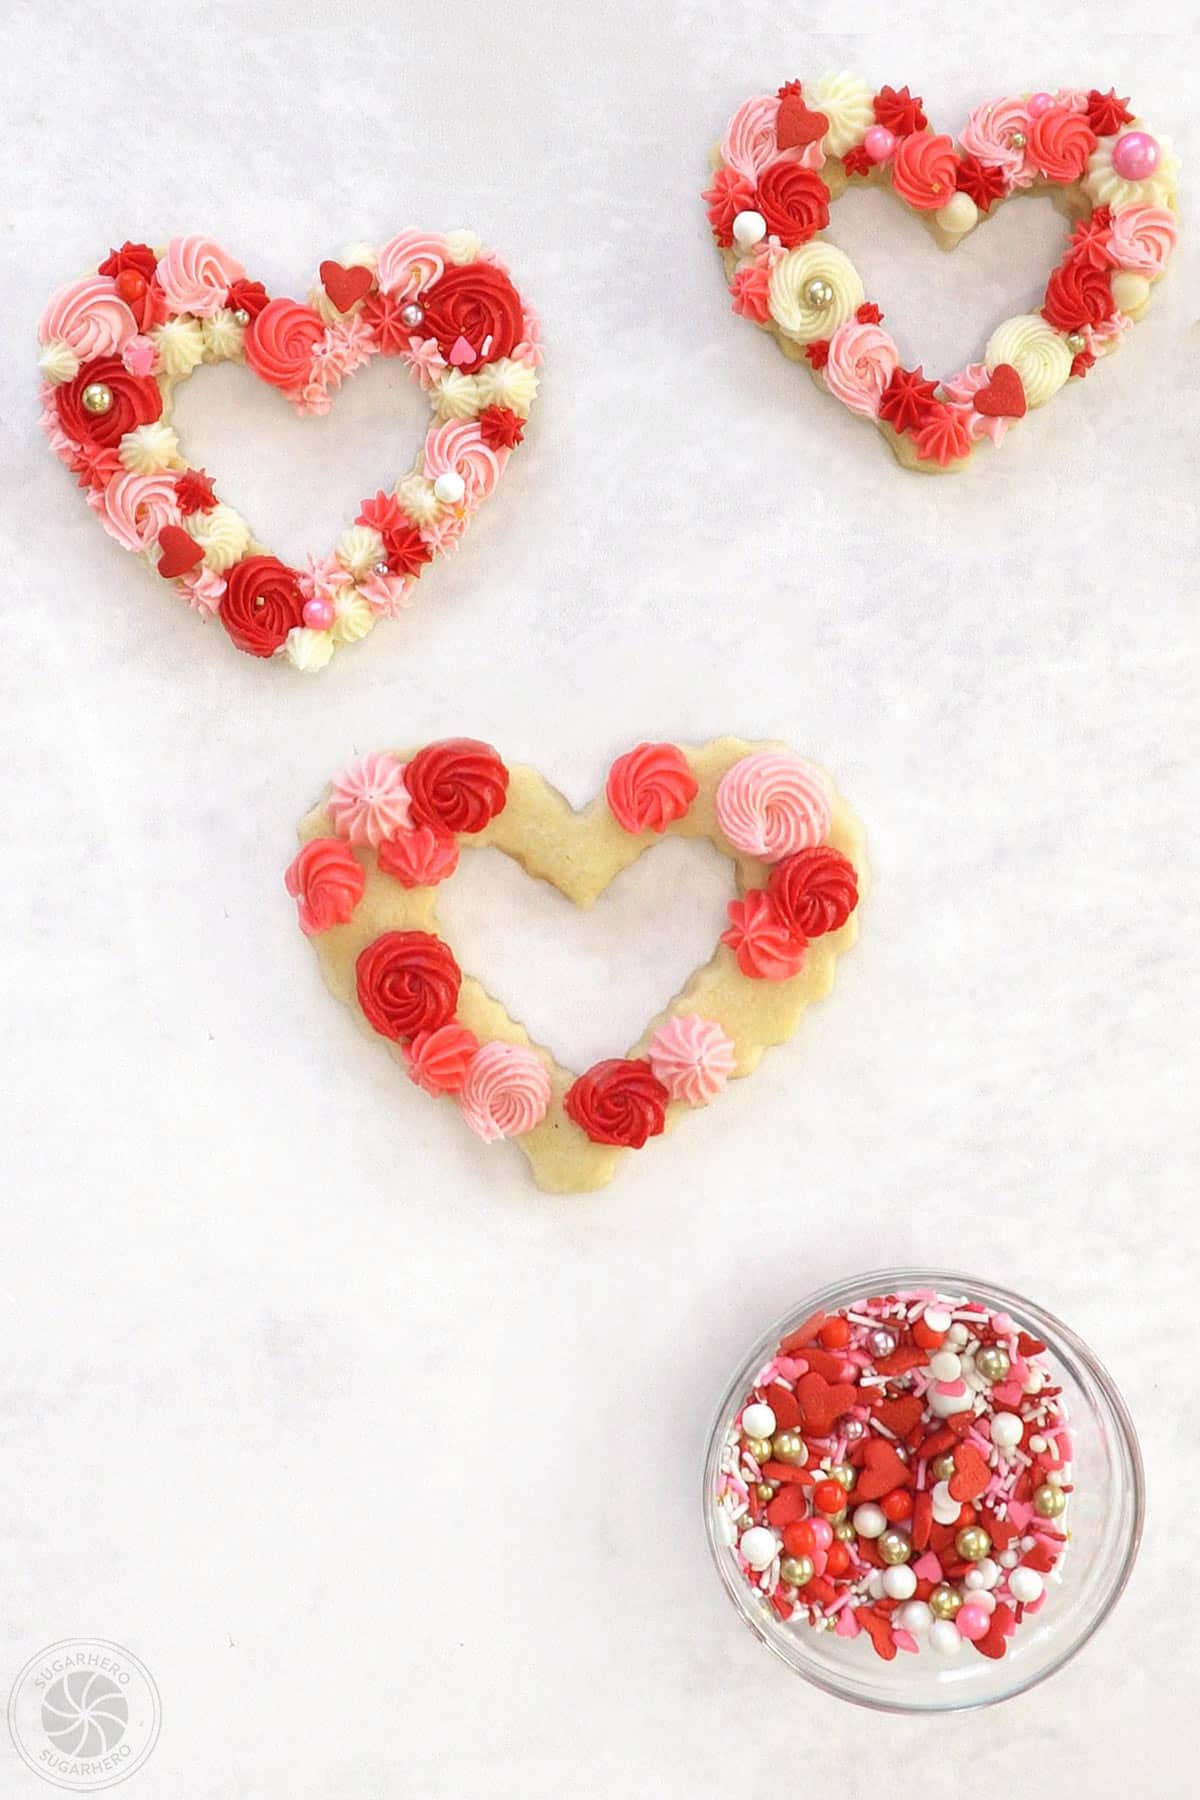
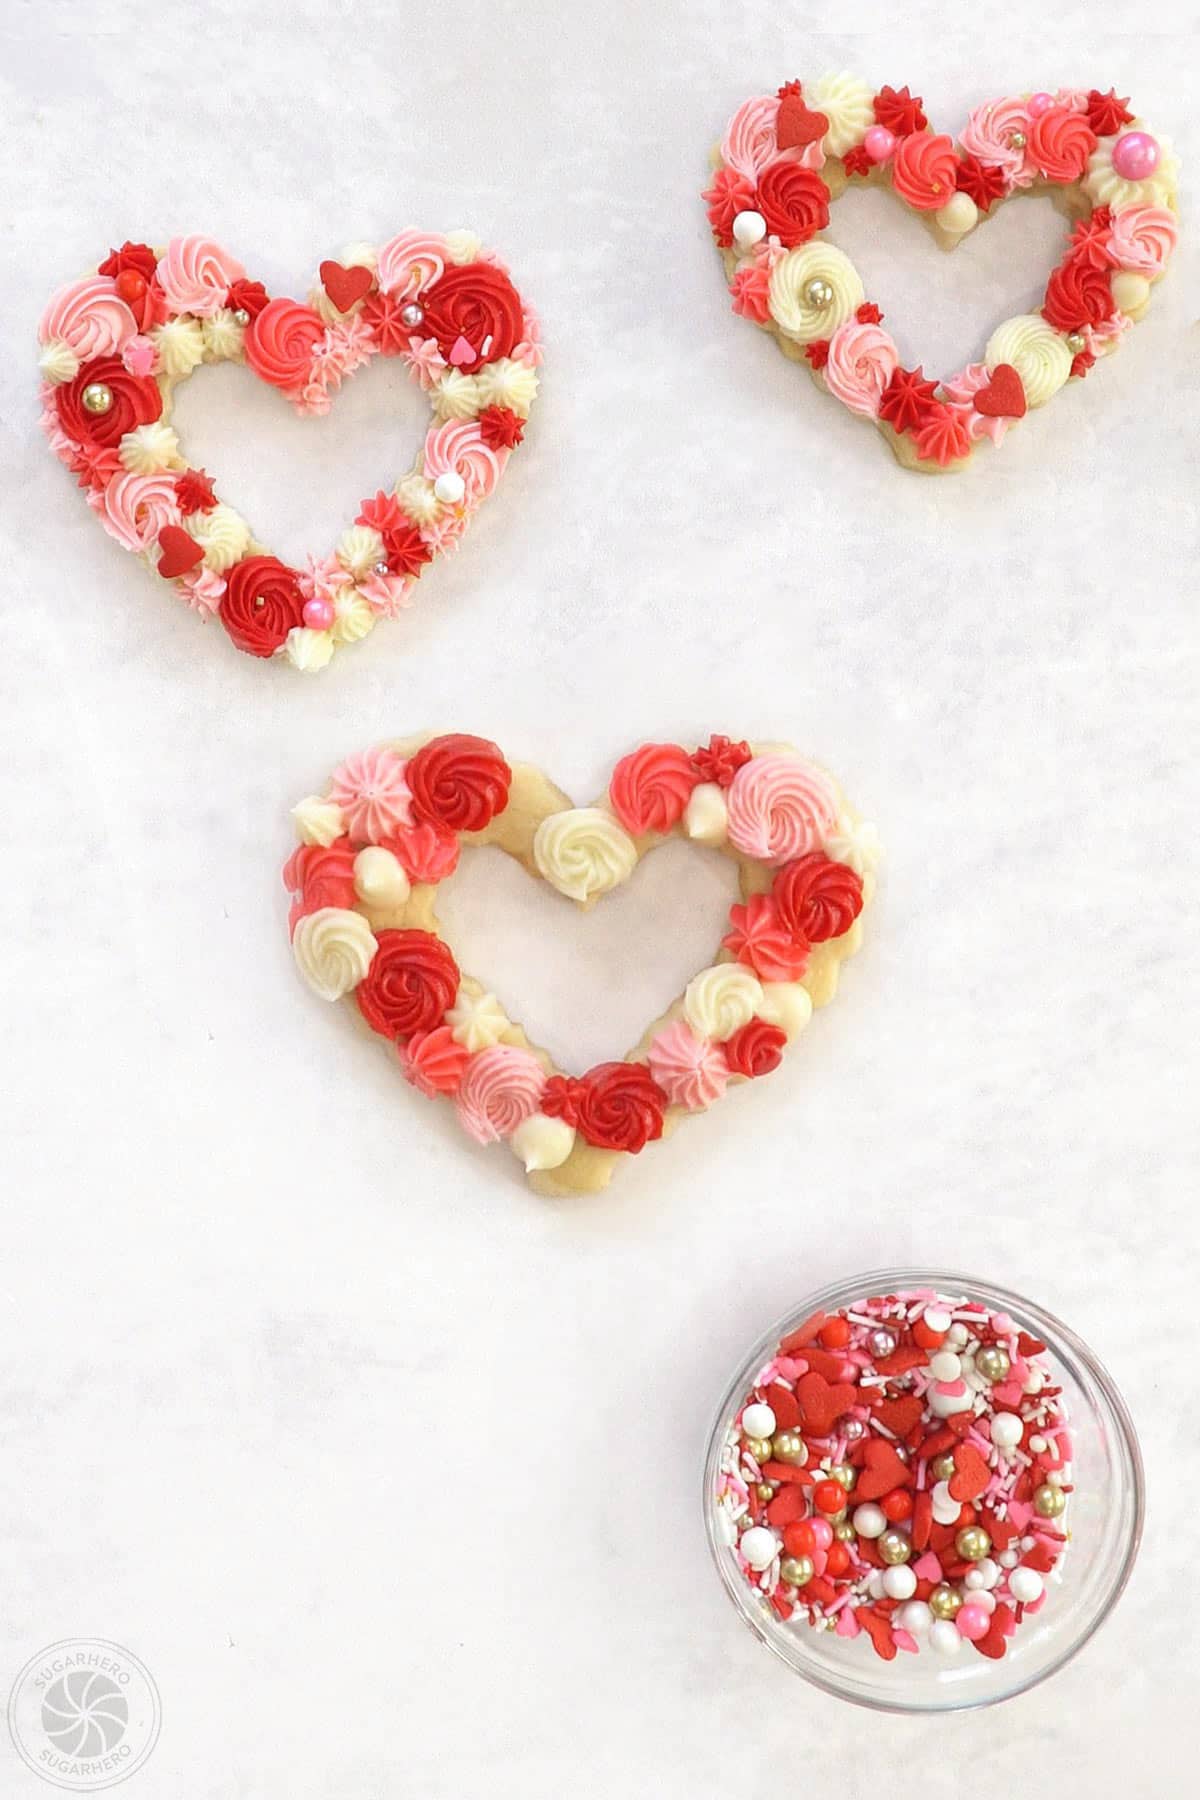
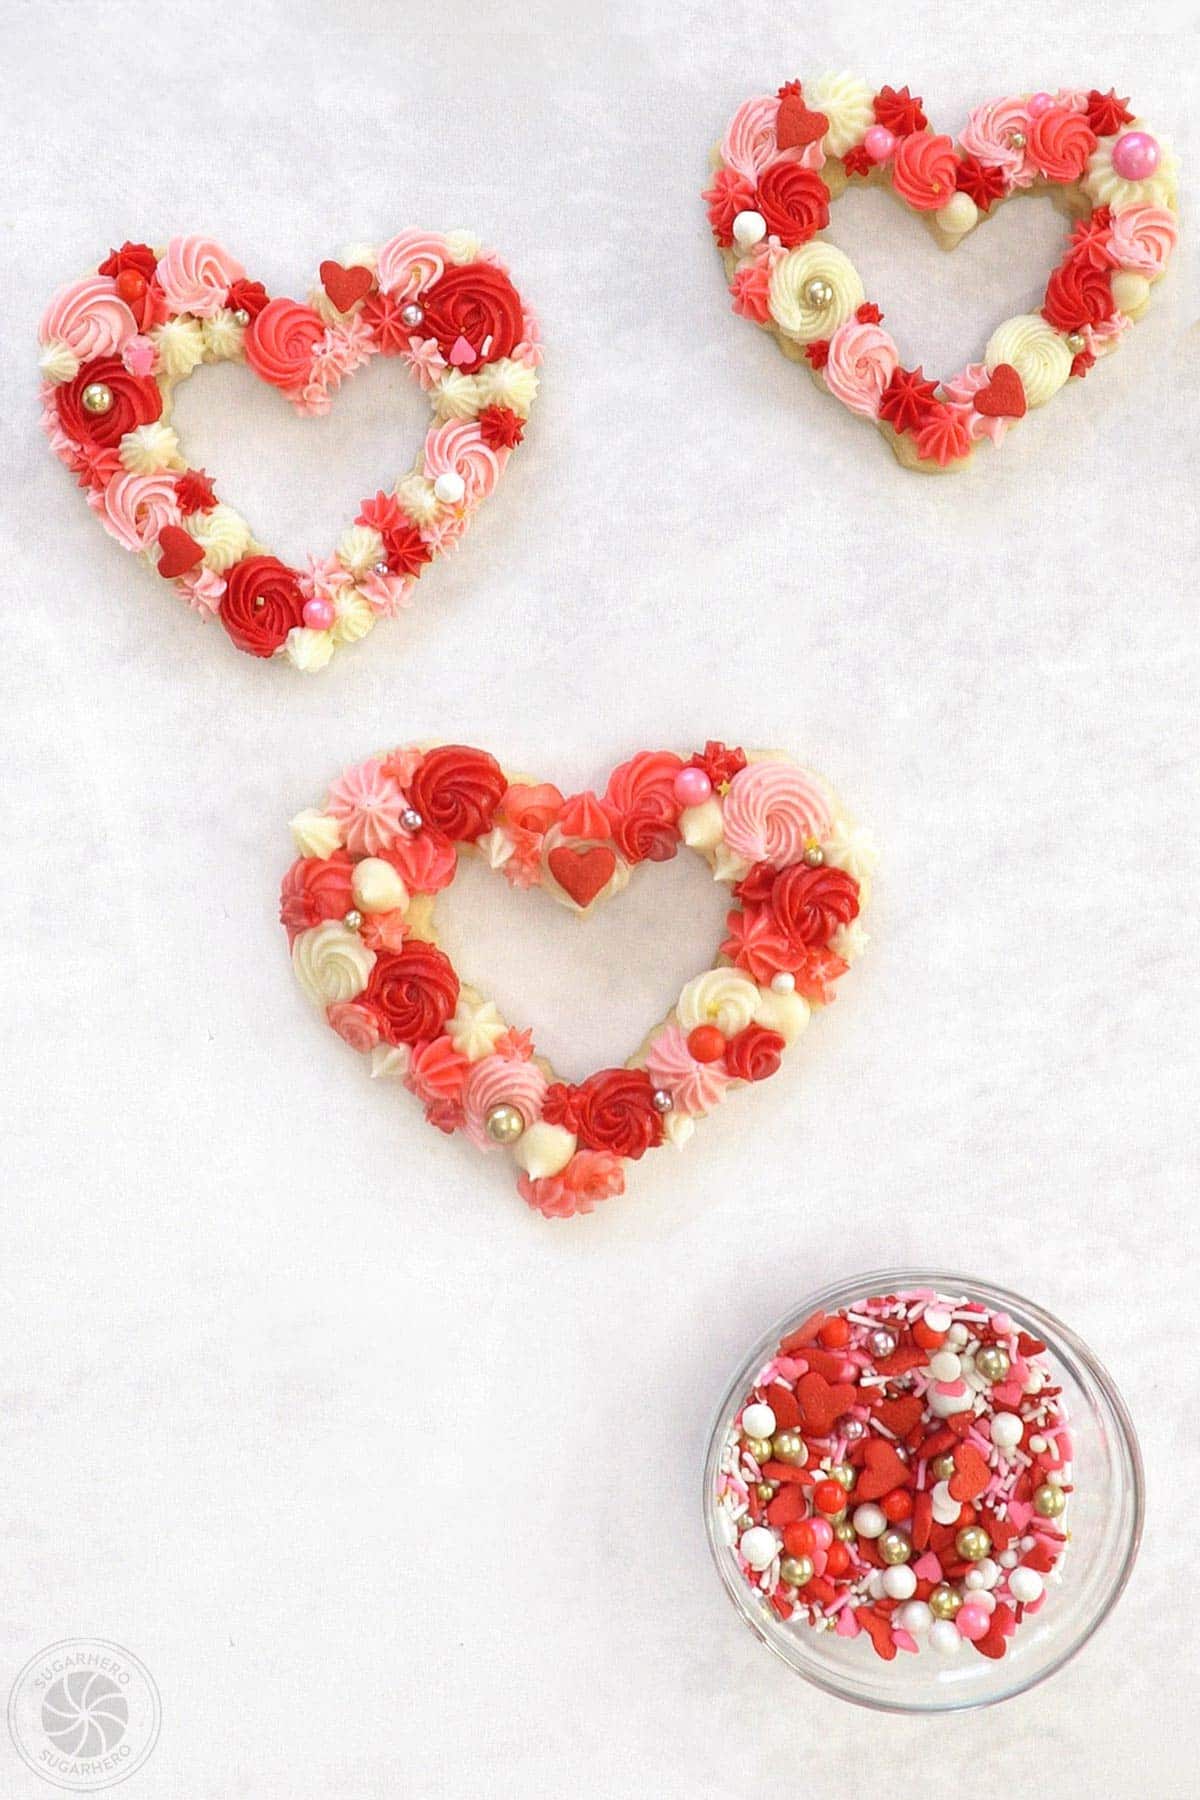
- Add other colors: Use a different color to pipe more stars and rosettes in a spaced out pattern.
- Fill in the cookie: Repeat with the rest of the frosting colors, until the cookie is covered with small stars and flowers. Use a variety of tips, shapes, and sizes.
- Add sprinkles: Immediately after finishing the frosting, add your sprinkles on top, pressing larger sprinkles in gently to help them stick.
- Finish decorating: Continue working in batches until all the cookies are decorated.
Tips for Cookie Success
- Don’t over-mix the butter and sugar – mixing too much will beat too much air into the dough, and cause your cookies to spread.
- Roll your dough between two sheets of parchment or waxed paper, and roll out until it is 1/4-inch thick. The thickness of the dough really makes a big difference in how crispy or soft the cookies turn out after being baked. I like rolling between parchment paper because it reduces the need for added flour during the rolling process, which can make cookies dry and tough.
- Freeze cut-out cookies for 10 minutes before baking (longer is okay too) to help them hold their shape.
- Use light-colored, heavy baking sheets that are not insulated. Dark or thin cookie sheets can cause the cookies to burn on the bottom before they’re cooked all the way through, and insulated cookie sheets can cause your cookies to spread too much.
- It’s always a good idea to do a test bake with 1 or 2 cookies on a baking sheet before baking a full batch. Ovens and baking sheets can produce drastically different results, and your baking time might vary from what the recipe says. Doing a test bake to figure out your personal timing will ensure all of your cookies turn out well!