


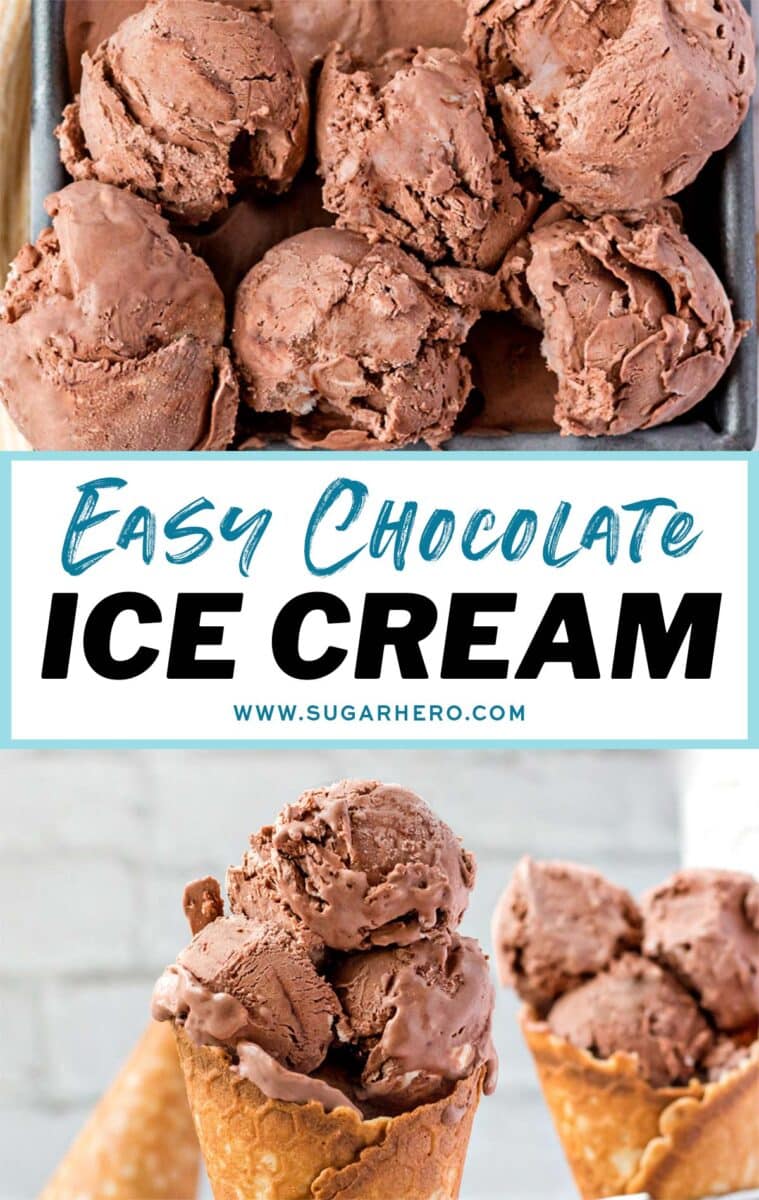
This No-Churn Chocolate Ice Cream is an easy recipe made with only 3-ingredients! All you need are whipped cream, sweetened condensed milk, and cocoa powder to make this rich and creamy homemade chocolate ice cream.
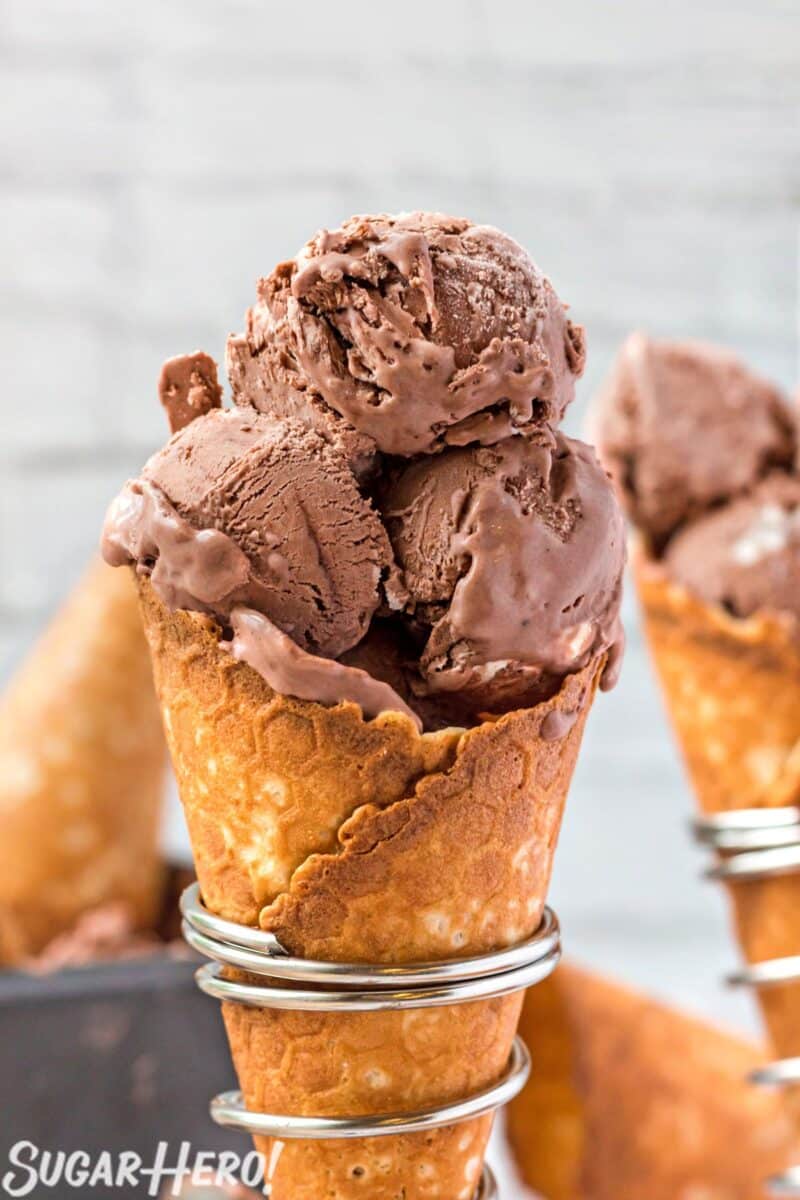
🍫 Homemade Chocolate Ice Cream
Ice cream is one of those desserts that can seem intimidating to make at home–and truthfully, traditional homemade ice cream does have a few steps that might deter folks. (Which is not to say you shouldn’t give it a try! This epic German Chocolate Brownie Ice Cream lives in my dreams on a nightly basis…)
But fortunately, there’s a solution for those times you want instant(ish) gratification, without the hassle of cooking custard or freezing an ice cream maker bowl 24 hours in advance. No-churn ice cream to the rescue!
This “shortcut” no-churn style of ice cream relies on whipped cream and sweetened condensed milk to mimic the texture and flavor of traditional ice cream. It’s faster, easier, and a great way to start your homemade ice cream journey.
I’ve shared a number of my favorite no-churn ice creams already, but this chocolate version just might be my favorite yet. It’s rich and creamy, with a deep chocolate flavor that comes from high-quality cocoa powder. I also love it as a base for so many other fun ice cream recipes, so don’t miss the Variations section below for some customization ideas!
Table of Contents
🧾 What You’ll Need
Ingredients
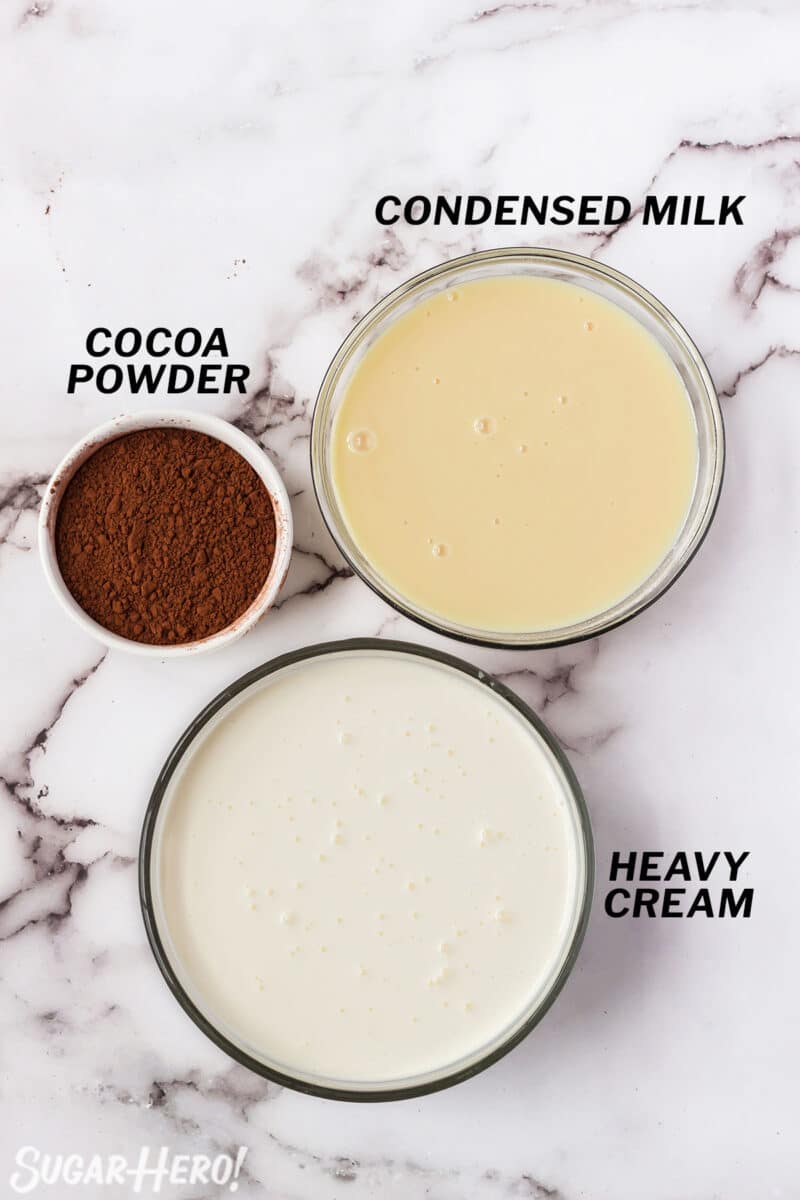
You just need three super simple ingredients to put together this no-churn chocolate ice cream! You can find full ingredient amounts in the recipe card below. (Links are affiliate links and I earn a small commission from qualifying purchases.)
- Sweetened condensed milk: This key ingredient ensures that your ice cream doesn’t freeze too hard and is a perfect scoopable consistency. Make sure you use sweetened condensed milk, NOT evaporated milk. The cans look similar and they’re usually in the same section at the grocery store, but they are not the same thing.
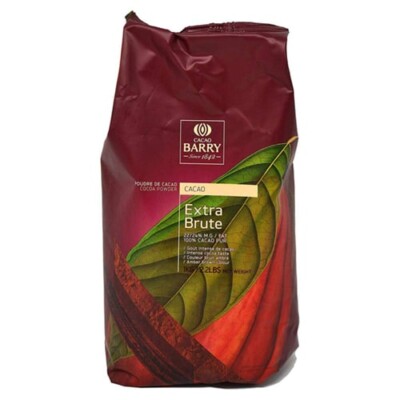
- Cocoa powder: For the best results, use high-quality unsweetened cocoa powder since it’s responsible for all of the chocolate flavor. Cheap cocoa powders can be nearly flavorless, or worse, impart a bitter, dusty, or stale flavor. My personal favorite is Cacao Barry Extra Brute – it hits that sweet spot between super high quality and reasonable affordability since it’s sold in bulk. Other good choices are Valrhona, Guittard, and Ghirardelli.
- Heavy whipping cream: I recommend using heavy cream or manufacturing cream over whipping cream, when possible. Heavy cream and manufacturing cream have the most fat, which produces a better flavor and texture. For best results, make sure the cream is very cold before whipping it.
Equipment
Since this ice cream is a no-churn recipe, you really don’t need much in terms of equipment! If you make ice cream regularly, you’ll find these bonus tools useful: (Links are affiliate links and I earn a small commission from qualifying purchases.)
- Ice cream scoop: An ice cream scoop makes it super easy to get those perfectly rounded scoops for serving.
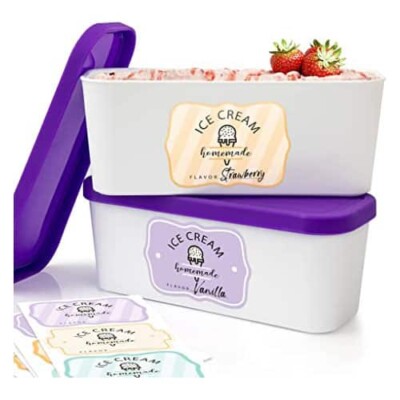
- Ice cream storage container: I like to use an ice cream storage container to store the ice cream. It’s nice and airtight so you don’t end up with freezer burned ice cream! If you don’t have an ice cream storage container you can use a 9×5″ loaf pan covered tightly with plastic wrap to store your ice cream.
🍦More ice cream recipes

Leave a Review!
If you make this recipe, let us know! Leave a ⭐️⭐️⭐️⭐️⭐️ rating on the recipe below, and leave a comment, take a photo and tag me on Instagram @elabau, or use #sugarhero on IG!
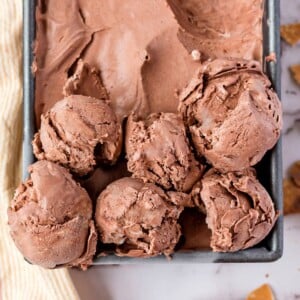
No-Churn Chocolate Ice Cream
Ingredients
- 14 oz sweetened condensed milk, (1 standard can)
- 1.5 oz unsweetened cocoa powder, (½ cup)
- 2 cups heavy whipping cream, very cold (16 fl oz)
Instructions
- Mix the milk and cocoa: Place the condensed milk in a bowl, and add the unsweetened cocoa powder. Whisk them together until the cocoa has dissolved into the condensed milk. At first it will be chalky and powdery, but as you continue whisking, the cocoa will mix with the milk, and you’ll be left with a shiny, smooth, dark mixture.
- Whip the cream: In a chilled bowl, whip the heavy cream with a hand mixer or stand mixer, until firm peaks form.
- Fold cocoa mixture into cream: Add the cocoa mixture to the bowl of whipped cream and begin gently folding them together. This ice cream gets its texture from the whipped cream, so you don’t want to stir it too vigorously and deflate the cream.
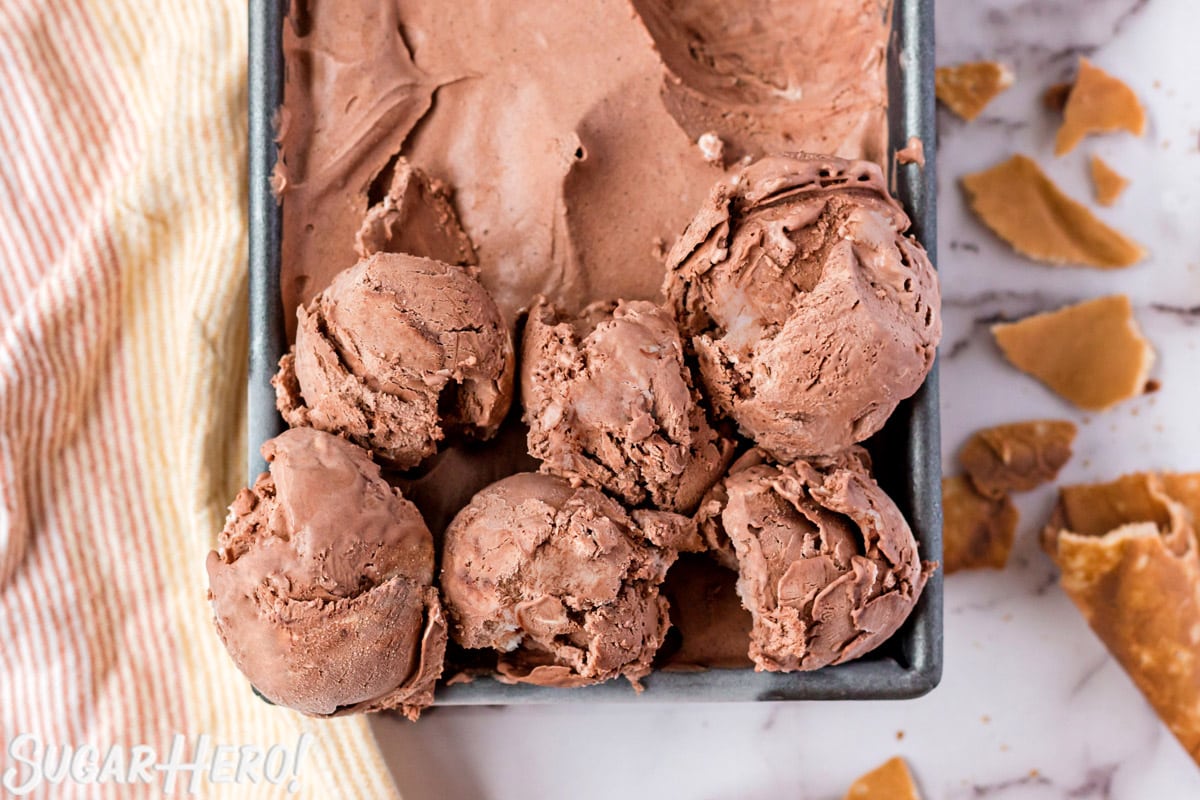
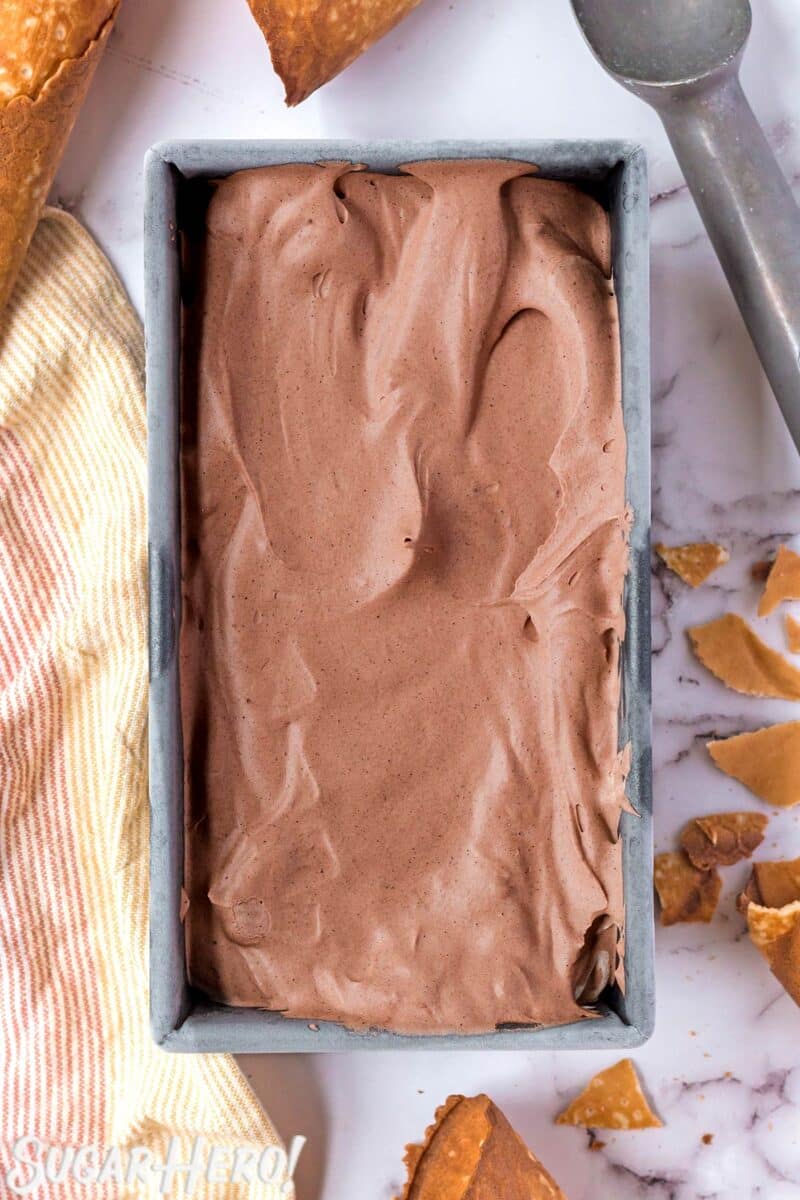
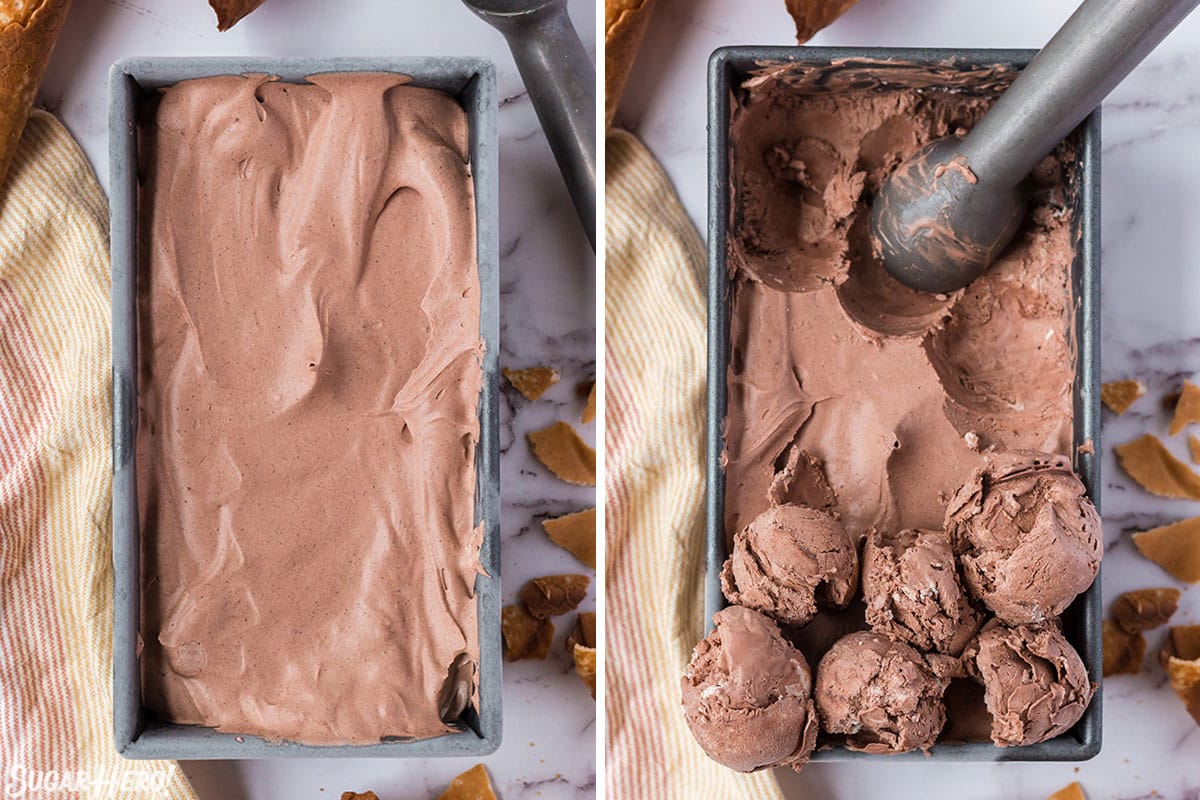
- Freeze: Scrape the ice cream mixture into an ice cream storage container, or a 9×5 inch loaf pan. Cover the container firmly with a lid, or plastic wrap if using a loaf pan. Place the pan in the freezer for at least 4-6 hours, or until the top of the ice cream is firm to the touch.
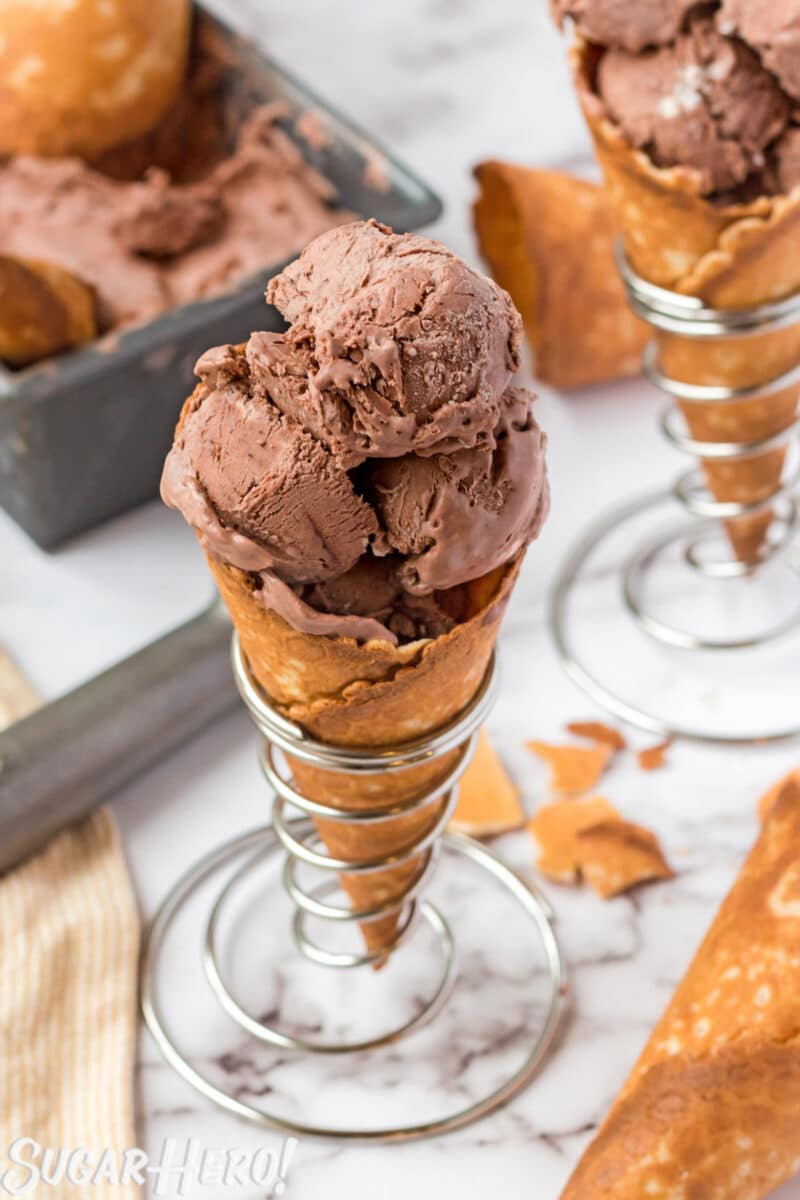
- Serve or store: Scoop and enjoy! This ice cream can be stored, well-wrapped, in the freezer for up to a month.
Measuring Tips
Our recipes are developed using weight measurements, and we highly recommend using a kitchen scale for baking whenever possible. However, if you prefer to use cups, volume measurements are provided as well. PLEASE NOTE: the adage “8 oz = 1 cup” is NOT true when speaking about weight, so don’t be concerned if the measurements don’t fit this formula.
Want to learn more about baking measurements and conversion?
Nutrition
📸Photo Tutorial: How to Make Easy Chocolate Ice Cream
This homemade ice cream with condensed milk takes a super quick 15 minutes to prep. Full instructions are included in the recipe card above.
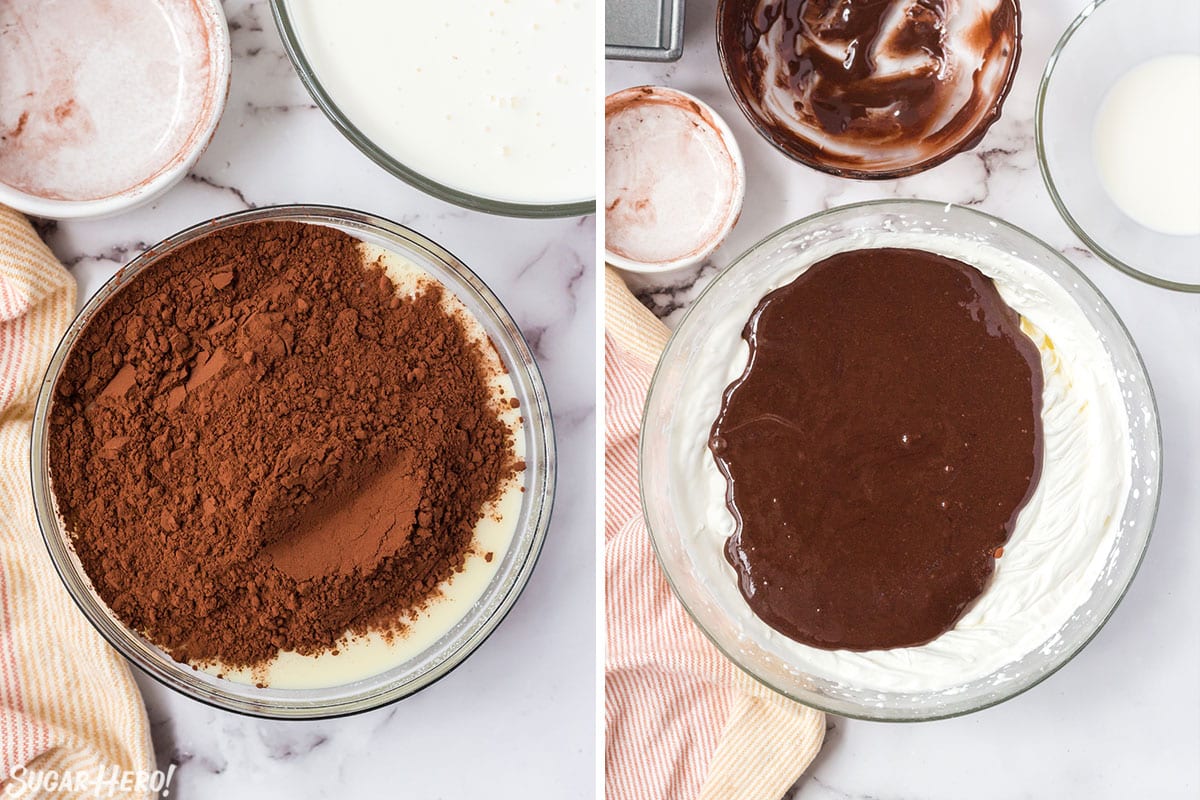
- Mix milk and cocoa powder: Combine the condensed milk and cocoa powder in a bowl. Whisk together until the cocoa is dissolved and the mixture looks dark and shiny.
- Whip cream: In a separate chilled bowl, whip the heavy cream until stiff peaks form.
- Fold in coca mixture: Add the cocoa mixture to the whipped cream, then gently fold it together.
- Freeze: Transfer the mixture to an ice cream storage container or 9×5 inch loaf pan. Cover tightly, then place in the freezer for 4-6 hours.
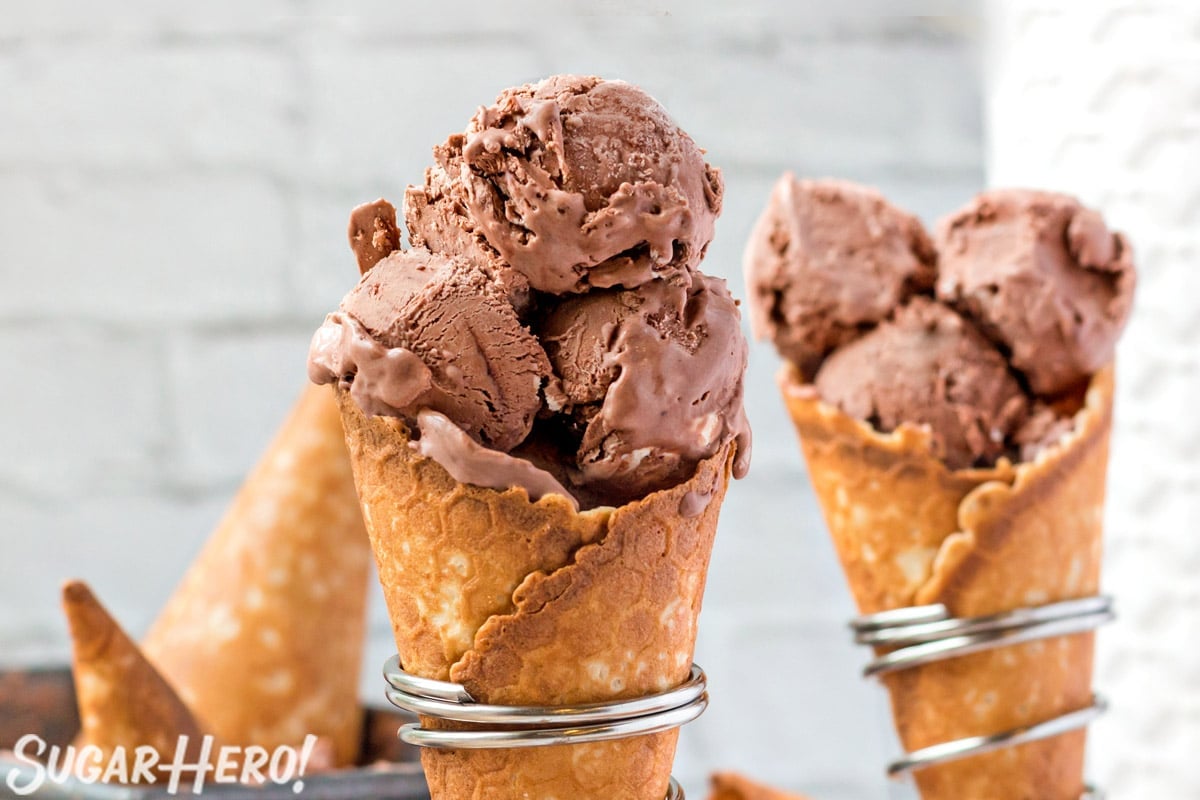
- Dig in!
💭 Variations
I love to keep it simple with plain chocolate ice cream, but there are also plenty of mix-ins you can add to make different kinds! Here are a few ideas:
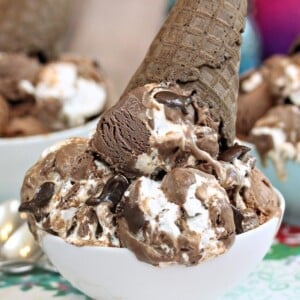
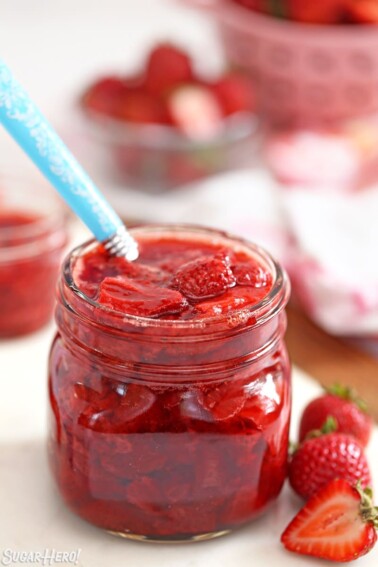
- Rocky Road: mini marshmallows and chopped nuts.
- S’mores: mini marshmallows and graham cracker pieces.
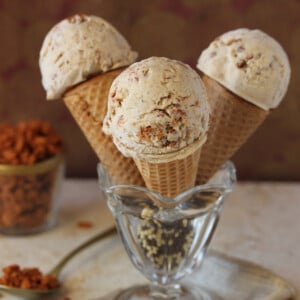
- Almond Joy: coconut extract, sweetened shredded coconut, and chopped toasted almonds.
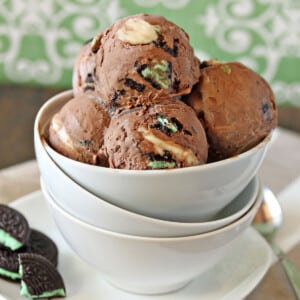
- Other Mix-Ins: cookie pieces, M&Ms, chopped nuts, dried fruit, mini chocolate chips, chopped Andes mints, crushed peppermint pieces, you name it!
💡Tips and FAQs for Success
- Chill the bowl and whisk. Chilling both before beating the cream will make the process faster and make the ice cream more stable.
- Whip to firm peaks: When making whipped cream, it goes through several stages of development called peaks. As the cream incorporates air and thickens, you are looking for a stage called firm peaks. You can identify this stage by how the cream reacts when you lift the whisk out of the mixing bowl. If you pull the whisk out and the cream flops over and does not hold a pointy shape, it’s at the soft peak stage and needs to be whipped longer. Test the cream again by pulling up the whisk. You’ll know it’s at the firm peak stage when the cream points upward with little to no flopping and retains its shape.
- Use a high quality cocoa powder. This is a MUST! All of the chocolate flavor comes from the cocoa, so using a pale, flavorless powder will result in a pretty disappointing ice cream. My favorite is Cacao Barry. It’s fairly affordable and has fabulous flavor.
- Check the milk. Make sure the canned milk you’re using is sweetened condensed milk; NOT evaporated milk. They look pretty similar but will not yield the same result.
- Fold gently. If you mix the whipped cream and cocoa mixture too much, you’ll beat all the air out of the cream, which is key for a light and fluffy texture.
- Freeze for at least 4-6 hours. The longer the better! Keep in mind that all freezers are different, so double check that it’s completely firm to the touch before serving.
Cocoa powder gives the ice cream its chocolate flavor AND helps stabilize the mixture for a thicker, creamier ice cream. I don’t recommend using melted chocolate in place of cocoa for this particular recipe–it’s not designed for chocolate, and the resulting ice cream will freeze too hard and not have a creamy texture.
Regular ice cream is often made from an egg custard base that needs to be cooked and churned in an ice cream maker to turn into the dessert we all know and love. Most people don’t have an ice cream churner on hand, so no-churn ice creams were invented to allow people to make this sweet and creamy treat at home—no cooking or churning necessary!
If your no-churn ice cream is too icy, chances are it isn’t stored properly. The key is an airtight container. If you don’t have one, make sure to wrap the container tightly with plastic wrap. Any air exposure will cause ice crystals to form. I also recommend storing it in the back of the freezer where the cool temperature is more regulated. If it’s close to the front, opening and closing the door can cause the ice cream temp to fluctuate, which can also make it icy.
Finally, if your ice cream is getting too hard/icy, alcohol can help. Consider adding about 2 TBSP of your favorite alcohol: vodka is a great choice if you don’t want to add additional flavor, or consider something like rumchata, Baileys, or Kahlua.
I recommend storing any leftover no-churn ice cream in the same container you used to freeze it. Simply cover the ice cream with a lid (or an airtight layer of plastic wrap) and store in the freezer for up to 1 month.


Don’t miss the step-by-step tutorial showing how to make No-Churn Chocolate Ice Cream – check out the web story here!


I love how rich and creamy this recipe is. This might be one of the best ice cream recipes I’ve seen.
Hello Beth! I love the rich and creamy texture of this recipe, too. Thanks for commenting!
I love how simple the ingredients list is and how creamy it turned out. Great recipe, delicious!
Hi Jamie! Thanks for commenting. I’m so glad it turned out so well for you!
I can’t believe there are only 3 ingredients in this! It’s so creamy and delicious! I’ll be making it again soon.
Right? Who knew ice cream could be so easy! I hope you get to enjoy some soon.
I was stunned when I looked at the ingredient list. I can make this right now with what I have in the house and in a few hours when my daughter gets home from school she’ll have homemade ice cream. Genius! Heading off to the kitchen now 🙂
Hi Stephanie! I think you’ll be getting the “Best Mom Ever” award today . . . your daughter is so lucky!
I love how easy this was. I let my kids (9 and 7) make the whole thing thing and it turned out perfect. They were so excited to make their own ice cream!
Hi Sara! This is definitely a kid-friendly recipe. Sounds like you made some great memories. Thanks for sharing!
I very thankful to find this website on bing, just what I was looking for : D also saved to my bookmarks.
Why is my ice cream so hard??
Hi Bernadette. It’s pretty common for homemade ice creams to be harder than store bought ice creams. Store bought often has added ingredients or more air whipped into it to help it stay softer. Here’s a couple reasons yours might be harder/ways to troubleshoot. 1. Your freezer temp might be lower than most and making it extra cold. You can try giving your ice cream a little time to soften on the counter before scooping it. You can also store it closer to the front of the freezer instead of in the deepest part. 2. Alcohol doesn’t freeze so you could add a tablespoon to the ice cream mixture before freezing it. Elizabeth recommends using vodka because it is mostly flavorless and it’s clear. It can help keep the ice cream soft without affecting anything else. 3. The ingredients you use can affect the texture. Make sure to use the highest fat whipping cream you can find and then whip it nice and fluffy so it has lots of air in it. Then fold super gently so that the cream doesn’t deflate. I hope these ideas help. Let us know if you’re still having troubles. Best!