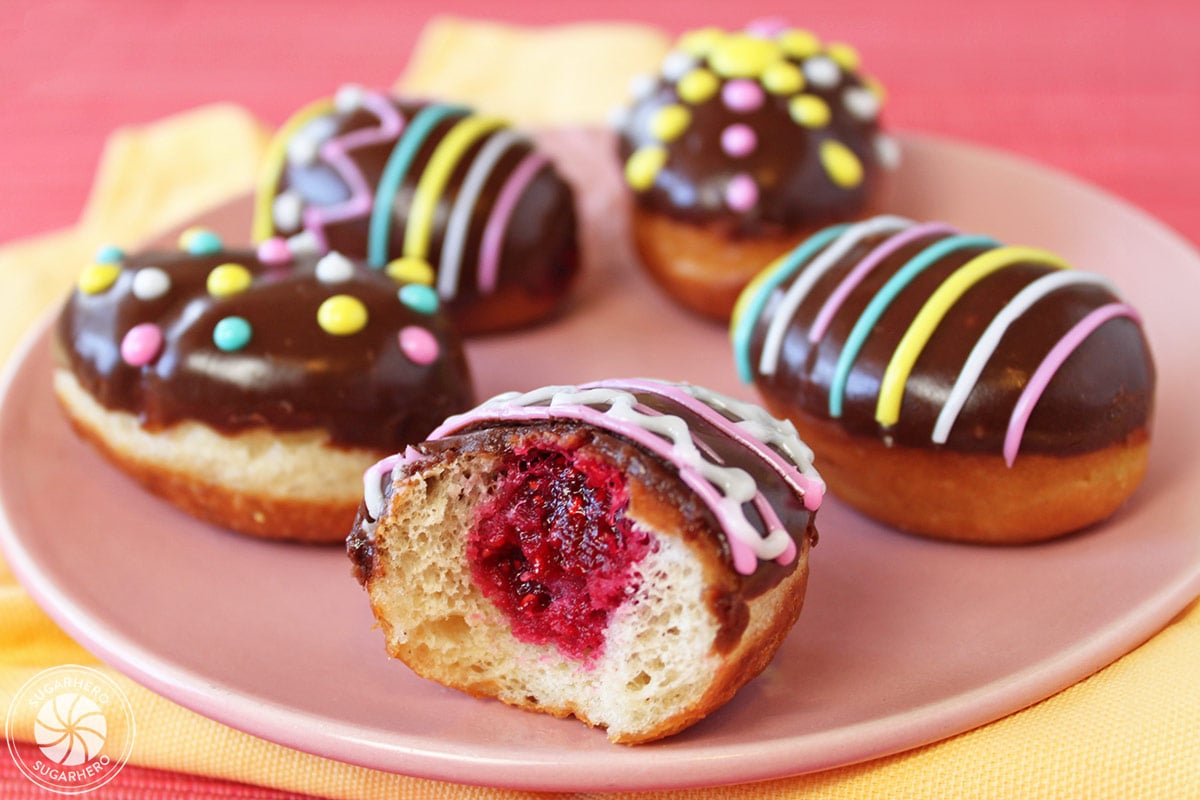
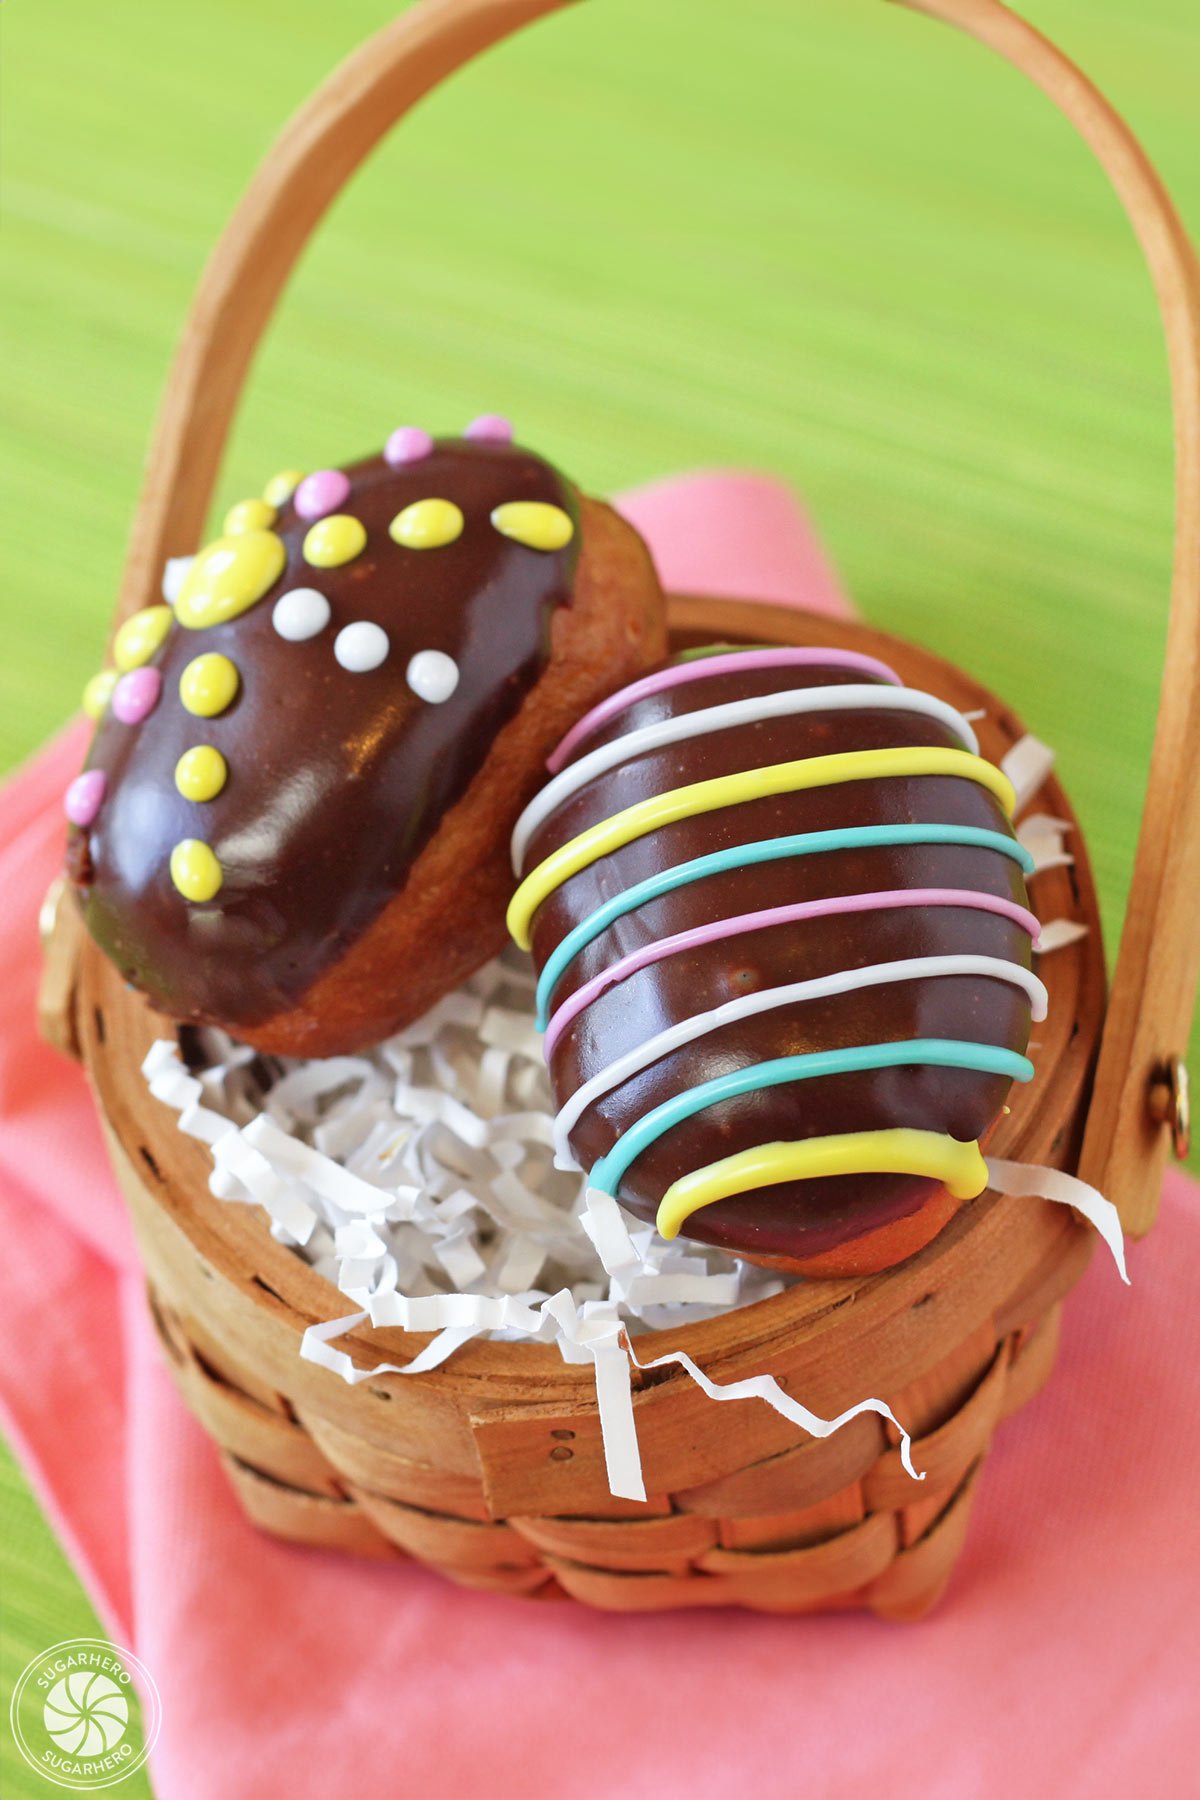
Easter Egg Doughnuts are a fun Easter breakfast recipe! Everyone will love decorating the glazed donuts to look like Easter eggs. Fill them with jam, lemon curd, or your favorite cream filling!

🥚 Filled Easter Egg Donuts
Spring has finally sprung and we are in full Easter-mode here at SugarHero. I love the Easter holiday season. I love the meaning of the holiday, the time with friends and family, the cute decorations, must I go on? But what I love most about this holiday is all the tempting Easter goodies! Baskets full of candy and Sunday brunch anyone?
If you’re in the mood for something sweet and looking for juuuuust the right recipe to serve Sunday morning, have I got a doozy for you. Can I tempt you with homemade Easter Egg Donuts, with a bittersweet chocolate glaze and a filling of homemade lemon curd or raspberry jam? Oh good.
🐣More Easter goodies
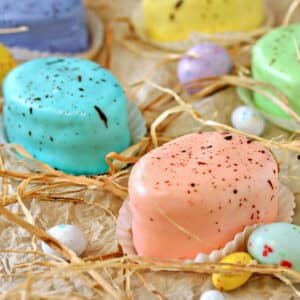
If you’re EGG-cited about Easter baking don’t miss more of my egg-themed desserts like Marbled Easter Egg Truffles, Peanut Butter Easter Eggs, Easter Egg Sugar Cookies and Easter Egg Petit Fours with Tangerine Buttercream!
And, if you need more Easter inspiration, don’t miss my best-loved Easter cakes like my Easter Polka Dot Cake with Coconut Buttercream, Easter No-Bake Mini Cheesecakes, Chocolate Easter Bunny Cake and Sugar Easter Egg Cake!
Table of Contents
Donut Ingredients
Using the best ingredients will result in the tastiest doughnuts. Here’s a few ingredient tips to help you gather what you’ll need. See the recipe card below for full ingredient amounts. (Links are affiliate links and I earn a small commission from qualifying purchases.)
- Whole milk: Using milk with a high fat percentage will give the donuts the best flavor and texture.
- Shortening: For fluffier doughnuts.
- Butter and salt: I prefer to use unsalted butter in all my baking so that I can fine tune the amount of salt added. However, if you only have salted butter, use it and leave out the additional salt.
- Yeast: You’ll need 1 package active dry yeast (.75 oz). It will help the dough to rise and make tender, fluffy donuts. See our yeast tips below for more information.
- Warm water: The water will need to be slightly warmer than body temperature to start the yeast activation process. As the yeast sits in the warm water for a few minutes it will bloom and work as a leavener in the dough.
- Egg: Make sure to use a large egg. It’s best to bring it to room temperature and beat it slightly before adding it to the mixture.
- Sugar: Use granulated sugar for sweetness.
- Cinnamon: Ground cinnamon is optional, but it gives the doughnuts a little boost in flavor.
- All-purpose flour: Needed to give the doughnuts their structure. I recommend actually weighing the flour (and all of your ingredients!) for a more accurate result, but you can also spoon it into the measuring cup and gently level it off, if preferred.
- Oil: I like to use vegetable oil or peanut oil for frying.
- Fillings, optional: You can use your favorite fillings for these doughnuts. I used raspberry jam, pastry cream and lemon curd in mine. If you are short on time, they taste amazing plain, too.
For the Glaze
- Butter: I used unsalted butter, but salted works as well.
- Whole milk: I like the flavor full-fat milk adds to the glazes.
- Light corn syrup: To create a smooth glaze, use light corn syrup.
- Vanilla extract: For excellent flavor, I used my favorite vanilla extract by Nielsen-Massey.
- Bittersweet chocolate: Use a high quality brand of bittersweet chocolate that you enjoy the taste of. Chop it finely to make it easier to melt. I used Ghirardelli 60% Cacao.
- Powdered Sugar: Make sure to sift your powdered sugar into the glaze to avoid lumps.
- Gel food coloring: Americolor is my favorite brand of gel food coloring. I prefer gel food coloring to liquid food coloring because its more concentrated. You only need to use a little to get beautiful colors.

Equipment
Make sure to have the right tools on hand when you start making these donuts. Here’s what you’ll need. (Links are affiliate links and I earn a small commission from qualifying purchases.)
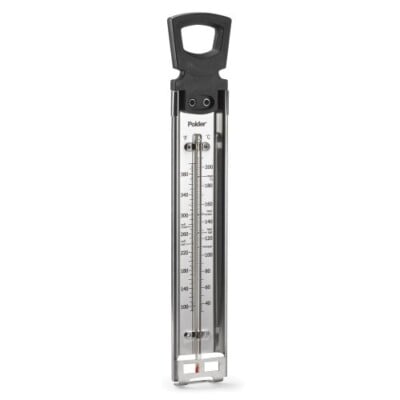
- Thermometer: To assure that your doughnuts cook evenly, I highly recommend using a thermometer to monitor the oil temperature. If you are new to using a thermometer, check out my guides for how to use a thermometer and how to test and calibrate a thermometer correctly.
- Stand mixer: It’s much easier to mix the donut dough with a stand mixer.
- Rolling pin: Use a simple rolling pin to flatten the dough before cutting out the Easter egg shapes.
- Easter egg cutter: I learned the hard way not to make the doughnuts too big! I recommend using a 2″ egg shaped cutter for the perfect size doughnut.
- Large pot or deep fryer: It’s best to fry in small batches. You’ll want a large pot or deep fryer that will accommodate 3-4 doughnuts at a time.
- Slotted spoon or fry tool: When frying, I like to use a slotted spoon or fry tool to make it easier to flip the doughnuts and remove them from the hot oil.
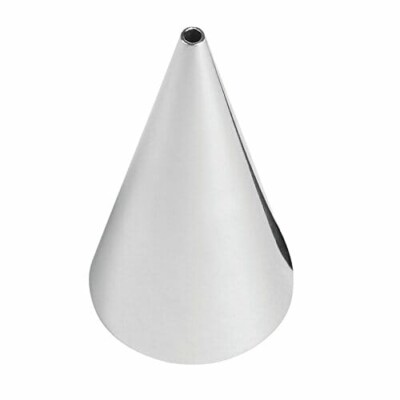
- Dowel or Bismarck tip: If you plan to fill the doughnuts, You’ll need a dowel (about 1/4 inch wide) or a Bismarck tip to create a pocket in the center of the donut.
- Piping bag and tips: You’ll want some reusable piping bags since you’ll be working with multiple fillings and several glaze colors. You’ll also want a few piping tips. I used a 1/4 inch round tip (Ateco #802) to pipe the filling into the doughnuts. You’ll also need a small round tip for the glaze Easter egg decorations. I recommend using a #2 round piping tip.
🍩 Donut FAQs
Here are a couple of tips to help you make the best looking and tasting Easter Egg Donuts!
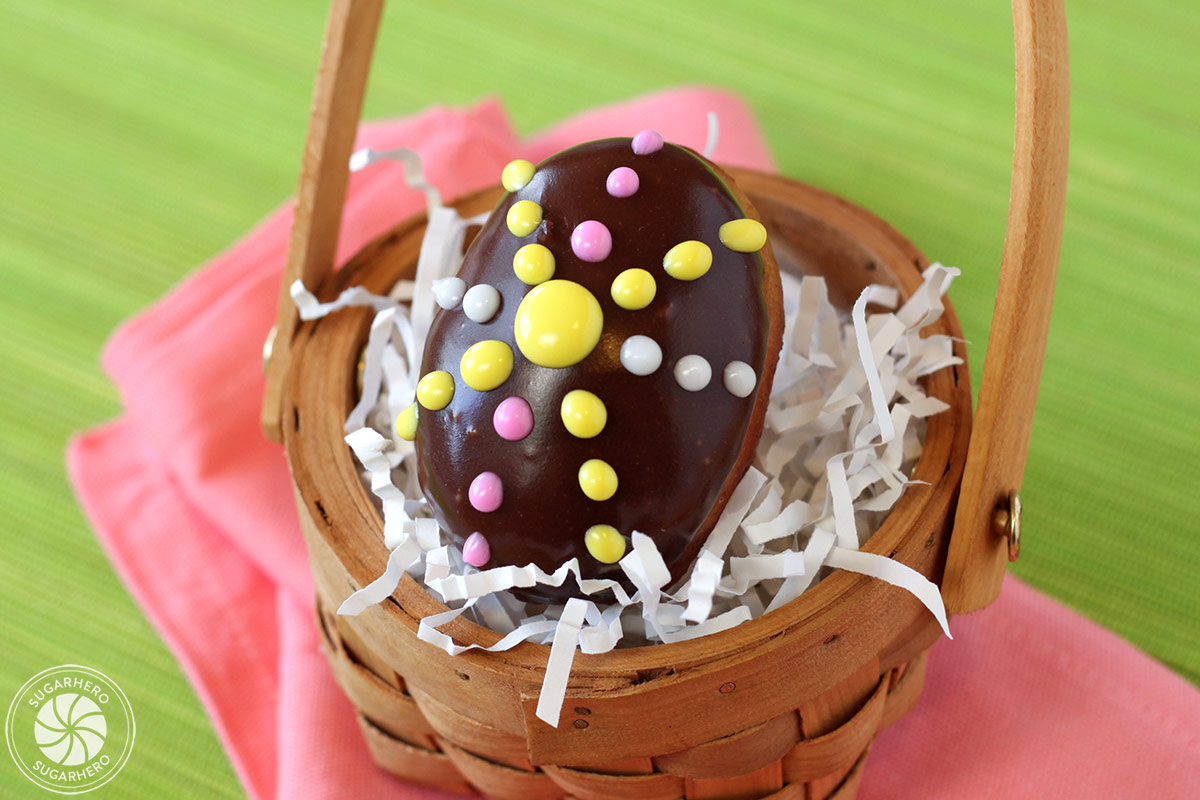
The first time I made these, I got a little carried away and accidentally made giant doughnut eggs the size of my face. I used a 3″ cutter, and they were fun for novelty value, but NOT the look I was going for.
So here’s a little tip from hard-won experience. The doughnuts will rise after you cut them, and they’ll puff up even more once they’re fried. So unless you want ridiculous ostrich-sized doughnut eggs, stick with a cutter that’s about 2-inches long. I definitely wouldn’t go any bigger than 2.5-inches. The eggs will look teensy, but they’ll be the perfect 4-bite doughnuts that will make people feel okay about eating 2, 3, or 4 of them in a row.
Doughnut holes, of course! You can take the scrap dough and cut it into small pieces. Then once they’re fried immediately toss them in a cinnamon-sugar mixture. Super simple and way too easy to pop in your mouth as you’re endlessly piping egg decorations. Not that I know anything about that.
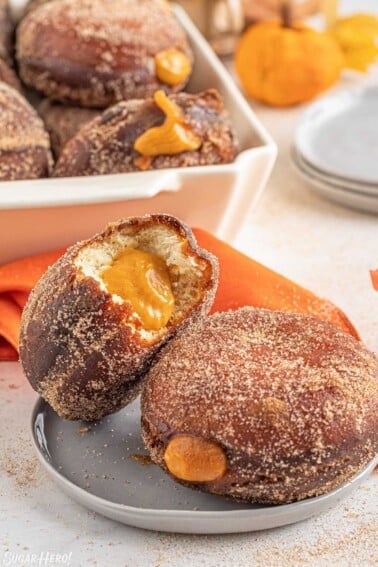
I filled my donuts with lemon curd and raspberry jam, but you can use anything light and springy. These donuts would be awesome with passion fruit curd (or any other flavor of fruit curd), pastry cream, coconut cream, other flavors of jam, Nutella … the list goes on!
It’s important to make sure that the cooking oil reaches and maintains the correct temperature during the frying process. Oil that is not hot enough results in greasy or soggy donuts. Oil that is too hot will give you donuts that are cooked on the outside, but undercooked on the inside. Make sure you use a thermometer to monitor the oil temperature, and adjust the burner as necessary. (Click here for our instructions on calibrating your thermometer!) Only fry a few donuts at a time, and avoid overcrowding the pan, which can impact the oil temperature.
Donuts taste best when eaten fresh but may be stored in an airtight container or baggie for up to 2 days. They can be reheated in the microwave for 10 seconds to restore freshness.
Ready to Make These?
- Get the recipe below 👇👇
- Scroll below the recipe for important tips and info
❤️ More Easter Desserts
Leave a Review!
If you make this recipe, let us know! Leave a ⭐️⭐️⭐️⭐️⭐️ rating on the recipe below, and leave a comment, take a photo and tag me on Instagram @elabau, or use #sugarhero on IG!

Easter Egg Doughnuts
Ingredients
For the doughnuts:
- 3/4 cup whole milk
- 1 TBSP shortening
- 1 ½ TBSP unsalted butter
- .75 oz active dry yeast, (1 package)
- 1/3 cup warm water
- 1 large egg, lightly beaten, at room temperature
- 3 TBSP granulated sugar
- 1/2 tsp salt
- 1 tsp ground cinnamon
- 11.5 oz all-purpose flour, (about 2 1/2 cups), plus more for dusting
- 1 gal vegetable oil, or peanut oil, for frying
- Raspberry jam, to fill the doughnuts, optional
- Pastry cream, to fill the doughnuts, optional
- Lemon curd, to fill the doughnuts, optional
For the chocolate glaze:
- 4 oz unsalted butter
- 1/4 cup whole milk
- 1 TBSP light corn syrup
- 2 tsp vanilla extract
- 4 oz bittersweet chocolate, finely chopped
- 2 cups powdered sugar, sifted
For the white decorating glaze:
- 2 cups powdered sugar, sifted
- 2 TBSP light corn syrup
- 2-3 TBSP milk
- Assorted gel food coloring, of your choice
Instructions
To make the doughnuts:
- Warm the milk in a small saucepan on the stove just until it start to simmer. Place the shortening and butter in the bowl of a large stand mixer and pour the warm milk over them, letting the milk melt the shortening and butter.
- In a small bowl, combine the warm water (you’re looking for 95-105 degrees F, so it should be warmer than body temperature) and the packet of yeast, and mix briefly. Let it set for about 5 minutes, so the yeast can bloom.
- Once the milk has cooled to lukewarm and the yeast has bloomed, add it to the large mixing bowl that contains the milk and butter/shortening. Then add the beaten egg, granulated sugar, salt, cinnamon, and half of the flour. (This will be 5.75 oz (about 1 ¼ cups). Use the paddle attachment and beat the mixture on medium speed for 5 minutes, until it’s very smooth.
- Now add the rest of the flour and beat for an additional 2 minutes until thick and smooth. Switch to the dough hook and beat the dough on medium speed for 5 minutes, until the dough forms a soft, smooth ball around the hook and pulls away from the sides of the bowl. If it seems a little sticky while it’s mixing, add a touch more flour, but only another tablespoon or two. Let the mixing do most of the work and resist the temptation to add too much flour, or else you will have tough doughnuts. When the dough is smooth, supple, and pulling away from the sides of the bowl, turn off the mixer.
- Generously oil a large bowl and turn the doughnut dough into the oiled bowl. Cover with a cloth and set it in a warm place to rise for 1 hour, until doubled in size.
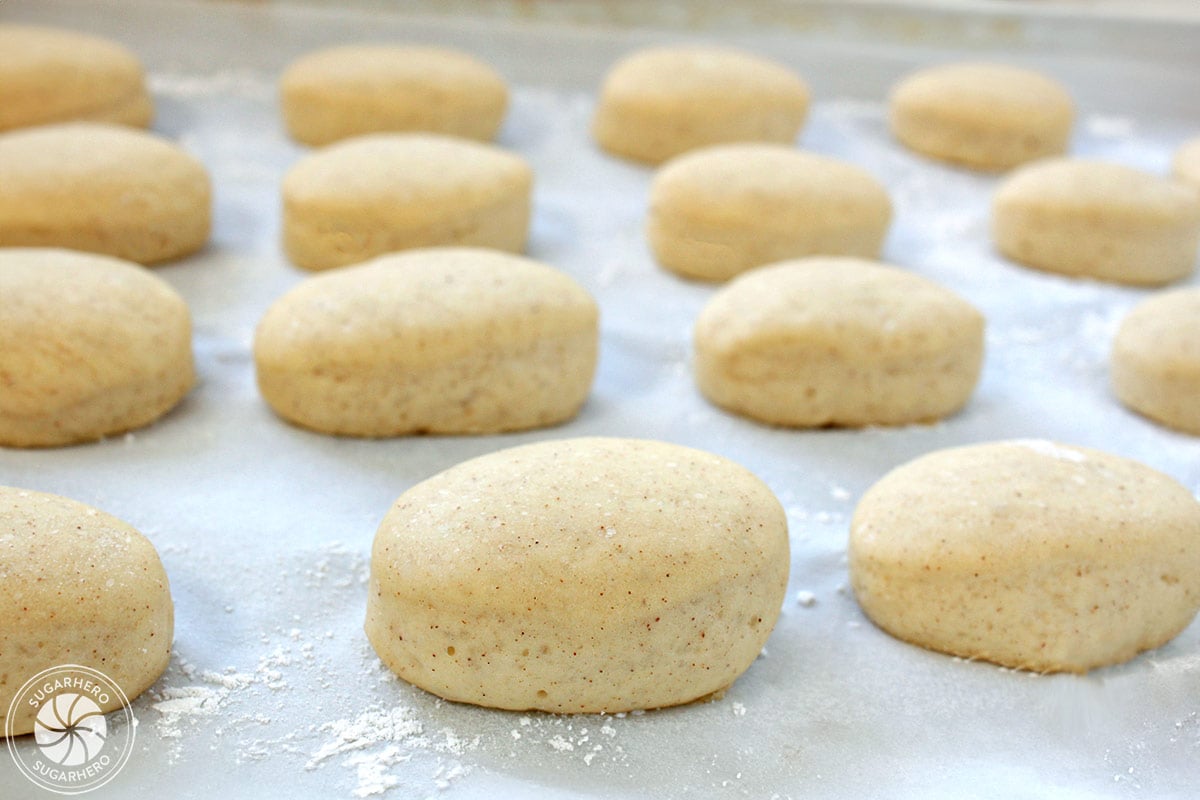
- After an hour, dust your work surface with flour, punch down the dough, and turn it out onto your work surface. Roll it into a thin layer less than 1/2 inch thick. Use a small egg-shaped cookie cutter (approximately 2-2.5” long) to cut shapes out of the dough. Place the eggs on a baking sheet covered with parchment and lightly dusted with flour. Once you have cut out all the shapes you can, re-roll the dough and cut out more, until you get about 24 egg shaped doughnuts. (Alternately, you can just cut the leftover dough into small pieces to fry as doughnut holes.)
- Cover the sheets of doughnuts with a light cloth and let them rise for 30 minutes, until doubled in size.
- Heat the oil in a heavy pot or a deep fryer until it reaches 365 F. You will definitely want to use a deep-fry thermometer to monitor the temperature and make sure that it stays within the range of 360-370 F, so your doughnuts don’t cook too quickly or too slowly.
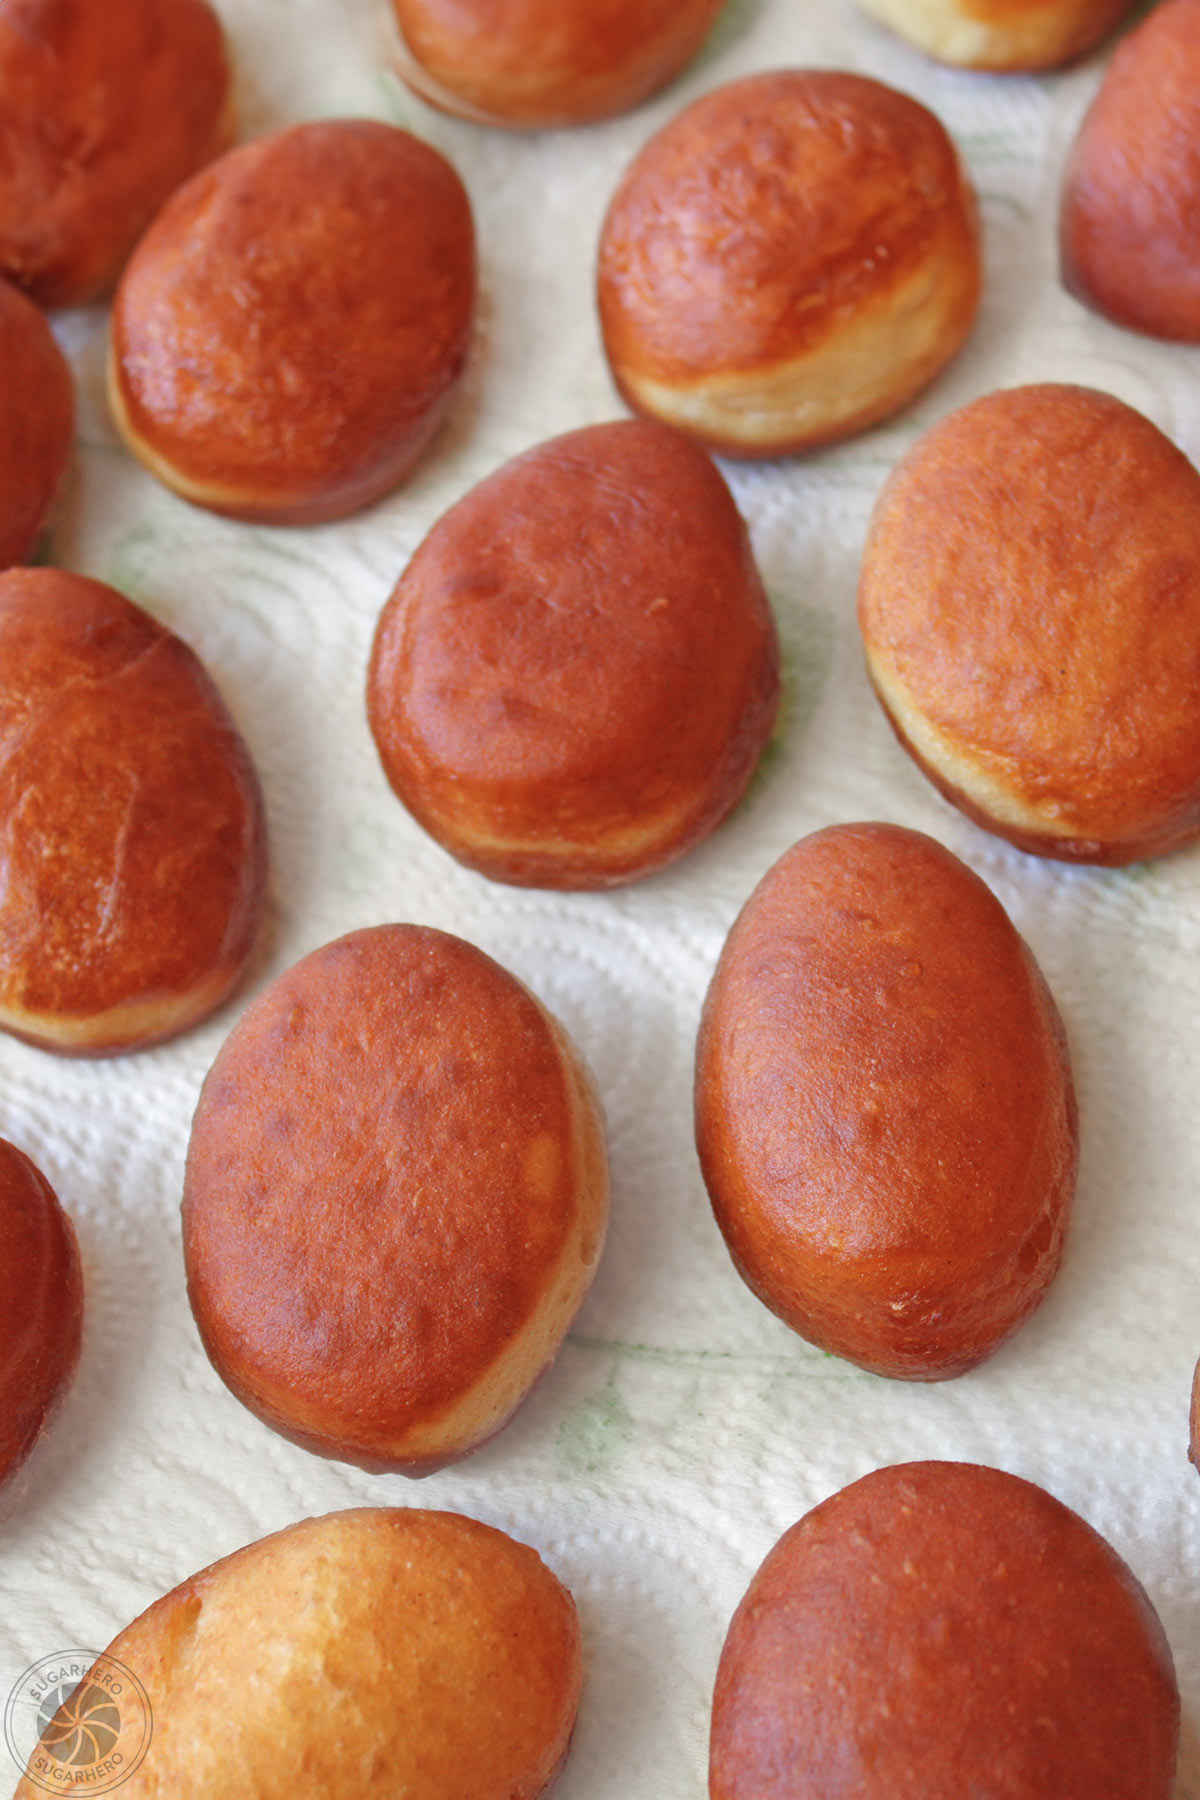
- Once the doughnuts have risen and the oil is the right temperature, gently place 3-4 doughnuts at a time in the oil and fry them for 50-60 seconds per side, until they are puffed and golden brown. Once cooked, remove them from the oil using a slotted spoon or frying tool, and place them on a paper-towel lined wire rack to cool. Repeat with the remaining doughnuts. If the oil gets too hot, turn the heat down, and if it gets too cool, pause your frying until it has a chance to heat up again. Let the doughnuts cool at room temperature for 30 minutes before filling them.
To fill the doughnuts:
- Use a dowel at least 1/4 inch wide to poke a hole in one end of the doughnuts, but don’t poke all the way through to the other side! Instead, wiggle the dowel around the center of the doughnut to make space for the filling. (Alternately, you can cover the end of a pencil or pen with plastic wrap to make a sanitary dowel substitute. If you have a Bismarck tip, the kind used for filling cupcakes, you can forget the dowel entirely and use that instead.)
- Fit a piping bag with a 1/4 inch round tip and fill it with your jam, curd, pastry cream, or other filling of choice. Stick the tip in the hole that you’ve made and squeeze to fill the doughnuts. Stop squeezing when you start to encounter resistance, and remove the tip. If some filling leaks out, clean off the outside of the doughnuts before glazing and decorating them.
To make the chocolate glaze:
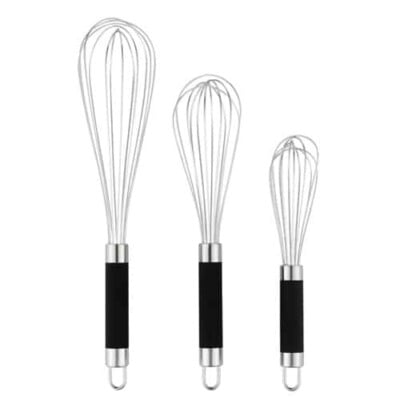
- Place the butter, milk, light corn syrup, and vanilla in a medium saucepan over medium heat. Cook the mixture, whisking frequently, until the butter melts and it begins to simmer along the edges.
- Remove the pan from the heat and add the chopped chocolate. Whisk it until the chocolate is completely melted, then add the sifted powdered sugar and whisk until mixed in.
- Dip the doughnuts in the glaze immediately. If it’s a little thick, add room temperature milk, a spoonful at a time, to thin it out. It will thicken as it cools, so you can periodically put it over low heat and whisk it until it loosens up again. If you want to add sprinkles, nuts, or other garnishes, sprinkle them on top while the glaze is still wet. Let the doughnuts sit for about 30 minutes to set the glaze before serving.
- Note: The glaze might have small bubbles when you dip the doughnuts. This is normal and they become much less apparent as the glaze sets.
To decorate the doughnuts:
- Place the sifted powdered sugar in a large bowl. Add the light corn syrup and 2 TBSP of milk, and whisk until you have a thick glaze. It should be thick enough that when you pipe it in a thin line, it holds its shape and does not become too runny. If it seems too thick to work with, add a bit more milk, just until it can be easily piped.
- Divide the glaze into smaller bowls and add your gel food coloring of choice. Place the glazes in piping bags fitted with small round attachments (I used #2 tips) and pipe on your designs of choice. Let the doughnuts sit for 20 minutes to set the decorations before serving them.
Measuring Tips
Our recipes are developed using weight measurements, and we highly recommend using a kitchen scale for baking whenever possible. However, if you prefer to use cups, volume measurements are provided as well. PLEASE NOTE: the adage “8 oz = 1 cup” is NOT true when speaking about weight, so don’t be concerned if the measurements don’t fit this formula.
Want to learn more about baking measurements and conversion?
Nutrition
💡 Yeast Troubleshooting
Yeast has a reputation for being finnicky, but there’s no reason to be intimidated! If you’re new to yeast, here are a few best practices to make sure you and your yeast rise to the occasion. (groan-worthy pun intended).
- Use active dry yeast: it’s more reliable and easier to use than cake or fresh yeast. If you are comfortable working with yeast and want to substitute rapid rise yeast you can, but you will need to make changes to the rising procedure following the package directions. Check the expiration date and store yeast in an airtight container in the fridge.
- Test your yeast: if your yeast has been stored for awhile, test it before using it. Mix a small amount of yeast with a small amount of warm water (110°F is ideal) and a pinch of sugar. Let it sit for 5-10 minutes until foamy. If it doesn’t foam, the yeast is no longer active and needs to be replaced – it will not work in this recipe!
- Get the liquid temp right: it is very important that the water & milk are the correct temperature to ensure the dough rises properly. If the liquids are too hot it will kill the yeast. If they are too cold, the yeast won’t activate and the dough won’t properly rise. The ideal temperature is between 105°-110° F. Use a thermometer to test the temperature.
- Let it rise in a warm place: during the rise, keep the dough in a warm (not hot) spot around 80-85°F. Near the oven or in an oven with just the light on works well. Yeast dough should roughly double in size after the first rise. If it doesn’t rise sufficiently, the yeast may need more time or your kitchen may be too cold. The rise times are suggestions, but should be adjusted depending on your kitchen’s environment.
🌡️ Tips for Deep Frying
- Keep the burner at medium heat. It’s tempting to speed up the process and crank it to high heat, but soon enough that will cause your oil to overheat.
- Always use a thermometer to monitor the temperature of the oil. Not hot enough? Rather than turning up the burner, let the oil sit and heat up a bit longer before beginning to fry. Too hot? Turn down the heat or remove the pan from the burner briefly until it comes down to the correct temperature.
- Don’t overcrowd the pot by adding too many doughnuts at once.
- Use a slotted spoon or skimmer to lower the food into the oil.
- Make sure any food is completely dry before adding it to the hot oil. (Not as relevant when making doughnuts, but a good safety tip in general!)
- Protect your clothes and surfaces. Deep frying can get messy – oil splatters everywhere. Protect yourself by wearing an apron, and protect any delicate nearby surfaces or equipment by covering them with kitchen towels.
- Allow the food to drain on paper towels before serving.
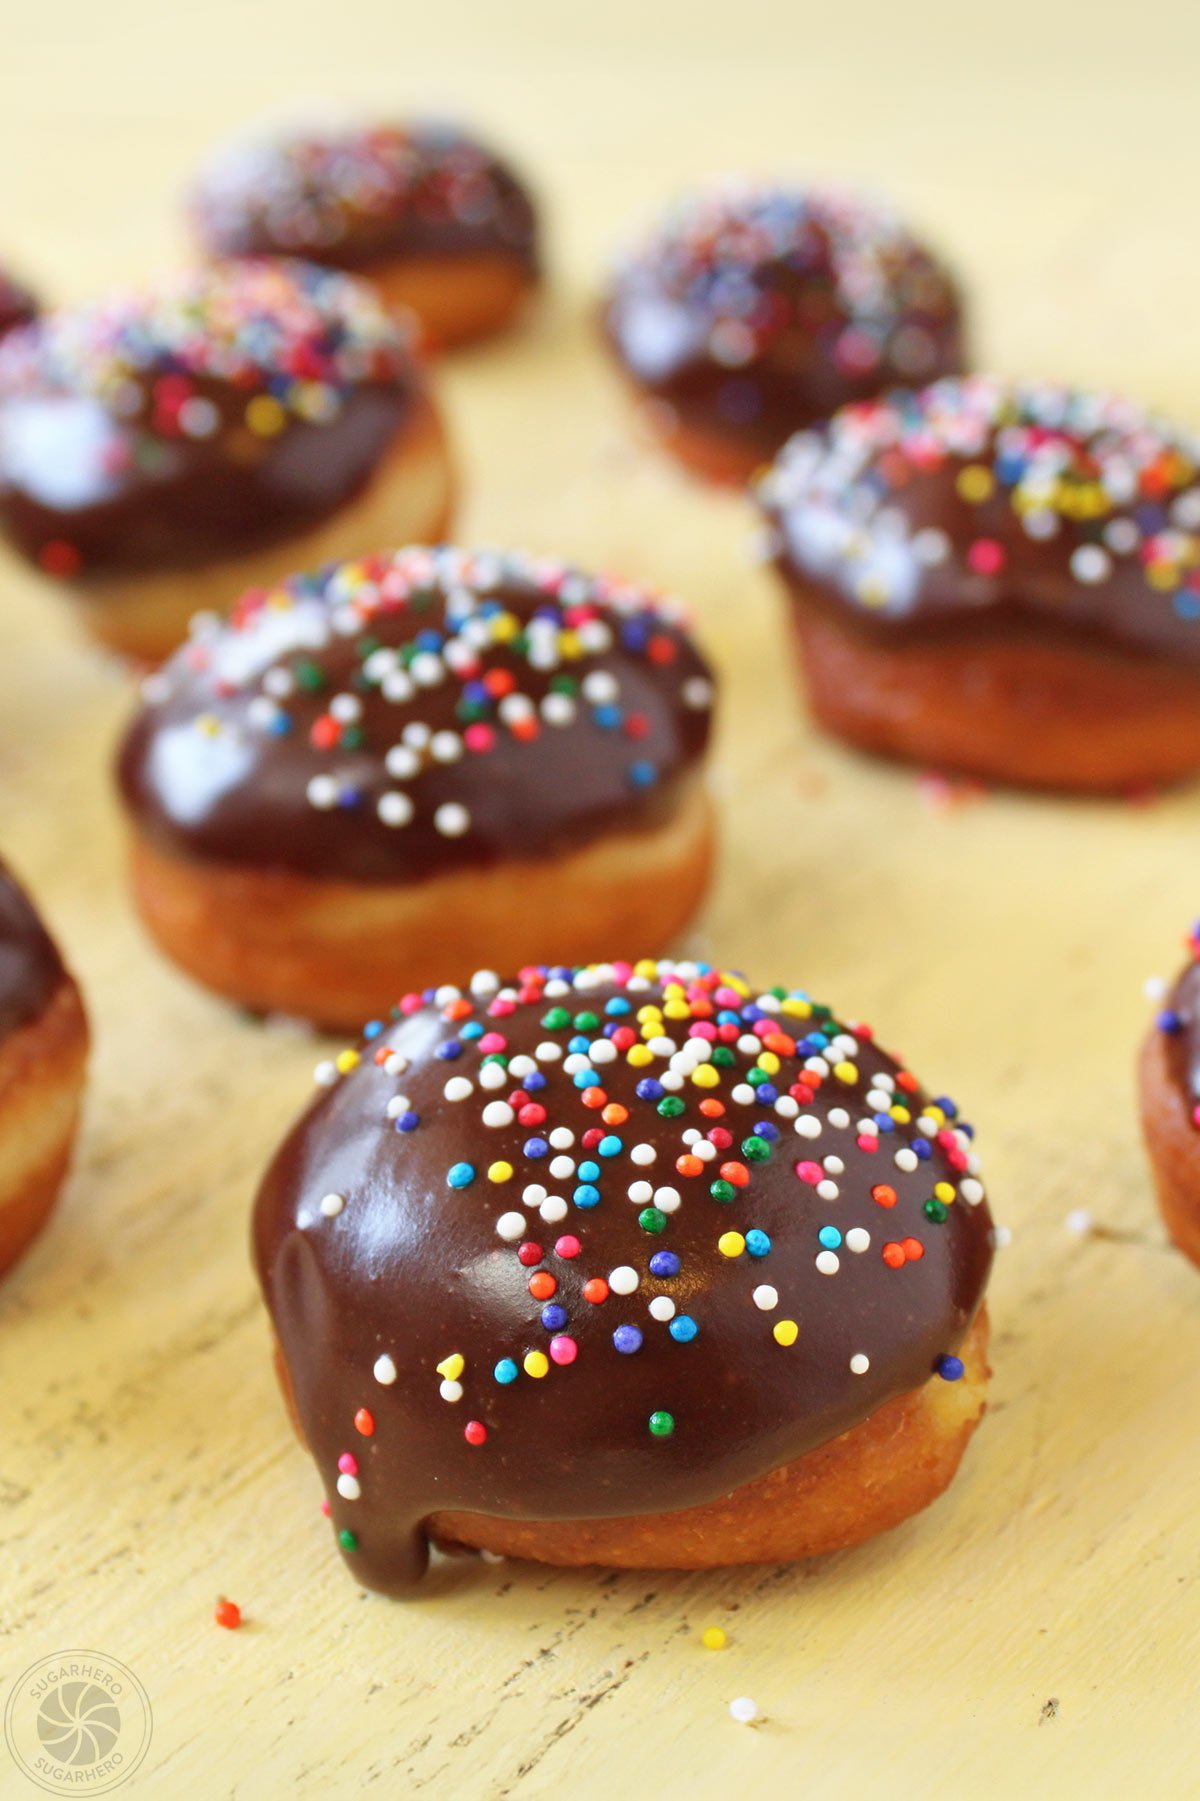
Quick Decoration Tip
Not all of the doughnuts turned out perfectly egg-shaped, so for those that were rounder, I took the cheater’s way out. I decided to top them with sprinkles instead of taking the time to decorate them like Easter eggs!











Hey i found this recipe great! Ive put this on my facebook page i found them so nice! Definatly festive… <3 xxx
Thank you for such a precise and festive recipe! I made these for my catering job this week. I followed your directions exactly except for filling the donuts. They turned out beautifully. I also used the threaded part of a mason jar lid as a cookie cutter and gently stretched out the dough to an egg shape. Thanks for sharing.
So glad to hear they worked out for you, Megan!
i love doughnuts and these are so adorable!