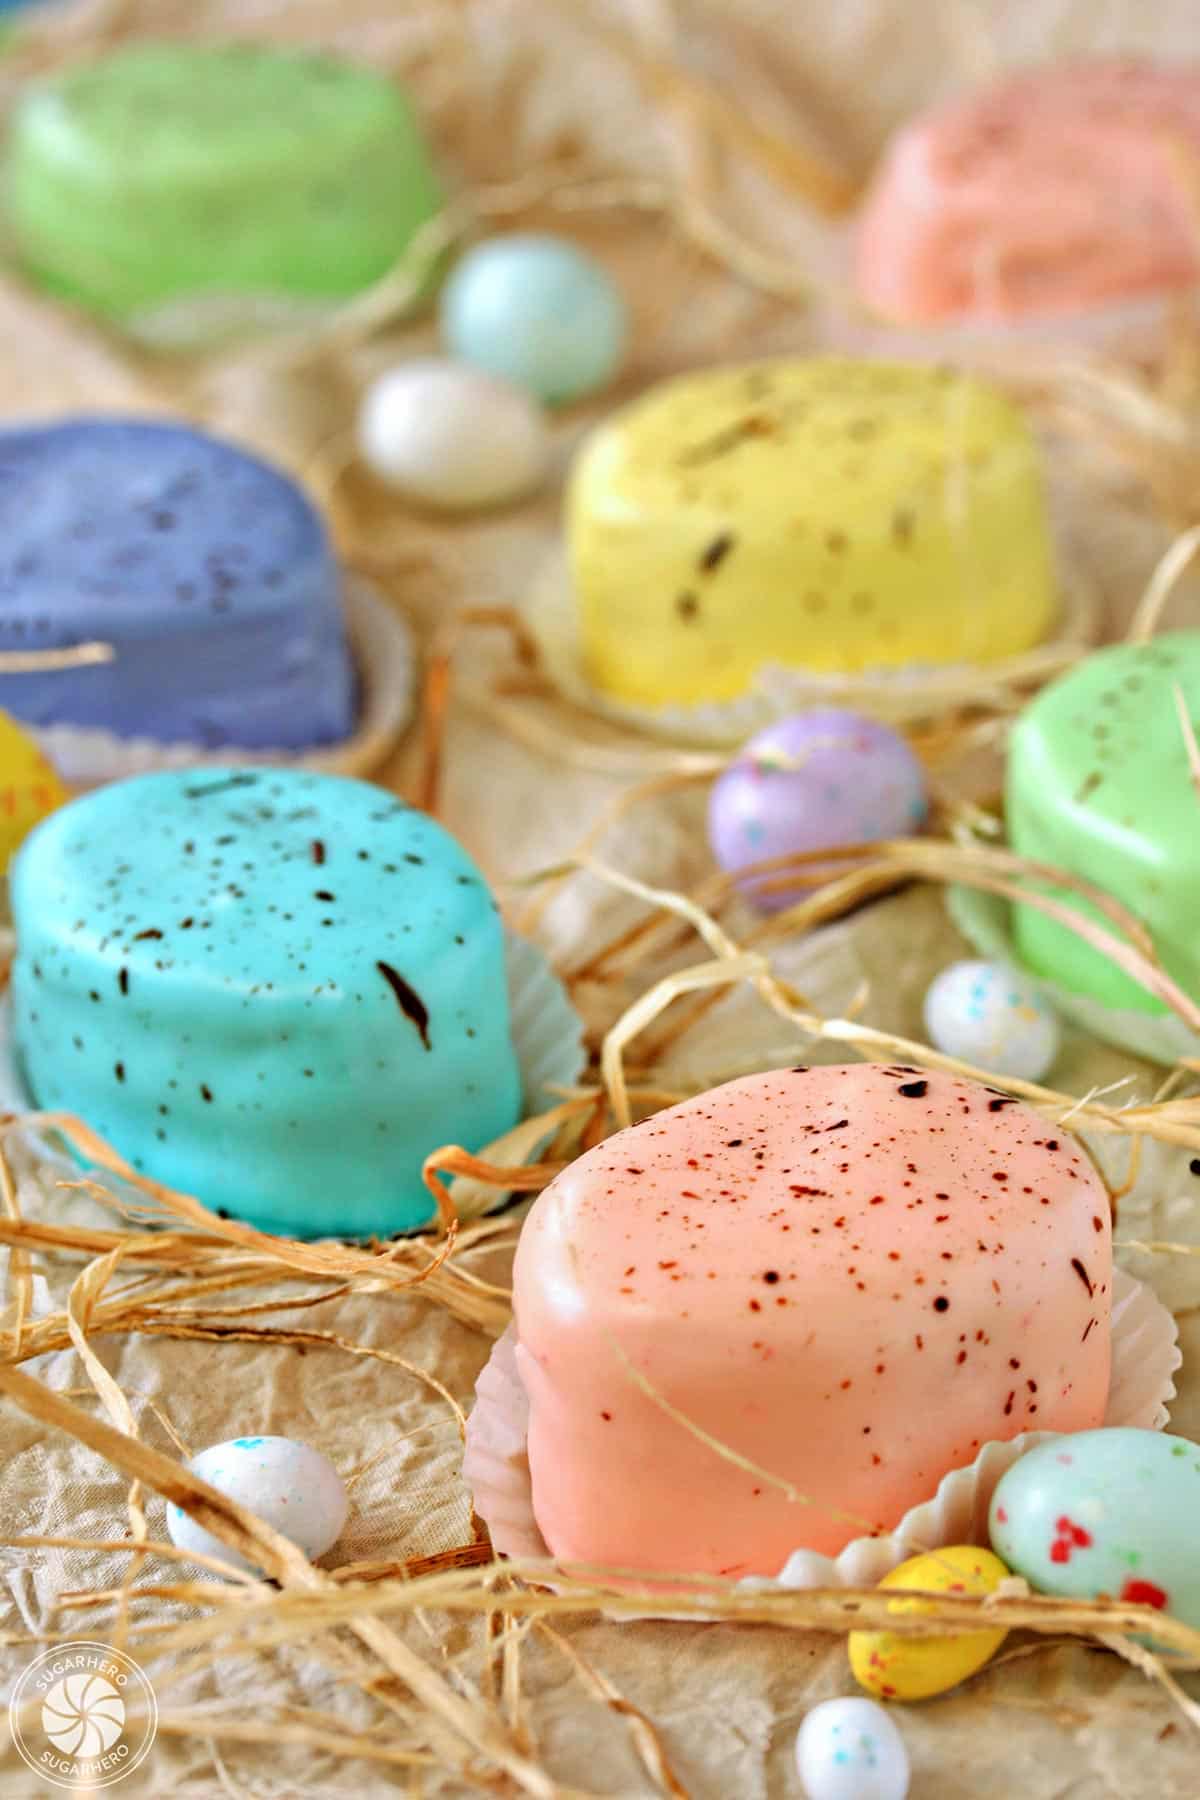
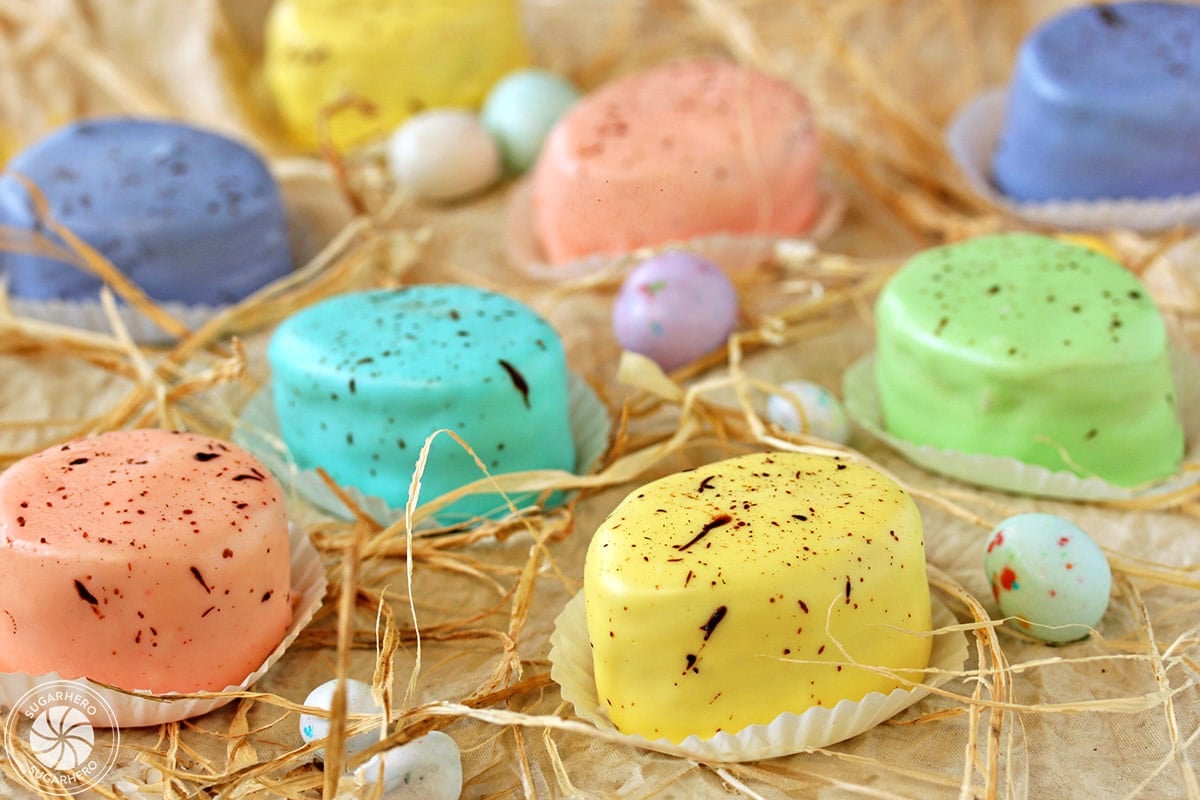
Make the Easter bunny jealous with these Easter Egg Petit Fours! They’re gorgeous mini cakes filled with raspberry and tangerine flavors, and decorated with a pretty speckled glaze in pastel colors.
🪺Easter Egg Petit Fours Recipe
Easter desserts can range from cute and simple, like these Spring Chick Cupcakes or Easter Cake Push Pops, to elegant and showstopping, like Hydrangea Cakes, Lemon Meringue Teacup Cakes or this Easter Nest Cake.
These Easter Egg Petit Fours lean toward the fancier end of things, which might be why I love them so much. (Longtime readers will know that over-the-top recipes make my heart pitter-patter.)
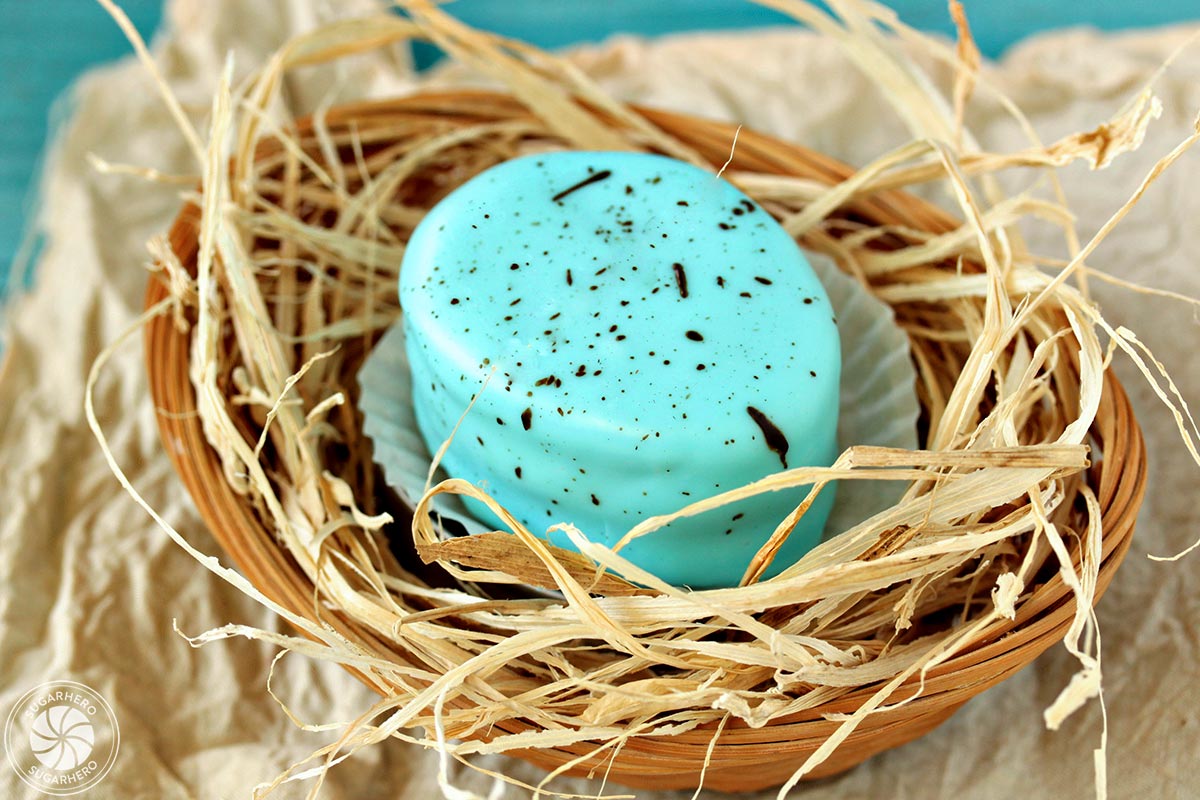
These mini cakes are beautiful, covered in springtime pastel colors and a speckled pattern reminiscent of robin’s eggs, and they’re delicious, with a raspberry-tangerine flavor that is fresh and vibrant. If you’re looking for an outstanding Easter dessert, give these petit fours a try!
Love the speckled look but need something simpler? These Speckled Easter Egg Sugar Cookies are great for bakers of all skill levels.
💭What Are Petit Fours?
The technical definition of a petit four is an appetizer or small one-bite dish, and it can be either sweet or savory.
In America, the definition of a petit four has evolved over time, and now tends to mean a small bite-sized dessert, usually made from cake, covered with a glaze. They are often finished with icing decorations, and can either be served with tea, cocktails, or as part of a dessert selection at the end of a meal.
The simplest way to make petit fours is just to cover squares of pound cake in a poured glaze made from fondant. But that’s a little dry and boring, right?
The tastiest way to make petit fours is to make miniature cake layers, filled with jam or frosting, and then dip small squares of those layer cakes into the glaze. Layering the cake like this makes the petit fours more moist, flavoring, and honestly, much more interesting to eat.
💗Petit Four Components
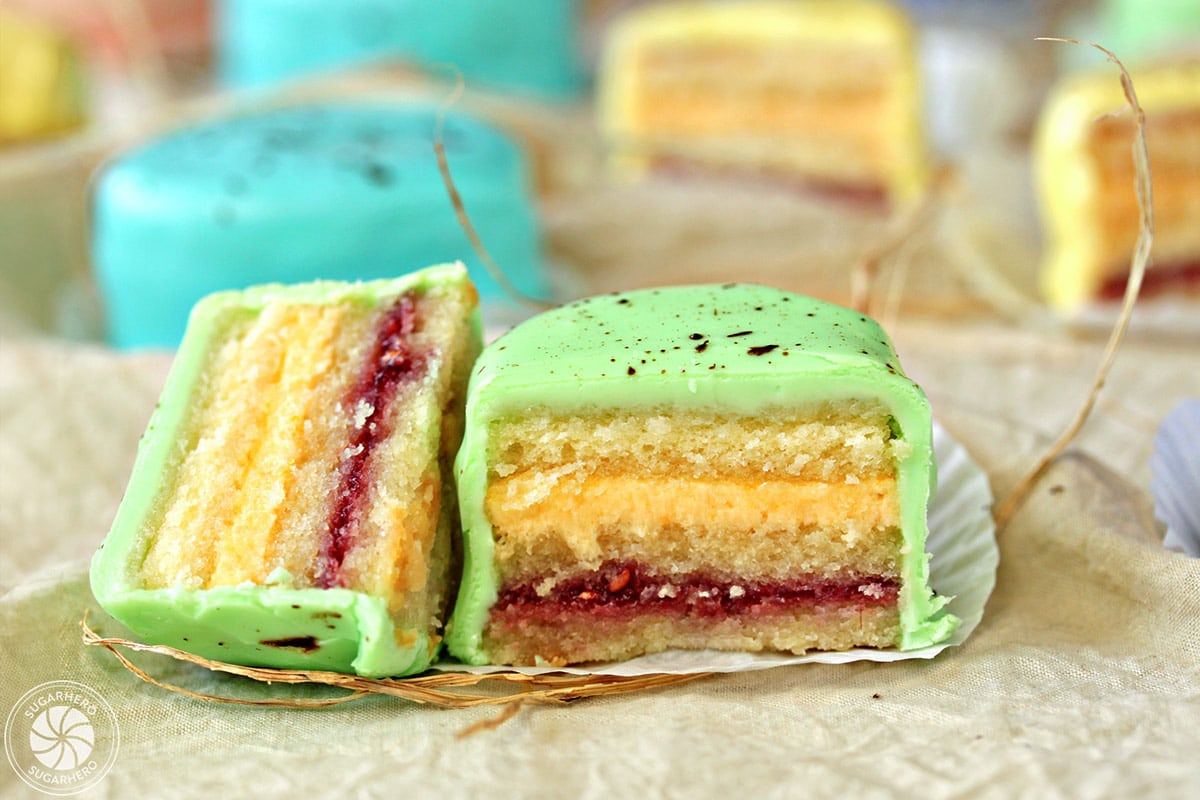
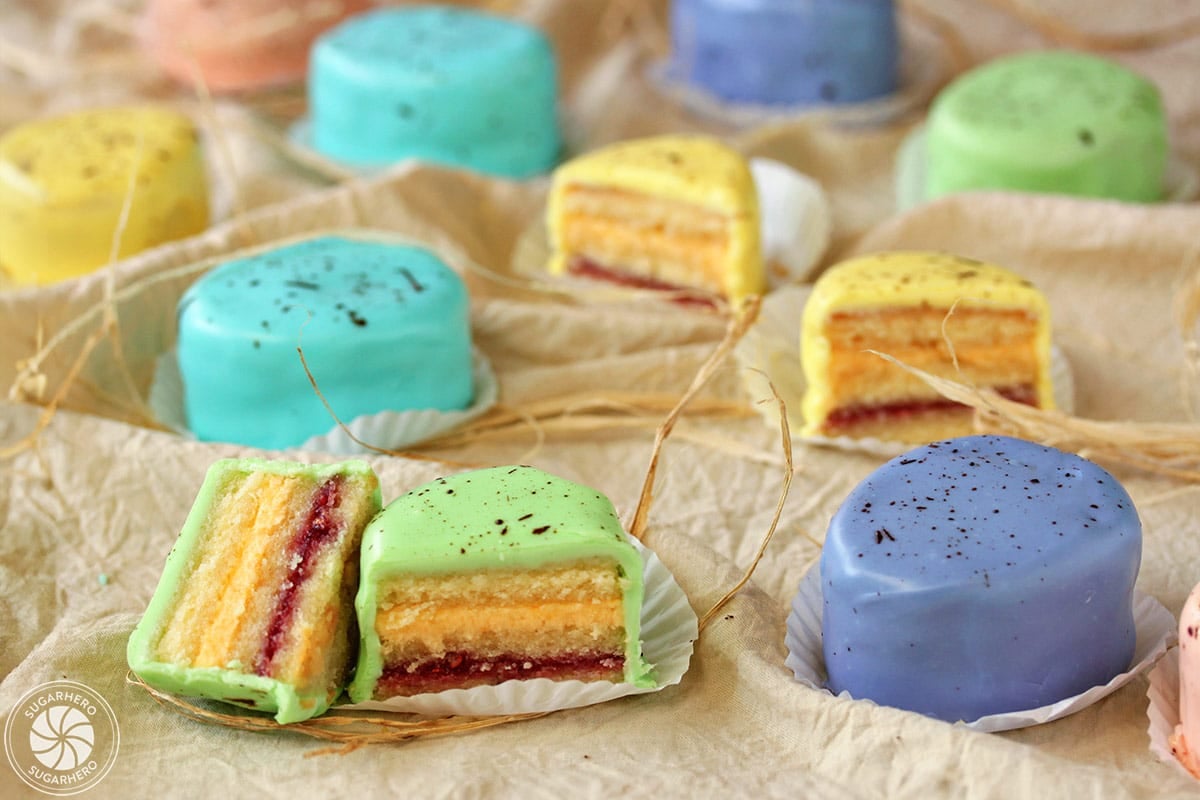
What are in these Easter Egg Petit Fours? The layers look a little something like this:
- Three very thin layers of pound cake, brushed with simple syrup to keep them moist
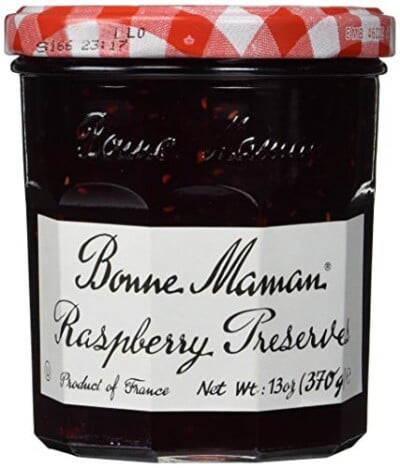
- A layer of sweet-tart raspberry jam
- A layer of homemade tangerine buttercream
- Marzipan on top–optional, but it helps make the petit fours smooth. Plus it tastes great!
- A glossy poured fondant covering the whole thing–this locks in moisture and provides sweetness
- Pretty speckled decorations made from cocoa powder
The raspberry and tangerine flavors are light and springy, and since both the jam and buttercream are a little tangy, they helped cut down on the sweetness of the cake and fondant.
I love the surprise of biting into a miniature cake and finding out that there are layer and layers of flavor and texture inside one small, cute package.
🥣How to Make Petit Fours
These bites are constructed like a sheet cake–a thin, delicate sheet cake. The pound cake is sliced into thin layers, brushed with simple syrup, and stacked with one layer of jam and one layer of homemade tangerine buttercream.
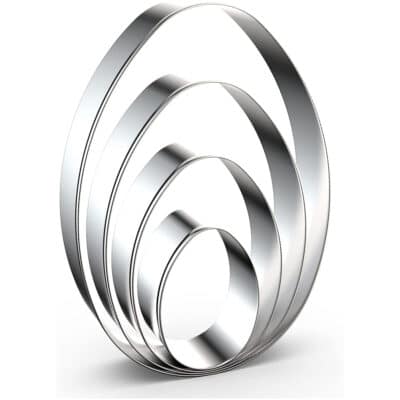
After everything is stacked and layered, the petit fours are cut from the sheet cake with an egg-shaped cookie cutter.
Cutting out the shapes leaves a lot of cake scraps, as you might imagine. (This was obviously a huge burden on my household, but we managed to work through it and bravely munched on the cake scraps until they were gone.)
If you want to save some trouble and some cake, you can always just cut them into squares instead. But don’t come crying to me when you have a jonesing for scraps and all of your cake is spoken for!
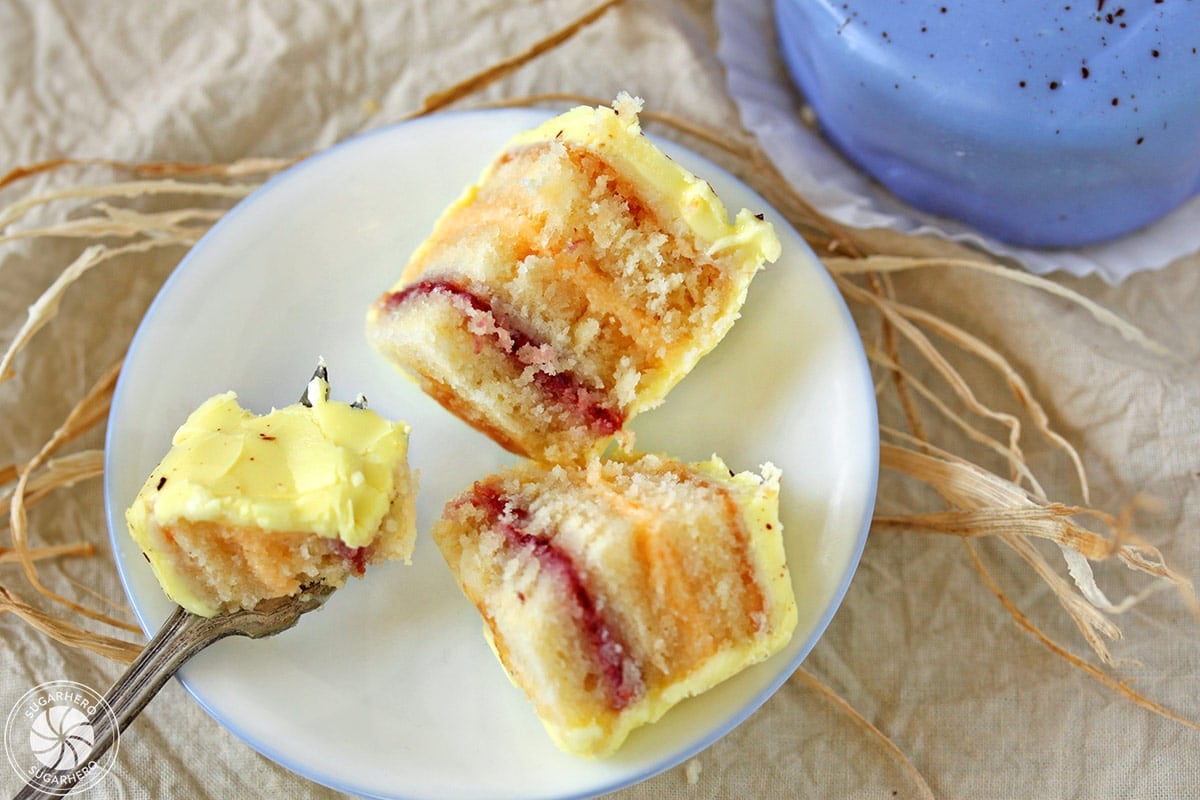
Petit fours are often topped with a thin layer of marzipan, an almond-flavored paste similar in consistency to rolled fondant. The marzipan provides an even surface on top of the cake so that the petit fours look smooth when dipped. It also adds additional flavor, and helps keep the cake underneath moist.
Marzipan can often be found in 7-oz tubes in the baking aisle of most large grocery stores, but if you can’t find it, or don’t like the flavor of almond, it can easily be omitted.
🥄Petit Fours Icing
Petit fours wouldn’t be petit fours as we know them without a shiny fondant glaze on the outside! This signature glaze is beautiful, useful…and honestly, kind of a pain to work with!
You have several options for glazing your petit fours. The traditional way is to use poured fondant, which is a super-sweet icing that is thin enough to pour smoothly, but dries to be firm to the touch, so the cake pieces can be handled. Poured fondant is NOT the same as standard rolled fondant, and you can’t substitute one for the other!
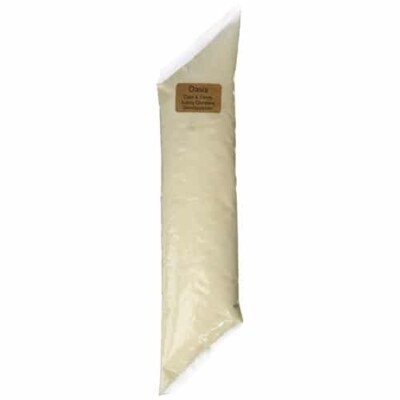
You can make your own poured fondant at home, and if you want to do that, I recommend using this poured fondant recipe. Because petit fours are time and labor intensive enough on their own, I prefer to save time and buy my poured fondant whenever possible. I usually get it at a local cake supply store, but you can also purchase poured fondant online. This is definitely the route I recommend taking if this is your first time making petit fours!
Your other options for making a petit four glaze:
- Try a powdered sugar-based glaze, like this one
- Use candy melts to make a firm ganache–see this petit four recipe
- Use a gelatin-based glaze, for lots of shine–like in this petit four recipe
The petit fours dipping process is described in detail in the recipe below, but if you’d like to see an example of how to do it, check out this video showing how to dip petit fours.
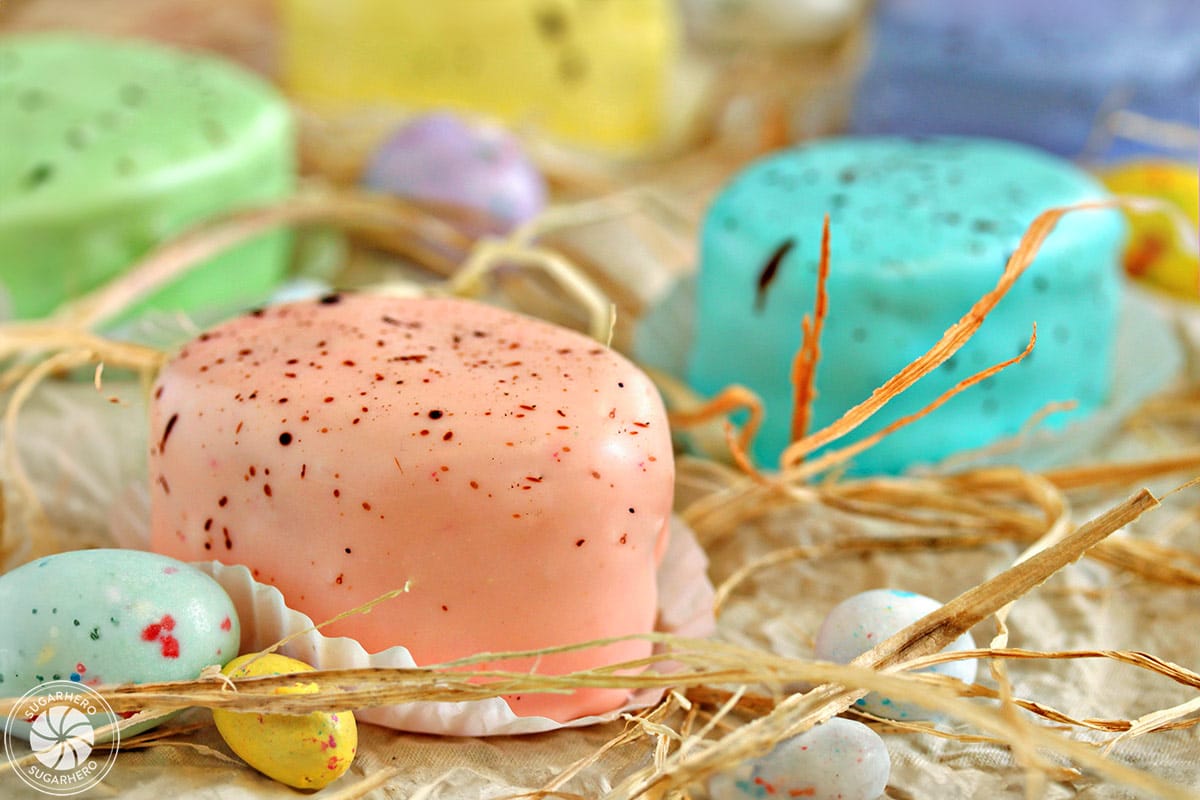
After all of that work–the layering, the cutting, the chilling, and the dipping–is it worth it?
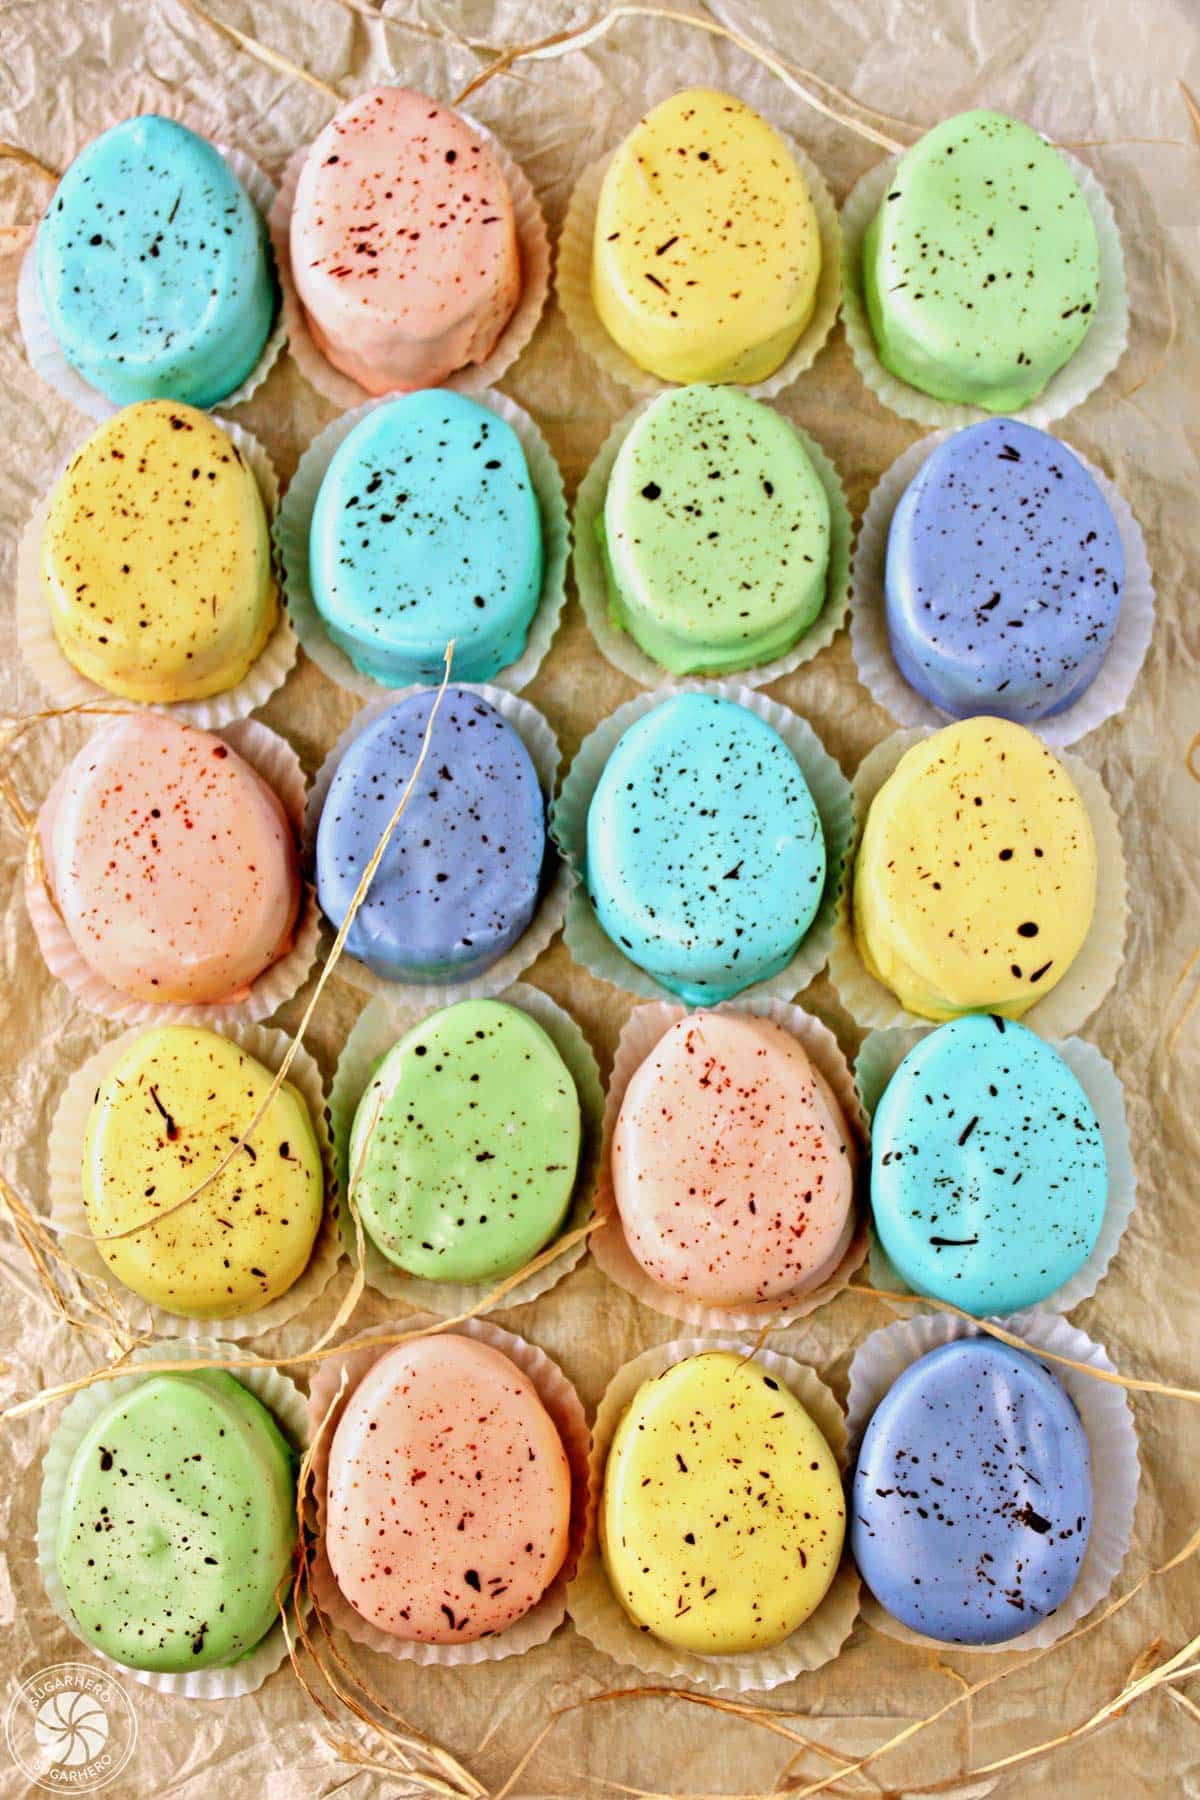
Yes, absolutely!! Making petit fours is a labor of love, but there’s no doubt this is a knockout recipe. The assortment of colors, the shiny finish of the glaze, the cocoa powder speckles…they all combine to make one gorgeous dessert!
These little bites are light enough to serve at a brunch, but fancy enough to be served as dessert at an Easter dinner. Make them! Love them! Eat them all yourself or share with your favorite friends—doesn’t matter. Just give them a try!
More Petit Four Recipes
💗After you master Easter Egg Petit Fours, try your hand at one of these recipes:
🥚 More Cute Easter Egg Recipes
Can’t get enough Easter desserts? Give one of these Easter egg-themed recipes a try!

Marbled Easter Egg Truffles

Pastel Rainbow Gelatin Cups

Easter Egg Petit Fours
Ingredients
For the Pound Cake:
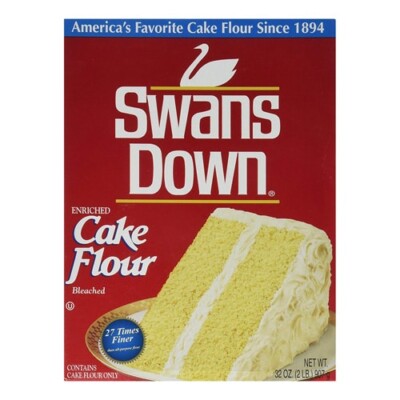
- 9 oz cake flour, (2 ¼ cups)
- 1/2 tsp salt
- 8 oz unsalted butter, at room temperature
- 8 oz cream cheese, at room temperature
- 15.75 oz granulated sugar, (2 ¼ cups)
- 6 large eggs, at room temperature
- 1 tsp vanilla extract
For the Tangerine Buttercream:
- 4 oz unsalted butter, at room temperature
- 12 oz powdered sugar, (3 cups)
- 2 tbsp tangerine juice, from 1-2 tangerines
- 1/8 tsp salt
- 1 tbsp tangerine zest, from 2-3 tangerines
To Assemble:
- 1 cup water
- 7 oz granulated sugar, (1 cup)
- 2 tbsp framboise, optional, can substitute another liqueur or omit
- 1 1/2 cups raspberry jam
- 7 oz marzipan, optional
- 3 lbs poured fondant
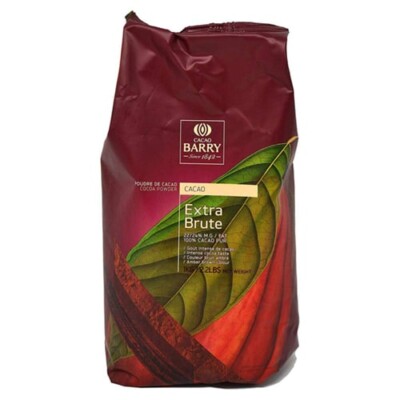
- 1 tbsp unsweetened cocoa powder
- 2 tbsp water
Instructions
To Make the Pound Cake:
- Preheat the oven to 350 degrees F. Line a 10×15-inch rimmed baking sheet with parchment, and spray with nonstick cooking spray. Sift together the cake flour and salt.
- Combine the butter, cream cheese, and sugar in the bowl of a large stand mixer. Beat them together on medium-high speed until very light and fluffy, 3-4 minutes. Reduce the speed to medium and add the eggs one at a time, beating for 1 minute after each addition. Add the vanilla extract. Finally, turn the speed to low and add the cake flour, mixing until just a few streaks of flour remain.
- Stop the mixer and finish mixing by hand, scraping the bottom and sides of the bowl and stirring well. Scrape the batter into the prepared pan and smooth it into an even layer.
- Bake the cake for 22-25 minutes, until it’s golden brown and it springs back when touched lightly with the fingertips. Let it cool completely at room temperature. The cake can be made several days ahead of time; wrap it well in cling-wrap if you’re making it in advance.
To Make the Tangerine Buttercream:
- Combine all of the ingredients in the bowl of a large stand mixer. Mix on medium-low speed until they’re combined, then scrape down the bottom and sides of the bowl.
- Turn the mixer to medium-high and beat the buttercream until it’s light and fluffy. If it seems very soft add a bit more powdered sugar, and if it seems too stiff add a bit more tangerine juice.
- This buttercream can be made in advance and stored in the refrigerator for up to a week. If you make it in advance, let it come to room temperature and re-beat it before you use it.
To Assemble the Petit Fours:
- Make a simple syrup by combining 1 cup of water and the sugar in a small saucepan over medium heat. Stir until the sugar dissolves, then bring the mixture to a boil. Once it boils, remove the pan from the heat, then stir in the optional framboise, if using. Let it cool to room temperature while you prepare the cake. Have your room temperature buttercream and room temperature raspberry jam ready.
- Flip the cake upside-down onto a cutting board and peel off the piece of parchment. Cut the cake into six rectangles by cutting the cake across the middle lengthwise, then cutting it into thirds widthwise. Use a long serrated knife to carefully cut each rectangle into two thin layers (like you would cut a cake into layers) so that you’re left with 12 thin rectangles.
- Brush one rectangle with the simple syrup mixture. Dollop on a spoonful of raspberry jam, and spread it in a thin layer over the cake. You want enough jam so that the flavor comes through, but not so much that the cake is unstable.
- Top the jam with another cake slice, and brush it with more simple syrup. Top this cake layer with a thin layer of tangerine buttercream, about the same height as one of the cake layers.
- Brush one more cake layer with simple syrup, then place it, syrup side-down, on top of the buttercream. You should now have a 3-tiered rectangle of cake. Set it aside and repeat this process with the remaining cake layers, until you have four rectangles of assembled cake.
- Divide the marzipan in four pieces and roll each into a very thin layer. Brush the top of one of the rectangles with a bit of simple syrup, and press the marzipan on top. Trim the edges so the marzipan is flush with the sides of the cake, and repeat until all of the cake rectangles are covered with marzipan. The marzipan is technically optional, but it helps give your dipped cakes a clean look on top. Refrigerate the tray to firm up the cake rectangles, for about 45 minutes.
- Once firm, use an egg cookie cutter to cut egg shapes out of your cake. If the cake layers are taller than the cutter, try pressing the cutter down until it is flush with the top of the cake, then using a paring knife to trim around the bottom—this prevents the top of your egg petit fours from getting dented or smashed when you try to press the cutter to the bottom of the cake.
- Place the eggs on a baking sheet and freeze them until firm, about 1-2 hours. The eggs should be very hard before you dip them.
- If you want to make your fondant different colors, divide it up into smaller bowls and work with one portion at a time. Warm up your fondant in the microwave until it is very warm and very fluid—it should readily pour from a spoon. Add a drop of food coloring and stir it in, then adjust the color and add another drop or two if desired. You will need to warm up the fondant fairly frequently during the dipping, so it’s easiest if you work near the microwave.
- Take the tray of cake from the freezer. Press a wooden barbeque skewer through the bottom of one of the pieces, until it is firmly in the middle but not poking through the top.
- Dip the top of the cake into the fondant at a 45-degree angle and swirl it around. Use a spoon to pour fondant on the sides of the cake as you twirl it. Remove it from the fondant, let the excess drip back into the bowl, and use a spoon to touch up any areas that were missing fondant.
- Take a fork and put it under the piece of cake, twist the skewer to remove it so the cake is resting on the fork, then gently set the cake onto a wire cooling rack to set.
- Repeat until all of the pieces of cake are dipped. If the fondant gets too thick, re-warm it in brief intervals in the microwave. Once the fondant is set, use a sharp knife to carefully loosen them from the wire rack.
- To add the speckled appearance, mix the cocoa and 2 tbsp warm water in a small bowl until the cocoa powder dissolves. Dip a small paintbrush in the cocoa mixture, then flick it against your finger so that the cocoa splatters. (I recommend doing this step over a sink for easy clean-up.) Continue to dip and flick the brush until the petit fours are as speckled as you want.
- For the best taste and texture, enjoy these petit fours at room temperature. Store extra petit fours in an airtight container in the refrigerator for up to two weeks.
Recipe Notes
Measuring Tips
Our recipes are developed using weight measurements, and we highly recommend using a kitchen scale for baking whenever possible. However, if you prefer to use cups, volume measurements are provided as well. PLEASE NOTE: the adage “8 oz = 1 cup” is NOT true when speaking about weight, so don’t be concerned if the measurements don’t fit this formula.
Want to learn more about baking measurements and conversion?
Nutrition
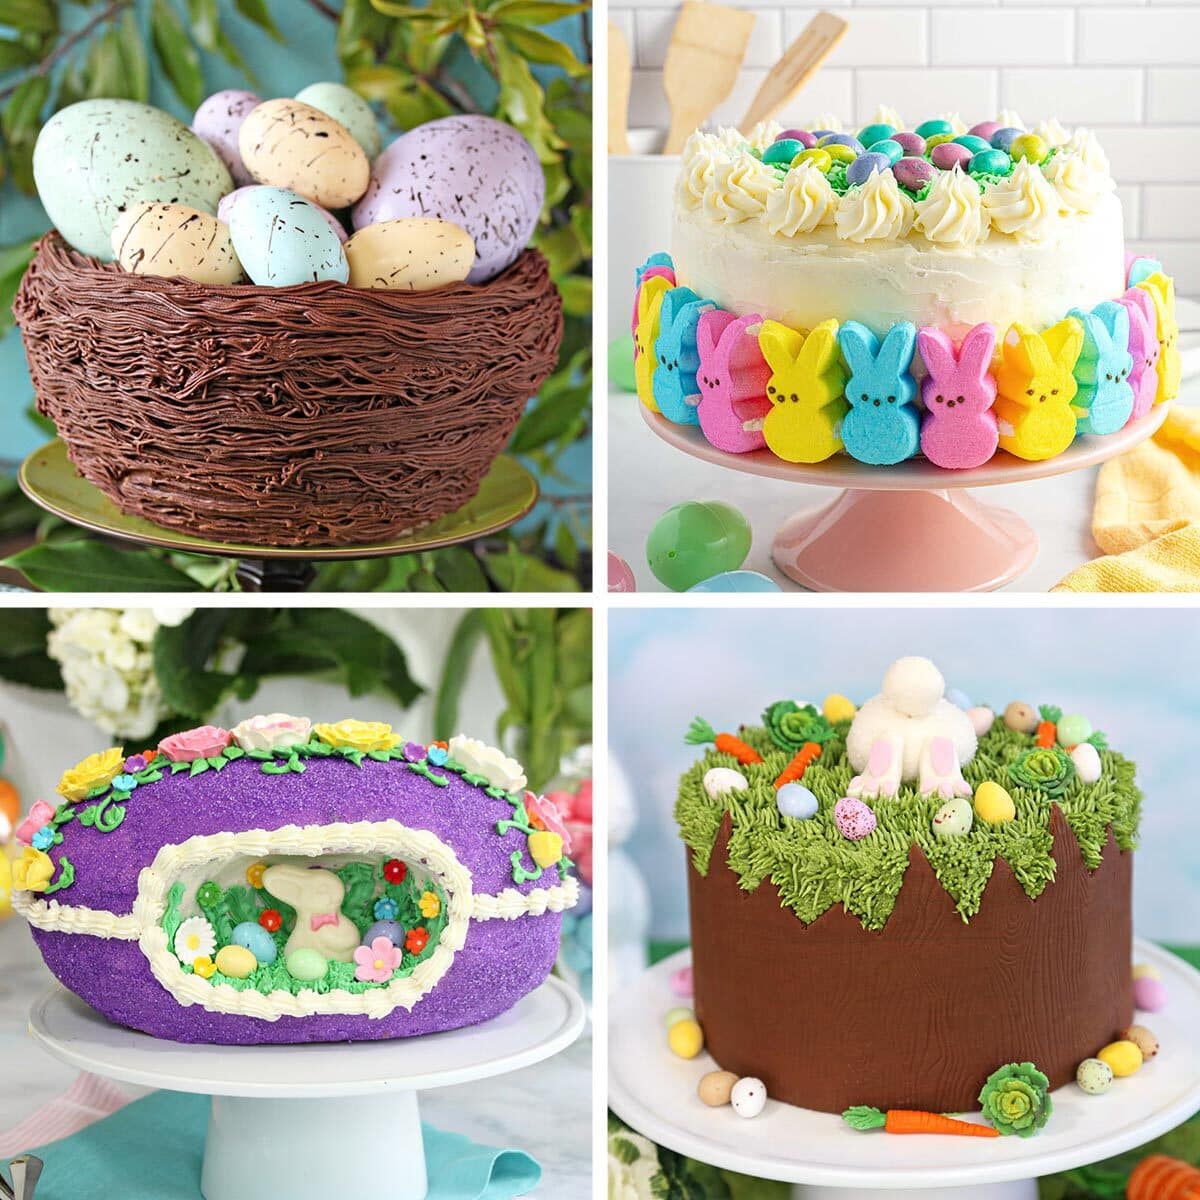
EASTER CAKE RECIPES 🐇
We’ve rounded up 35 adorable Easter cake recipes that will make your holiday extra-special — click here to get all the recipes!








These look incredible! I adore petit fours because they’re so cute and tiny, and can be altered to suit any kind of theme, but you are 100% right – they ARE a labor of love!
Hey,
Thank you so much! I really appreciate that! Also, I couldn’t agree more!
Very tasty recipe. Tried this recipe and everyone in my family loved it ty 🙂
Hi Marie, I am so glad to hear it was enjoyed! Thank you so much for your response!
These look delicious. I never get tired of baking so adding these to my favorites.
Thanks Abigail! I’d love to hear how it goes when you give them a try. 😀
I made this cake tonight – it is cooling as I type. However, using a 10×15 pan, the batter filled it to the top. While it didn’t rise much, it seems like a slightly larger baking pan would have been better. The cake is about 1” high, after splitting, filling, and layering 3 cakes, it will be more than 1 1/2”…is this correct? I am making these into traditional square petit fours, but it just seems that these will be quite tall. Thanks!
Hi Genna, Thanks for the feedback. These are larger than traditional petit fours, because I envisioned them more as single-serving Easter desserts than a two-bite treat. But you could certainly bake the cake in a larger pan to make thinner layers and smaller petit fours next time. I hope the recipe worked well for you and would love to hear how everything turned out!