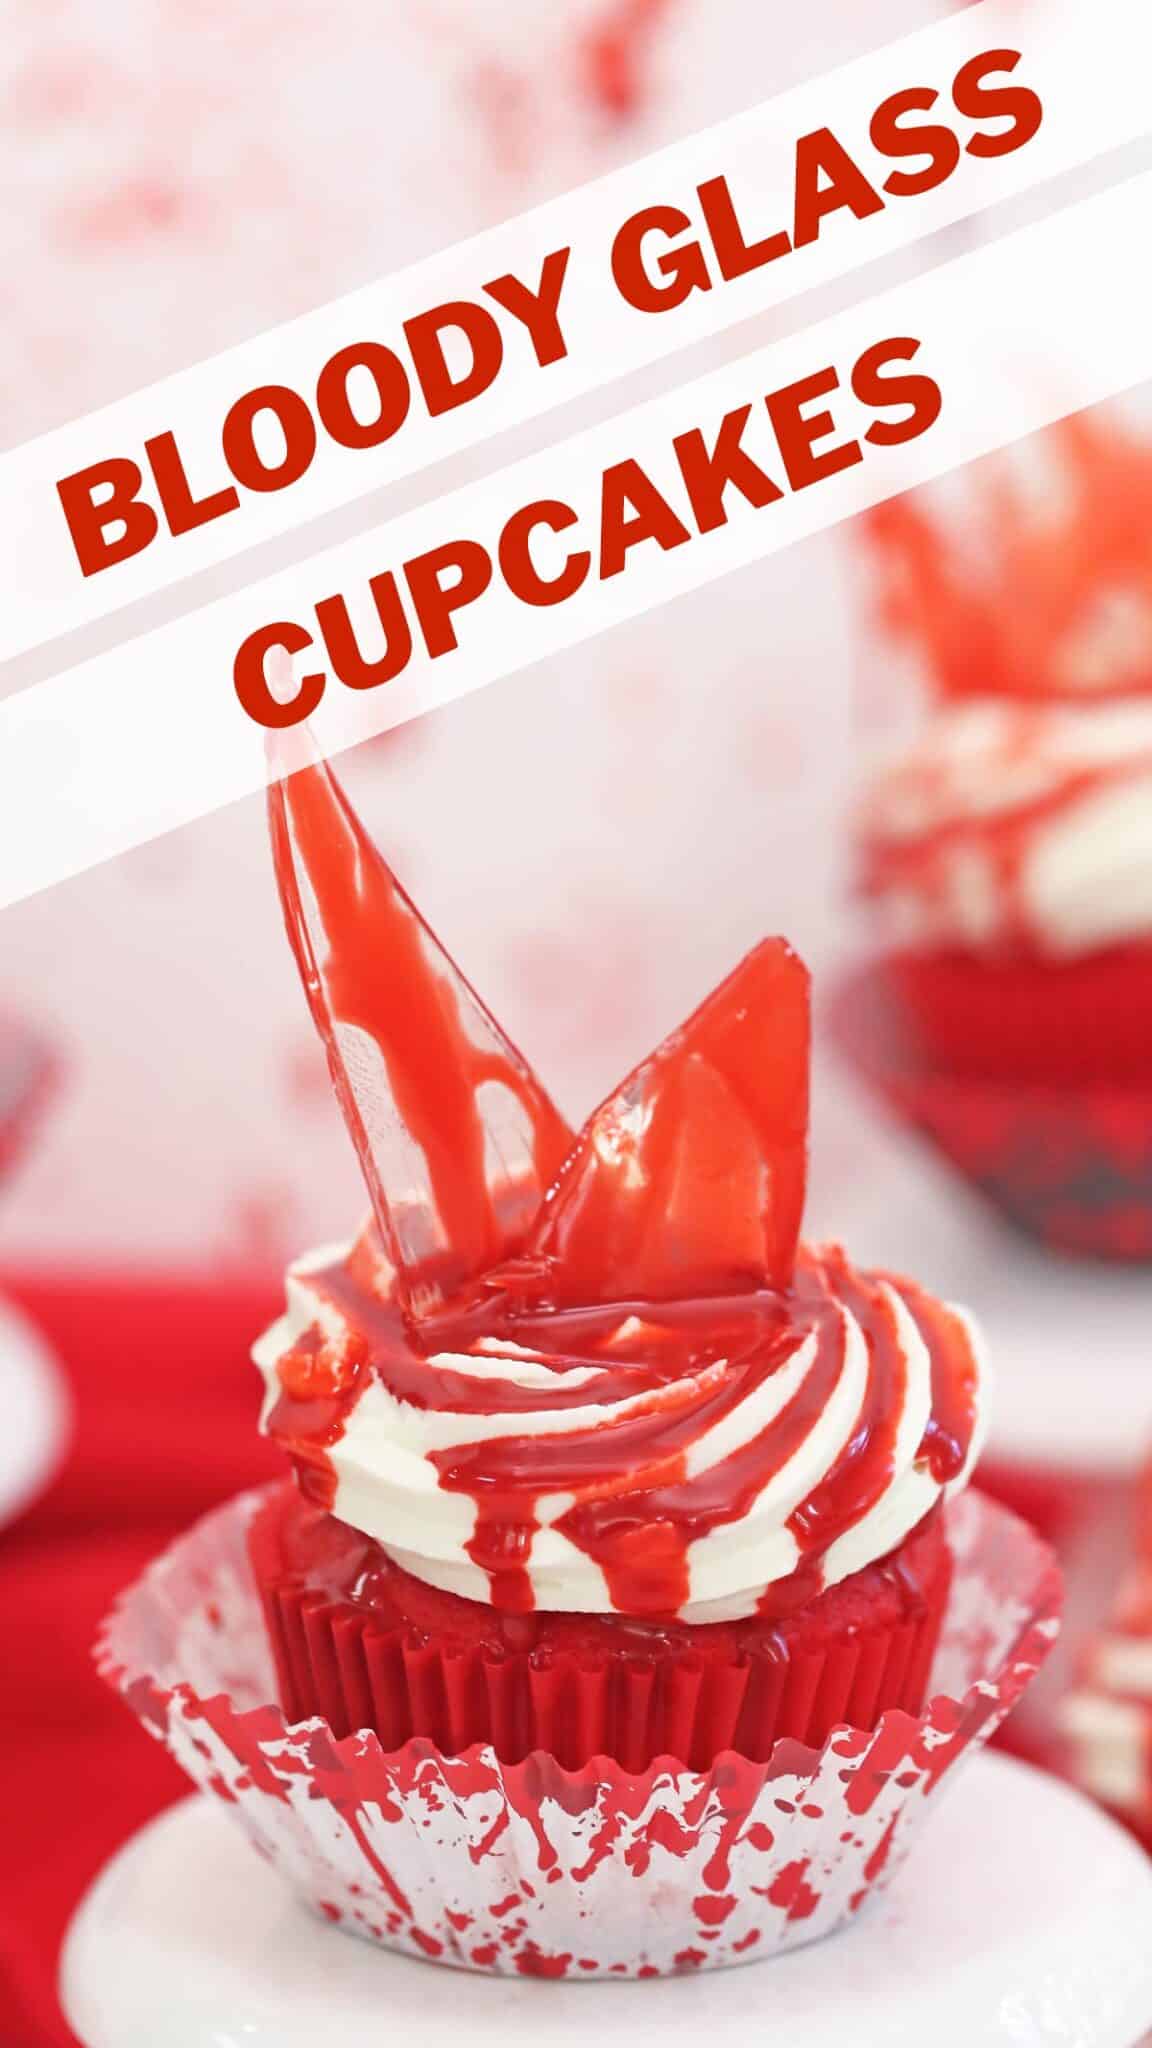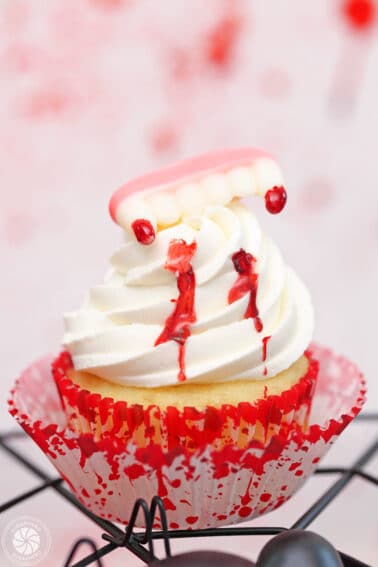


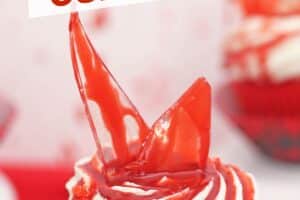
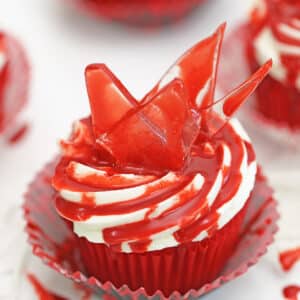
These Bloody Glass Cupcakes may look creepy, but the taste of moist red velvet cupcakes and smooth vanilla buttercream is heavenly! Add a touch of Halloween drama and top these gory goodies with homemade candy glass shards.
🩸 Broken Glass Cupcakes
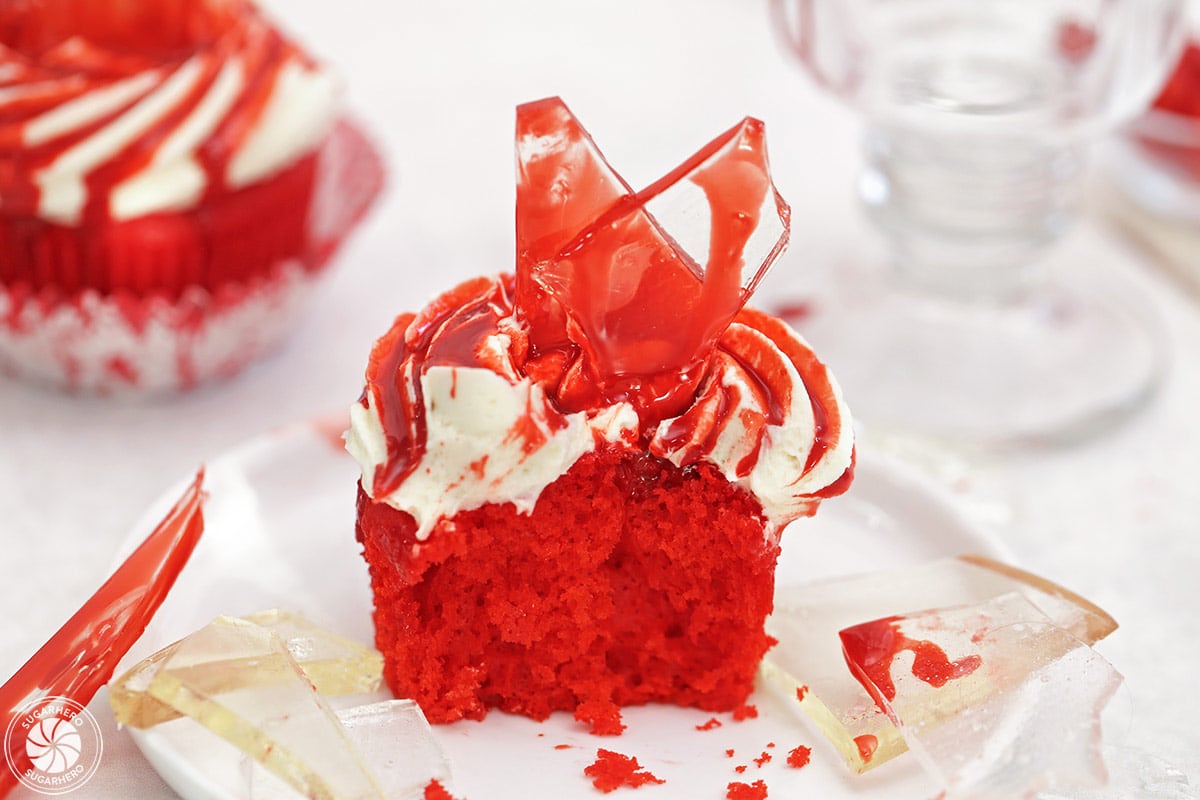
If you like your Halloween sweets to be more chilling than cutesy, these Bloody Glass Cupcakes are the recipe for you!
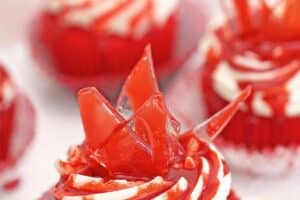
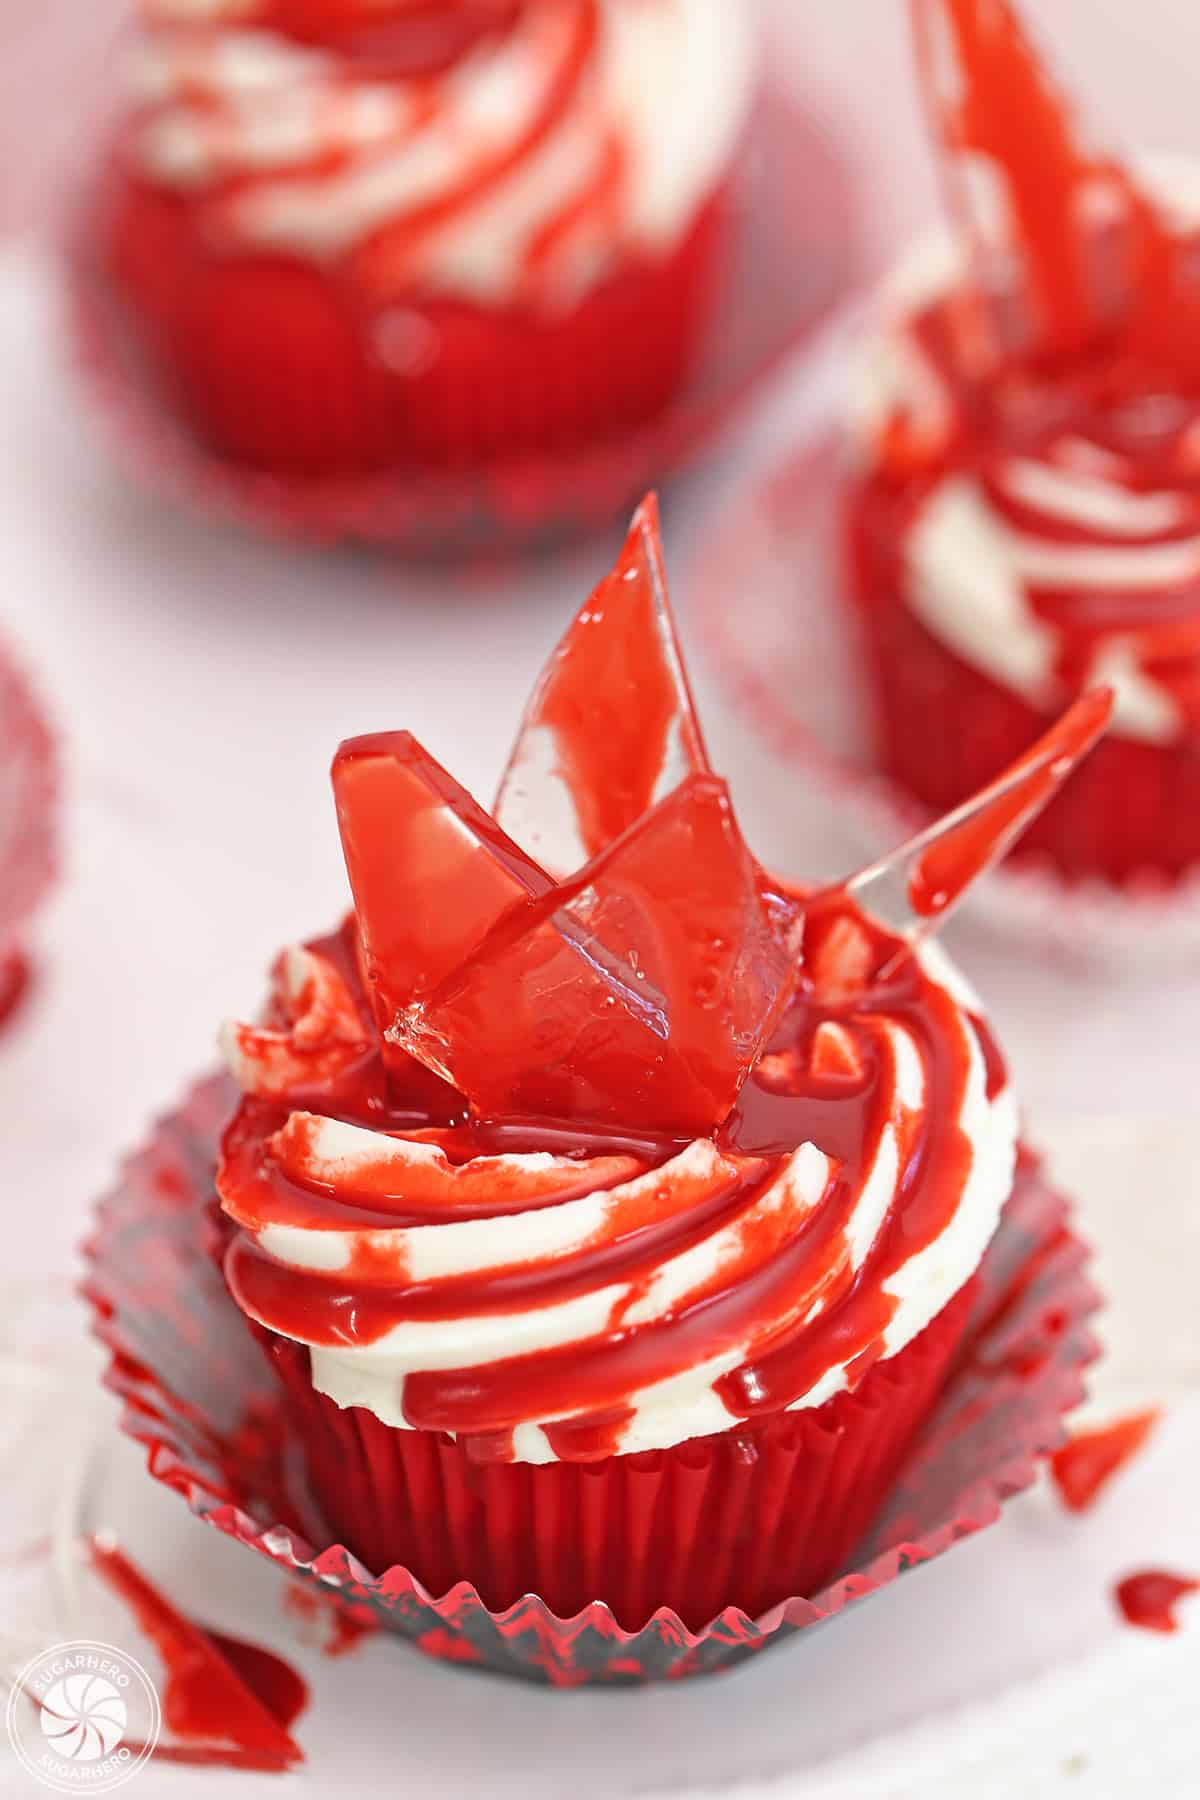
They start out innocently enough, with a red velvet cupcake base and a swirl of creamy vanilla frosting on top. But then things get macabre: add spiky shards of edible candy glass, and finish with a drizzle of bright red edible “blood” to make the most gruesome Halloween cupcakes ever.
They’re probably not appropriate for kid’s parties, but for any horror-themed adult get-togethers? They’re to die for.
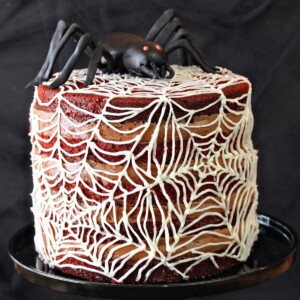
P.S. Can we agree that red velvet is the master mood-setter for spooky get-togethers? Serve up a slice of Red Velvet Marshmallow Spiderweb Cake, or a steaming cup of bloody Red Velvet Hot Chocolate, and your party is guaranteed to be horrifyingly good.
More Sinister Sweets
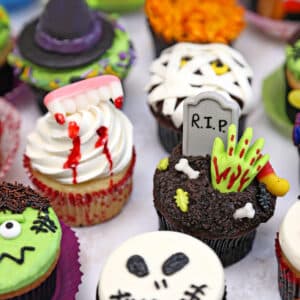
‘Tis the season for frightfully-fun Halloween treats!
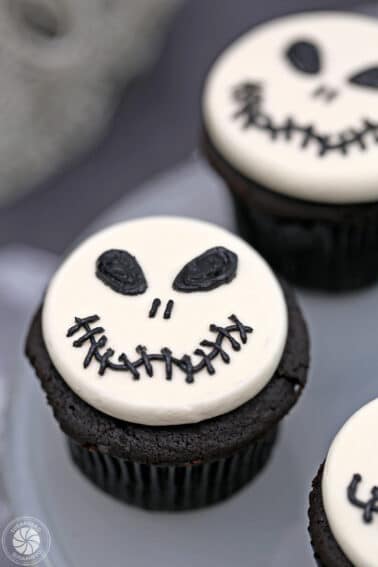
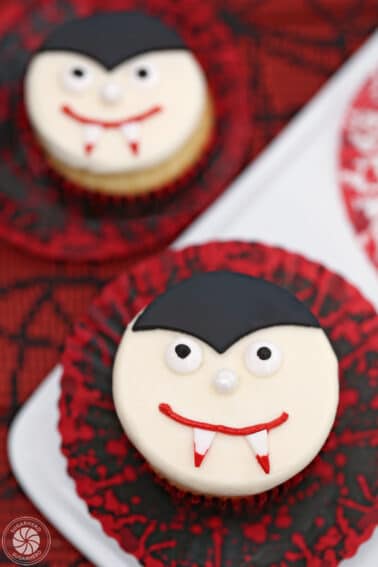
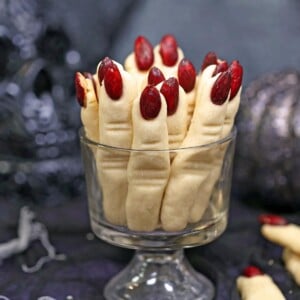
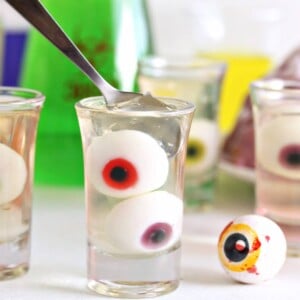
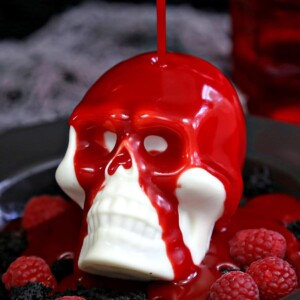
Check out some of our most popular recipes for the holiday: Donut Hole Eyeballs, Bloody Halloween Cake Balls, Melting Chocolate Skulls, and Vampire Bite Cupcakes.
Table of Contents
🧾What You’ll Need
Ingredients
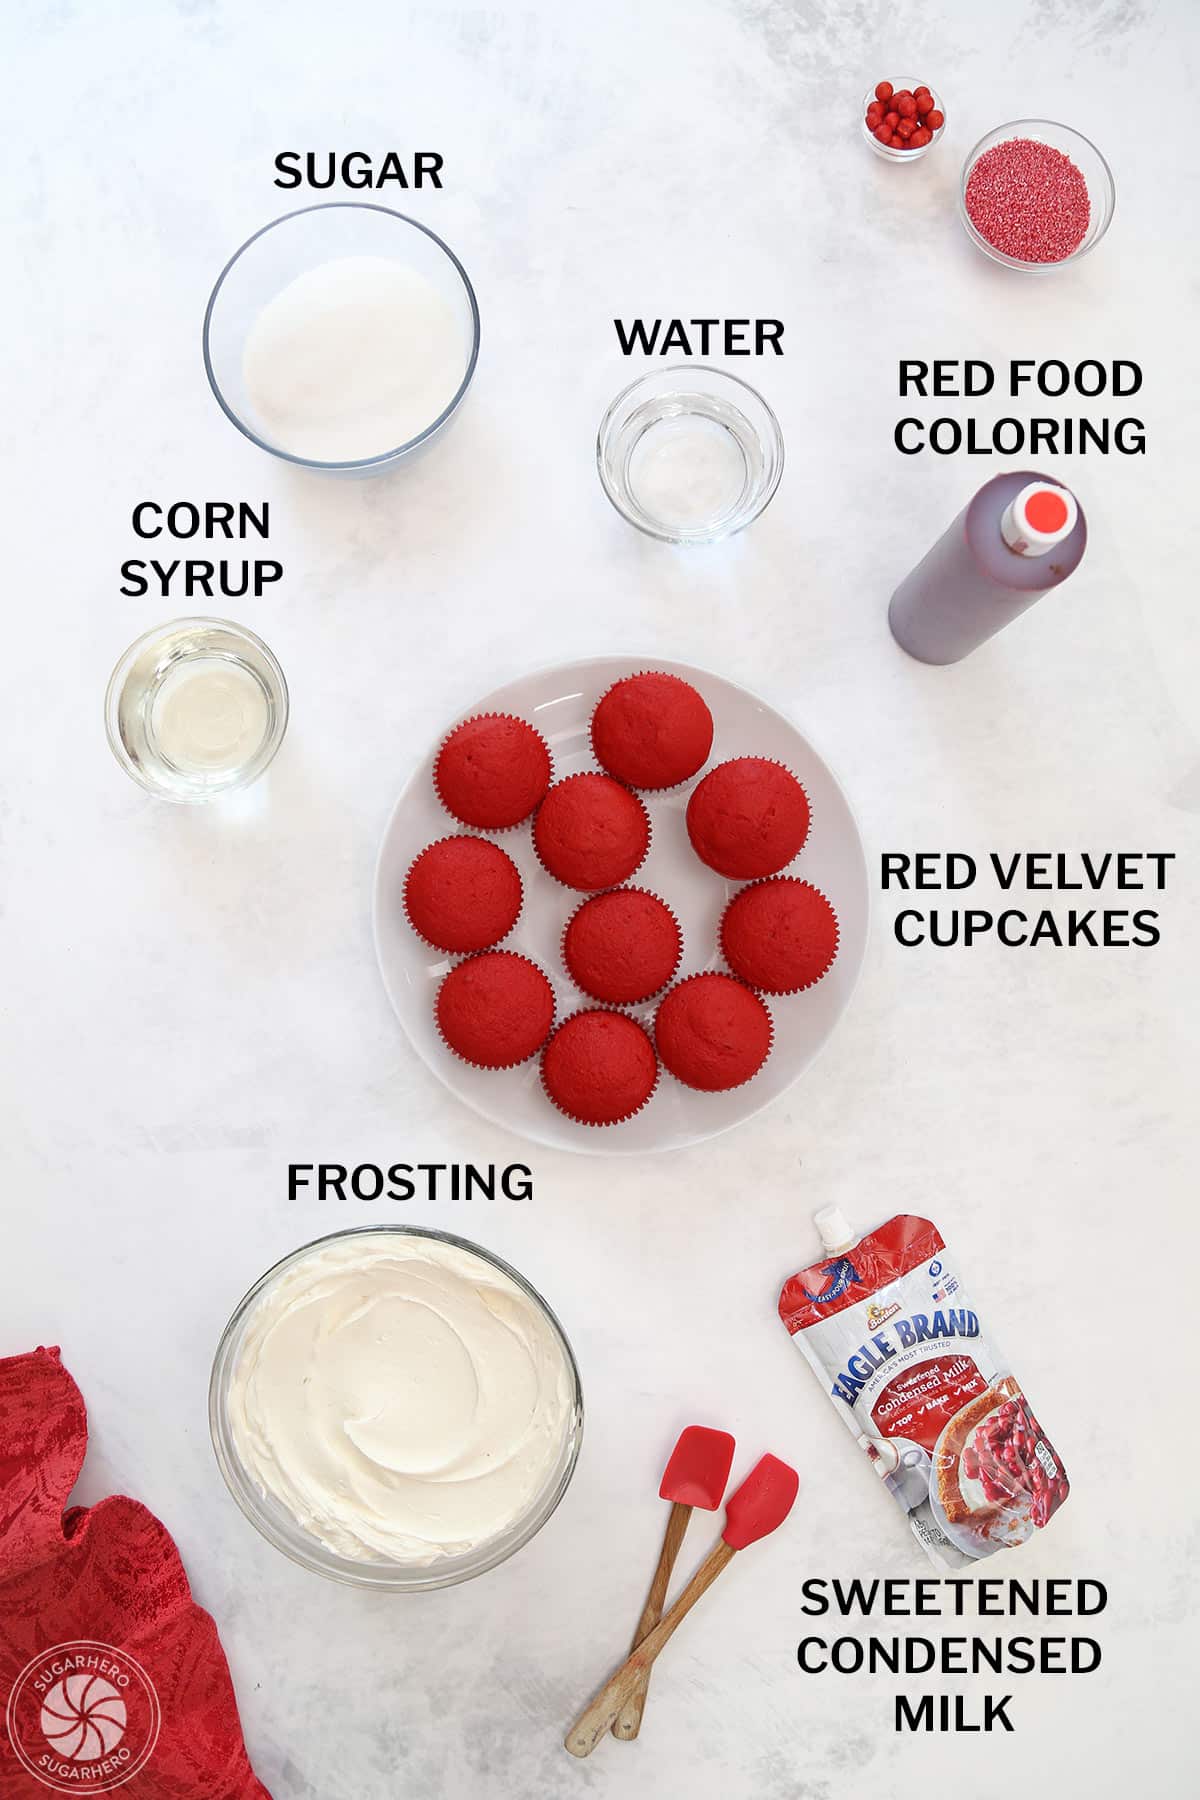
You’re going to love how these simple ingredients come together to make such creepy cupcakes. Read through these helpful ingredient tips, and check the recipe card for full ingredient amounts. (Links are affiliate links and I earn a small commission from qualifying purchases.)
For the cupcakes and Glass Candy
- 24 baked and cooled cupcakes: You can use a store bought mix, or try my recipe for red homemade red velvet cupcakes. If you don’t like red velvet, make any other cupcake flavor you like.
- Water
- Light corn syrup: Prevent crystallization in your glass candy by adding light corn syrup to the mixture. You can also use golden syrup or glucose syrup if you can’t find it.
- Granulated sugar: In my experience, granulated sugar made from cane sugar has more reliable, consistent results than granulated sugar made from beets. I strongly prefer using 100% cane sugar. If your sugar package does not specify, it’s likely made from beet sugar or a mix of both.
- Clear vanilla extract: Flavoring is optional, but if you think people might try nibbling on the edible glass, I suggest using a clear extract, like clear vanilla extract, to flavor it without adding any color.
For the Frosting
- Unsalted butter and salt: The key to smooth, lump-free frosting is to use cool room temperature butter. If you prefer salted butter, omit the extra salt.
- Milk: You can use any milk percentage, or even water, to adjust the consistency of the frosting. I typically use 2%.
- Vanilla extract: I used my favorite Madagascar Bourbon vanilla extract.
- Powdered sugar: This frosting recipe is an American Buttercream, which is powdered sugar-based. You’ll want to measure the sugar with a scale if possible and then sift it into the mixture.
For the Blood Topping
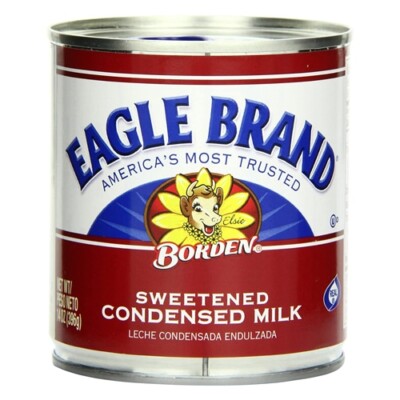
- Sweetened condensed milk: To make the blood topping, I used sweetened condensed milk. The thick texture and light color of the milk gave the topping a more realistic look. You could replace the milk with corn syrup or strawberry syrup if desired.
- Red gel food coloring: You’ll need a few drops of red gel food coloring to make the blood-colored topping.
Equipment
To be successful making the glass candy, you’ll need a few special tools. I’ve also included some equipment that will make this project easier and more fun. (Links are affiliate links and I earn a small commission from qualifying purchases.)
- Baking sheet: Pour the candy syrup on a flat surface like a standard baking sheet to set.
- Non-stick foil: Line your baking sheet with non-stick foil or spray it well with non-stick spray so that the candy can be removed easily.
- Medium saucepan: The sugar syrup will get extremely hot and bubble up a little. Use a medium saucepan (about 3-4 quarts) so that the syrup doesn’t boil over.
- Pastry brush: To prevent crystallization, use a pastry brush to wipe away sugar stuck to the inside walls of the pan.
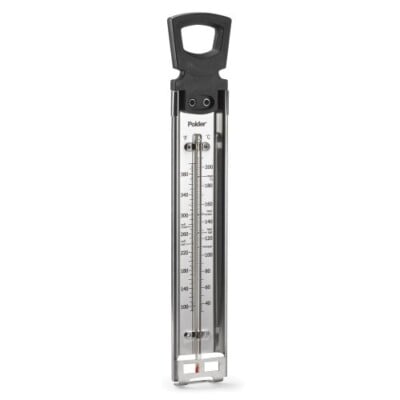
- Candy thermometer: Using a candy thermometer is the most important tool for making glass candy. The difference of a few degress can make or break your candy.
- Kitchen mallet: I used a kitchen mallet (meat tenderizer) to break the candy glass into shards. If you don’t have one, you can use another heavy kitchen tool (like a rolling pin) to break it.
- Mixer: You can use a stand mixer or hand mixer to whip up the frosting.
- Piping bags and coupler: If you plan to pipe the frosting and bloody topping onto the cupcakes, you’ll need piping bags and couplers. Check the Tips below if you don’t have piping tools.
- Piping tip: I recommend using a large closed star piping tip, like Ateco #849, to make the buttercream swirls.
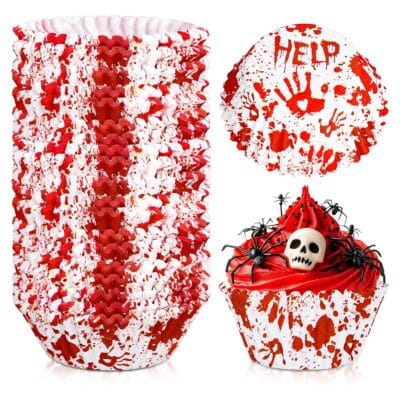
- Cupcake liners: If you want to give your cupcakes some extra Halloween pizzazz, try baking them in blood-splattered cupcake liners.
👻 More Halloween Desserts
Leave a Review!
If you make this recipe, let us know! Leave a ⭐️⭐️⭐️⭐️⭐️ rating on the recipe below, and leave a comment, take a photo and tag me on Instagram @elabau, or use #sugarhero on IG!
Bloody Glass Cupcakes
Ingredients
- 24 baked and cooled cupcakes, from scratch or your favorite mix, I used red velvet cupcakes
For the Edible Sugar Glass Shards
- 4 fl oz water, (½ cup)
- 8.25 oz light corn syrup, or glucose syrup or golden syrup, (¾ cup)
- 14 oz granulated sugar, (2 cups)
- 2 tsp clear vanilla extract, or other clear extract, if desired
For the Frosting
- 1 lb unsalted butter, at cool room temperature
- 2 TBSP milk, can substitute water
- ½ tsp salt
- 1 TBSP vanilla extract
- 28 oz powdered sugar, (7 cups), sifted after measuring
For the Blood Topping
- ½ cup sweetened condensed milk, or corn syrup or strawberry syrup
- Red gel food coloring
Instructions
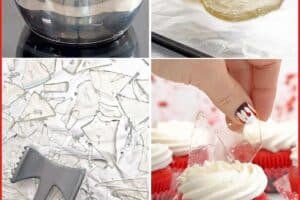
Make Glass Candy Shards
- Prepare baking sheet: Line a baking sheet with foil and spray it with nonstick cooking spray, or use non-stick foil.
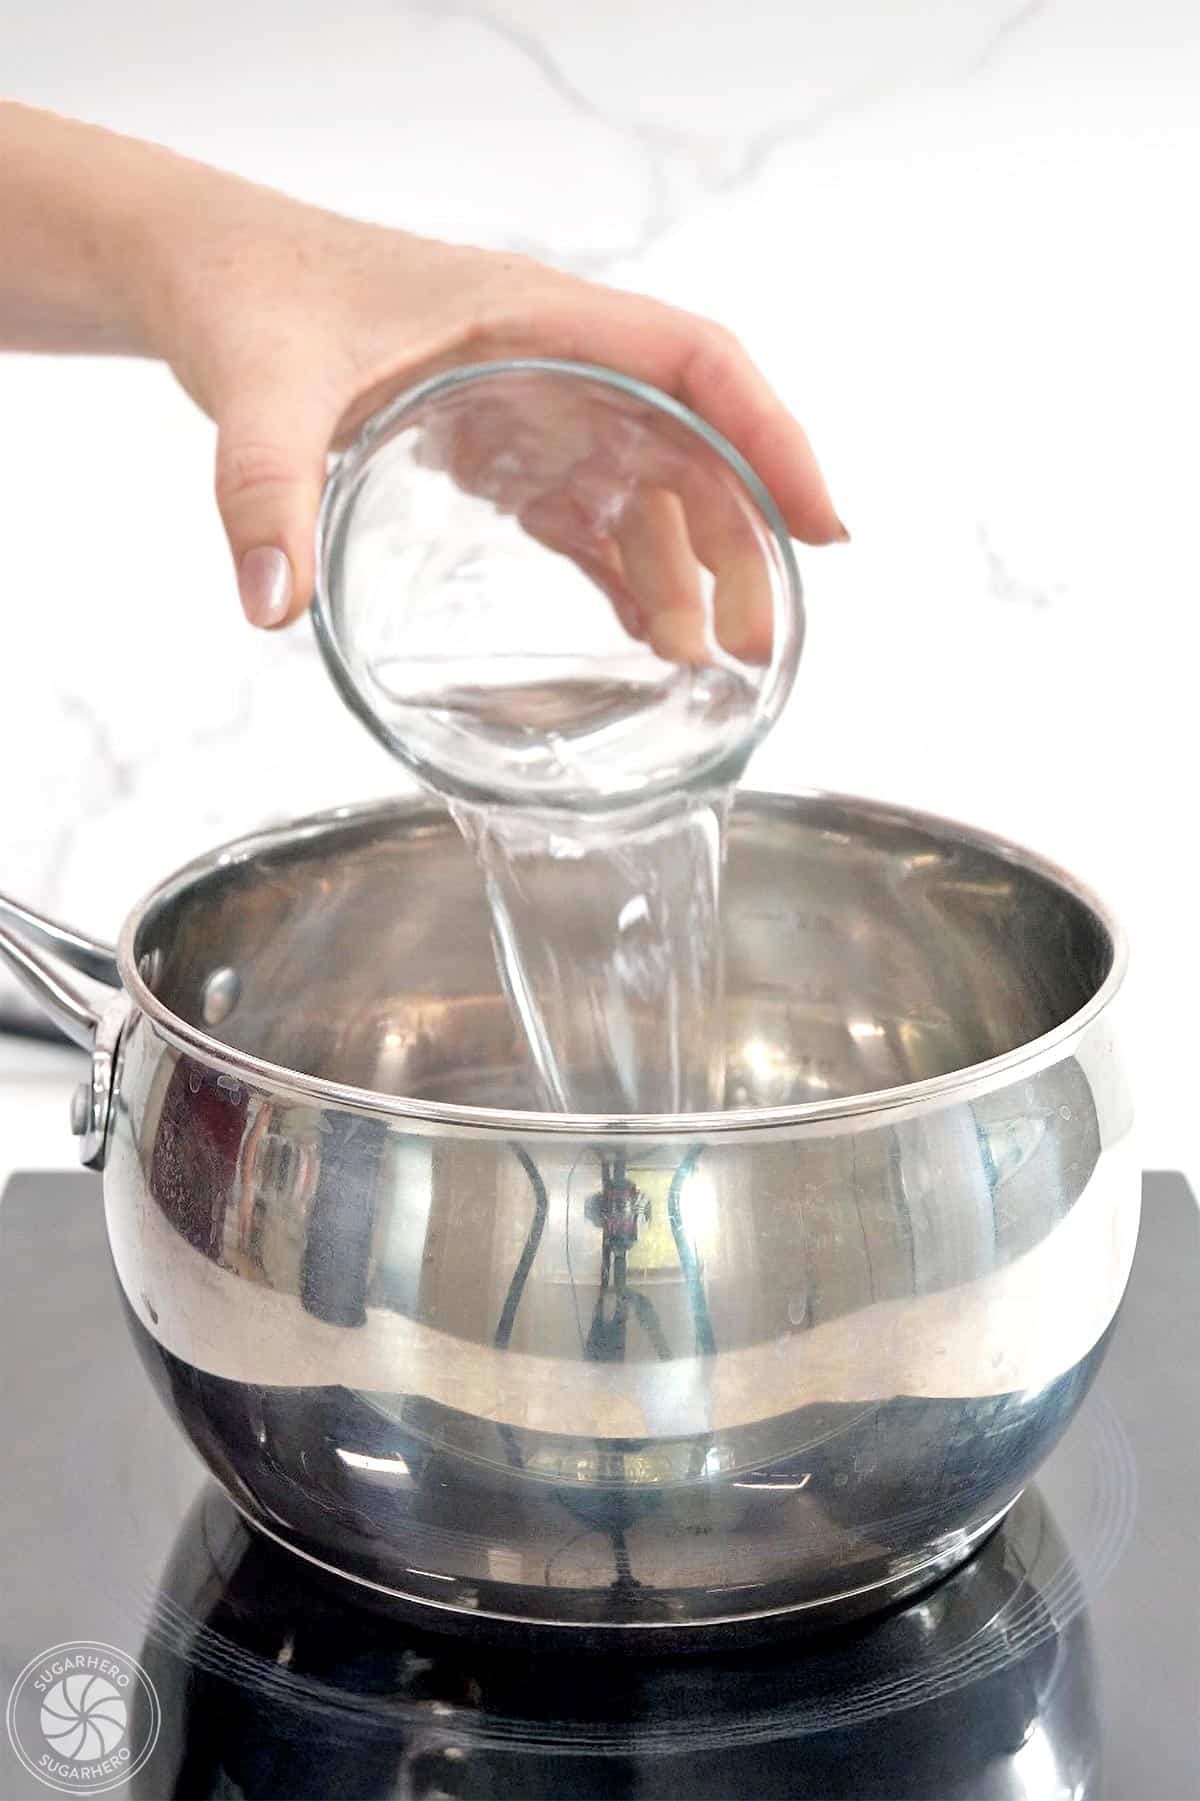
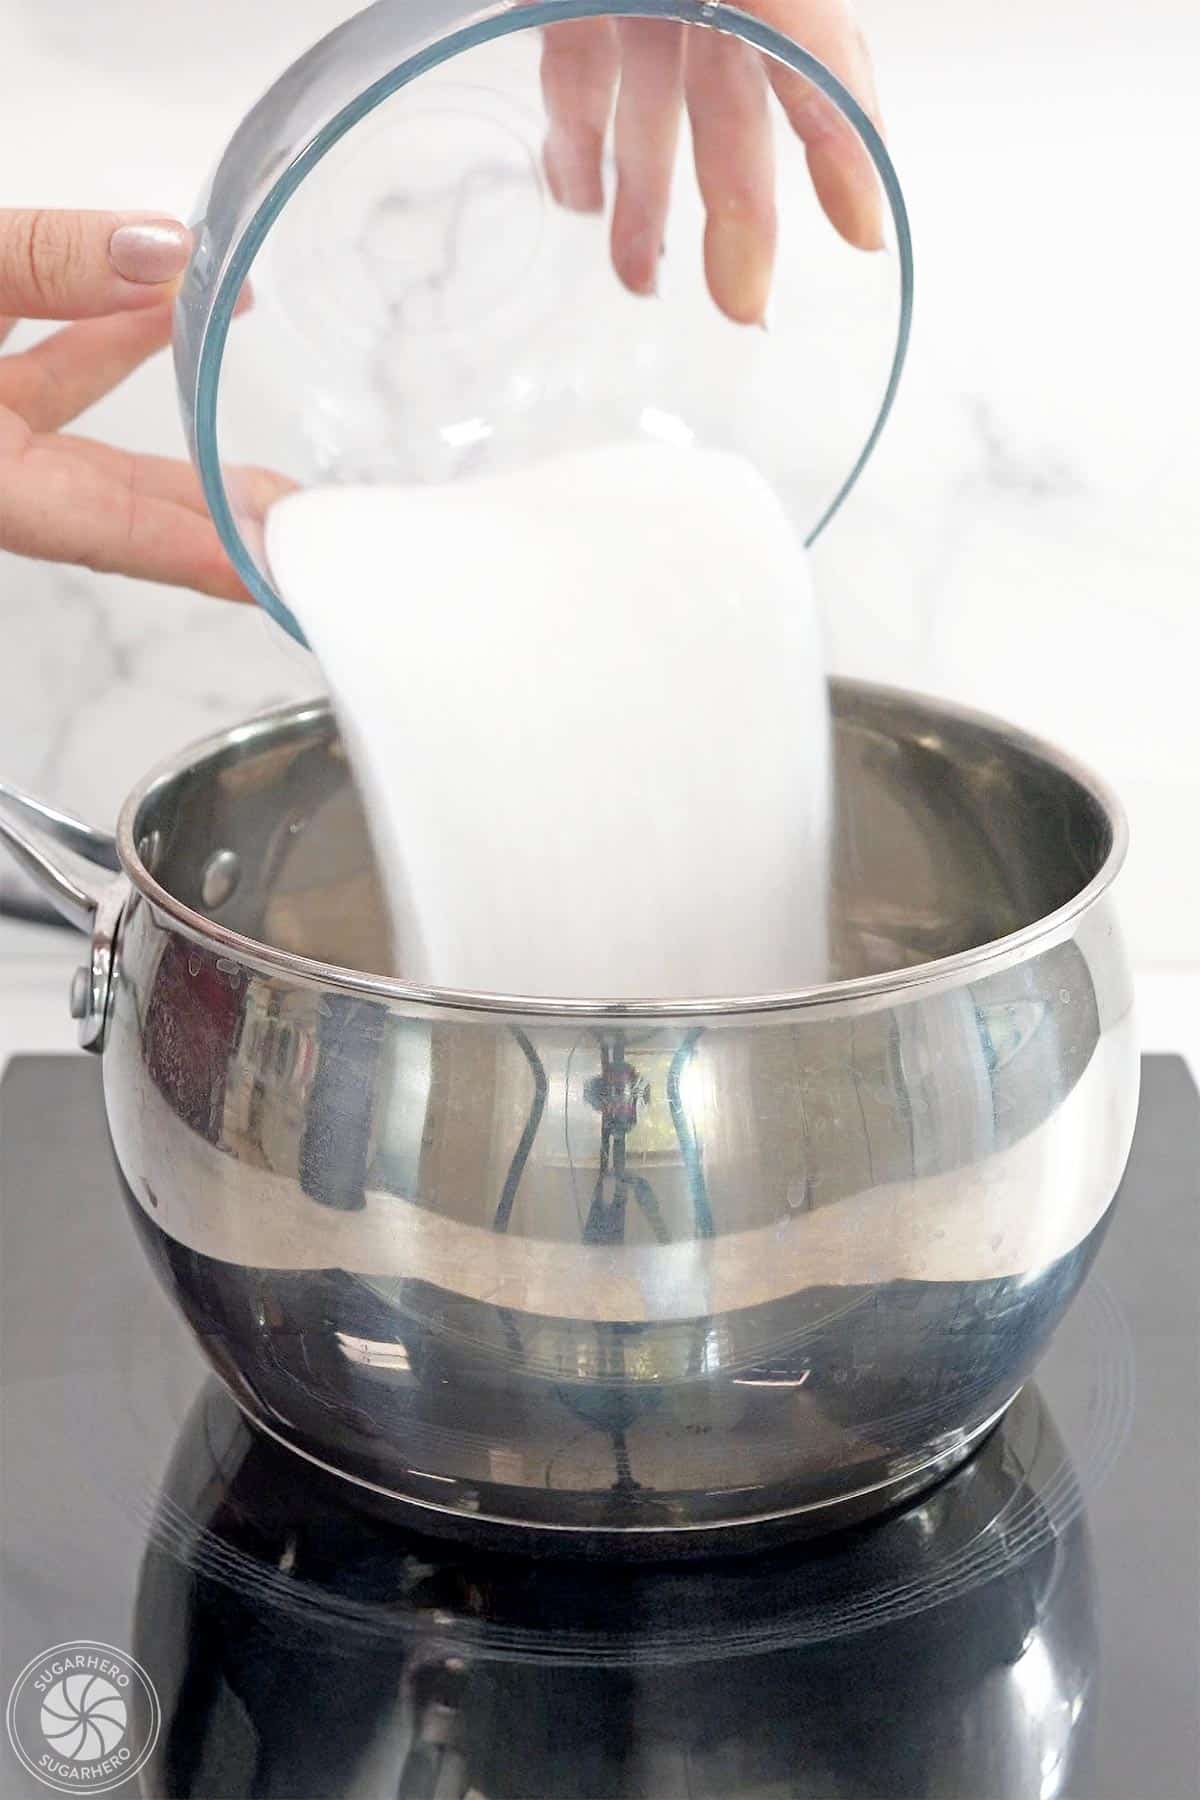
- Heat water, corn syrup, and sugar: In a medium saucepan, combine 4 fl oz (1/2 cup) water, 8.25 oz (3/4 cup) corn syrup, and 14 oz (2 cups) granulated sugar. Place the pan over medium-high heat, and stir until the sugar dissolves.
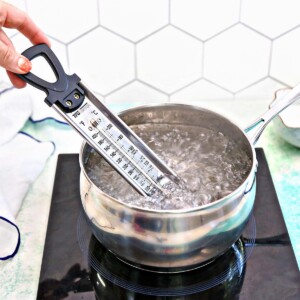
- Wipe pan with pastry brush: Once the mixture comes to a simmer, brush down the inside walls of the pan with a wet pastry brush to prevent sugar crystals from forming. Insert a candy thermometer.
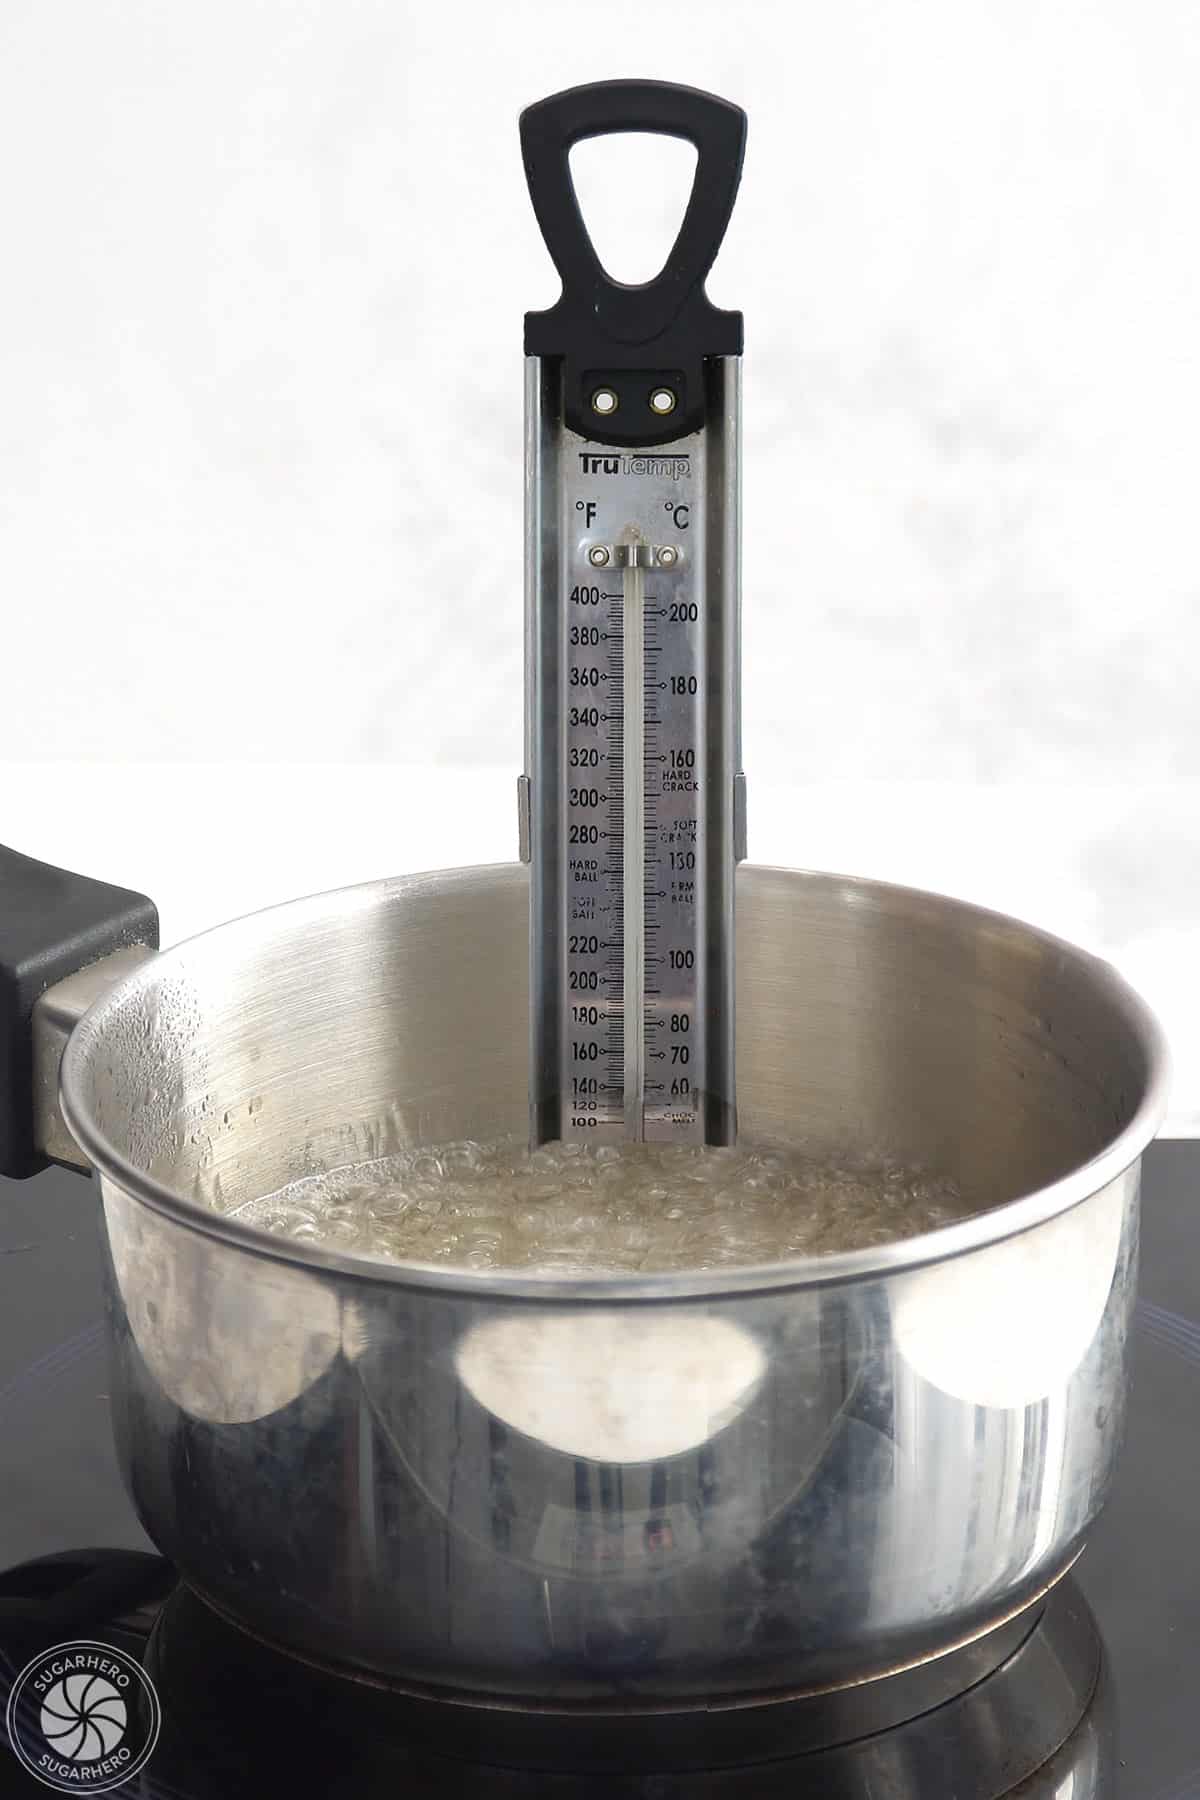
- Cook without stirring: Continue to cook the candy without stirring until it reads 290° F (143° C) on the thermometer. Watch the temperature carefully–a lower temperature might produce sticky candy, while a higher temperature runs the risk of producing green candy!
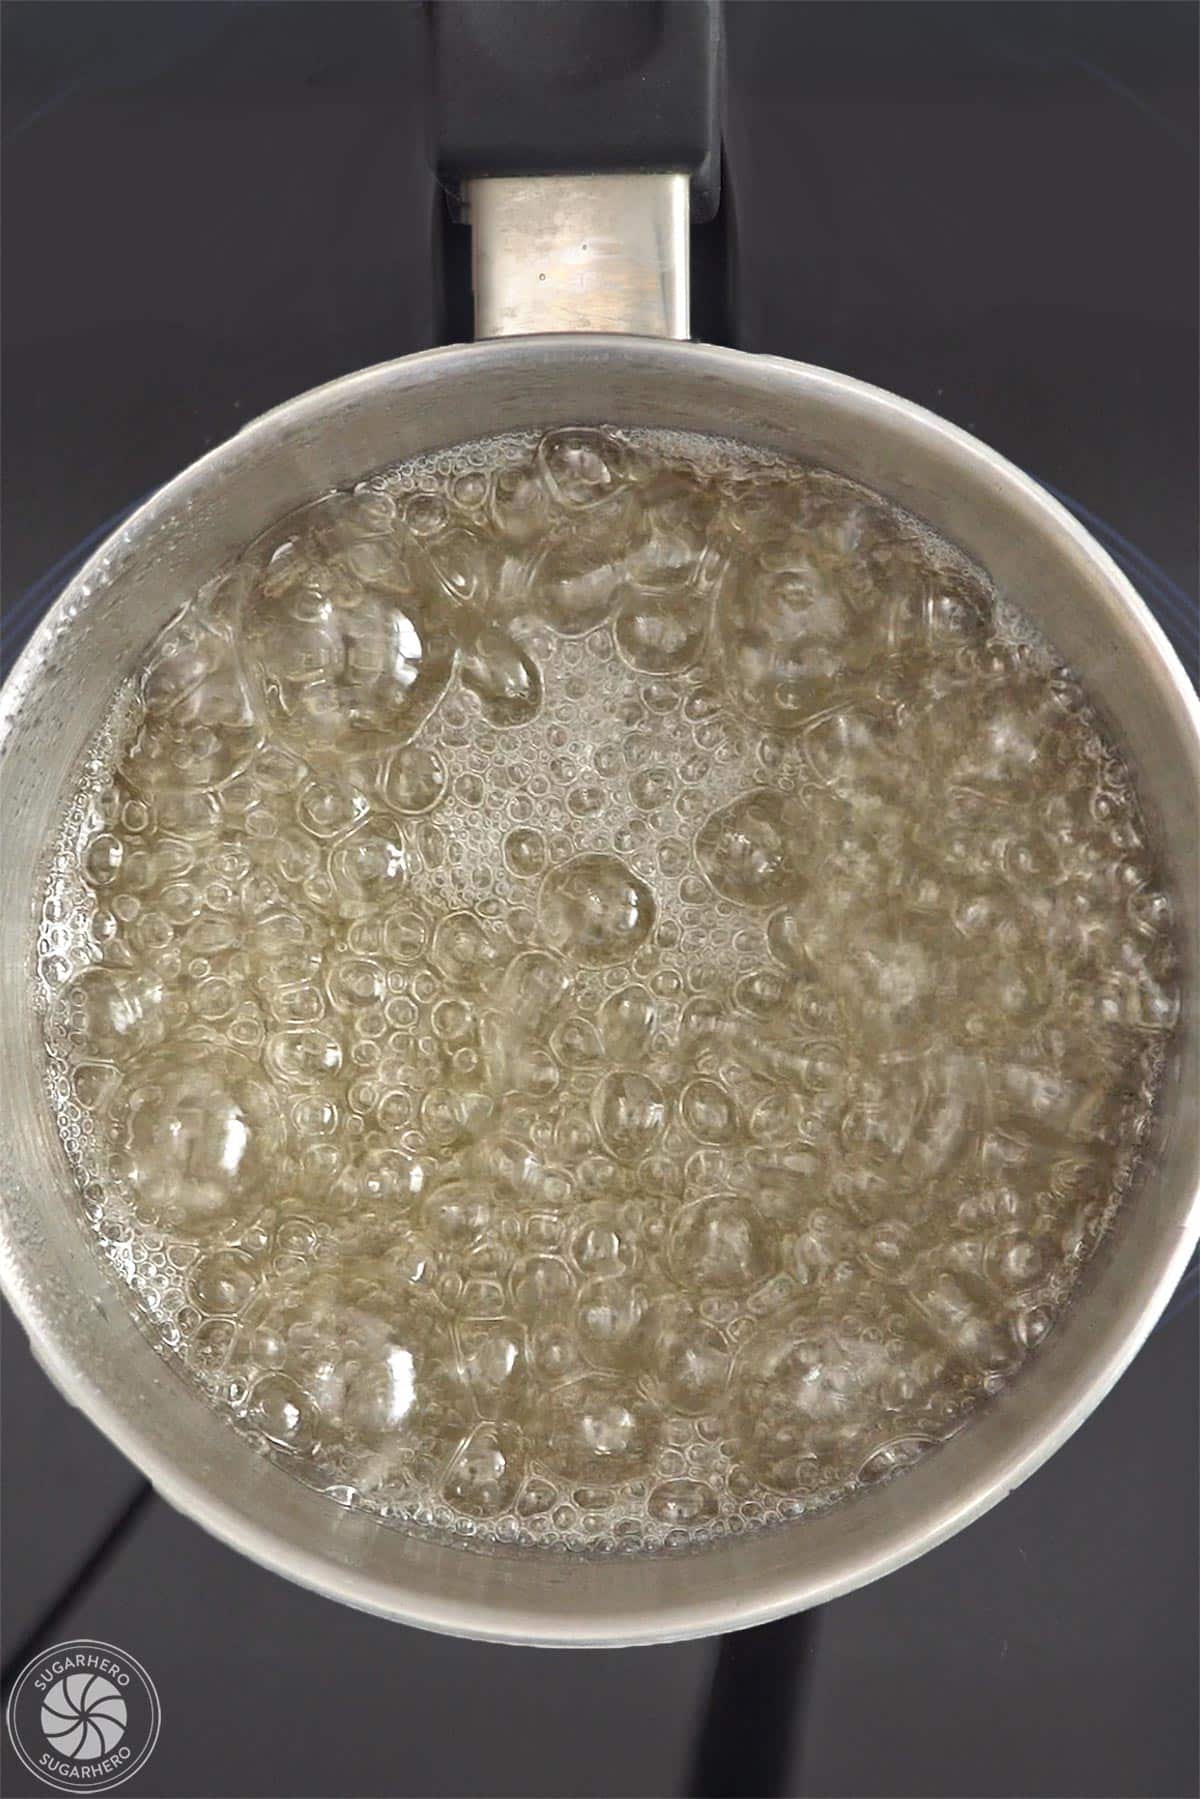
- Remove from heat, add flavoring: Once at 290° F (143° C), take the pan off the heat and let it sit for a few moments, until rapid bubbles stop breaking on the surface. Stir in the flavoring.
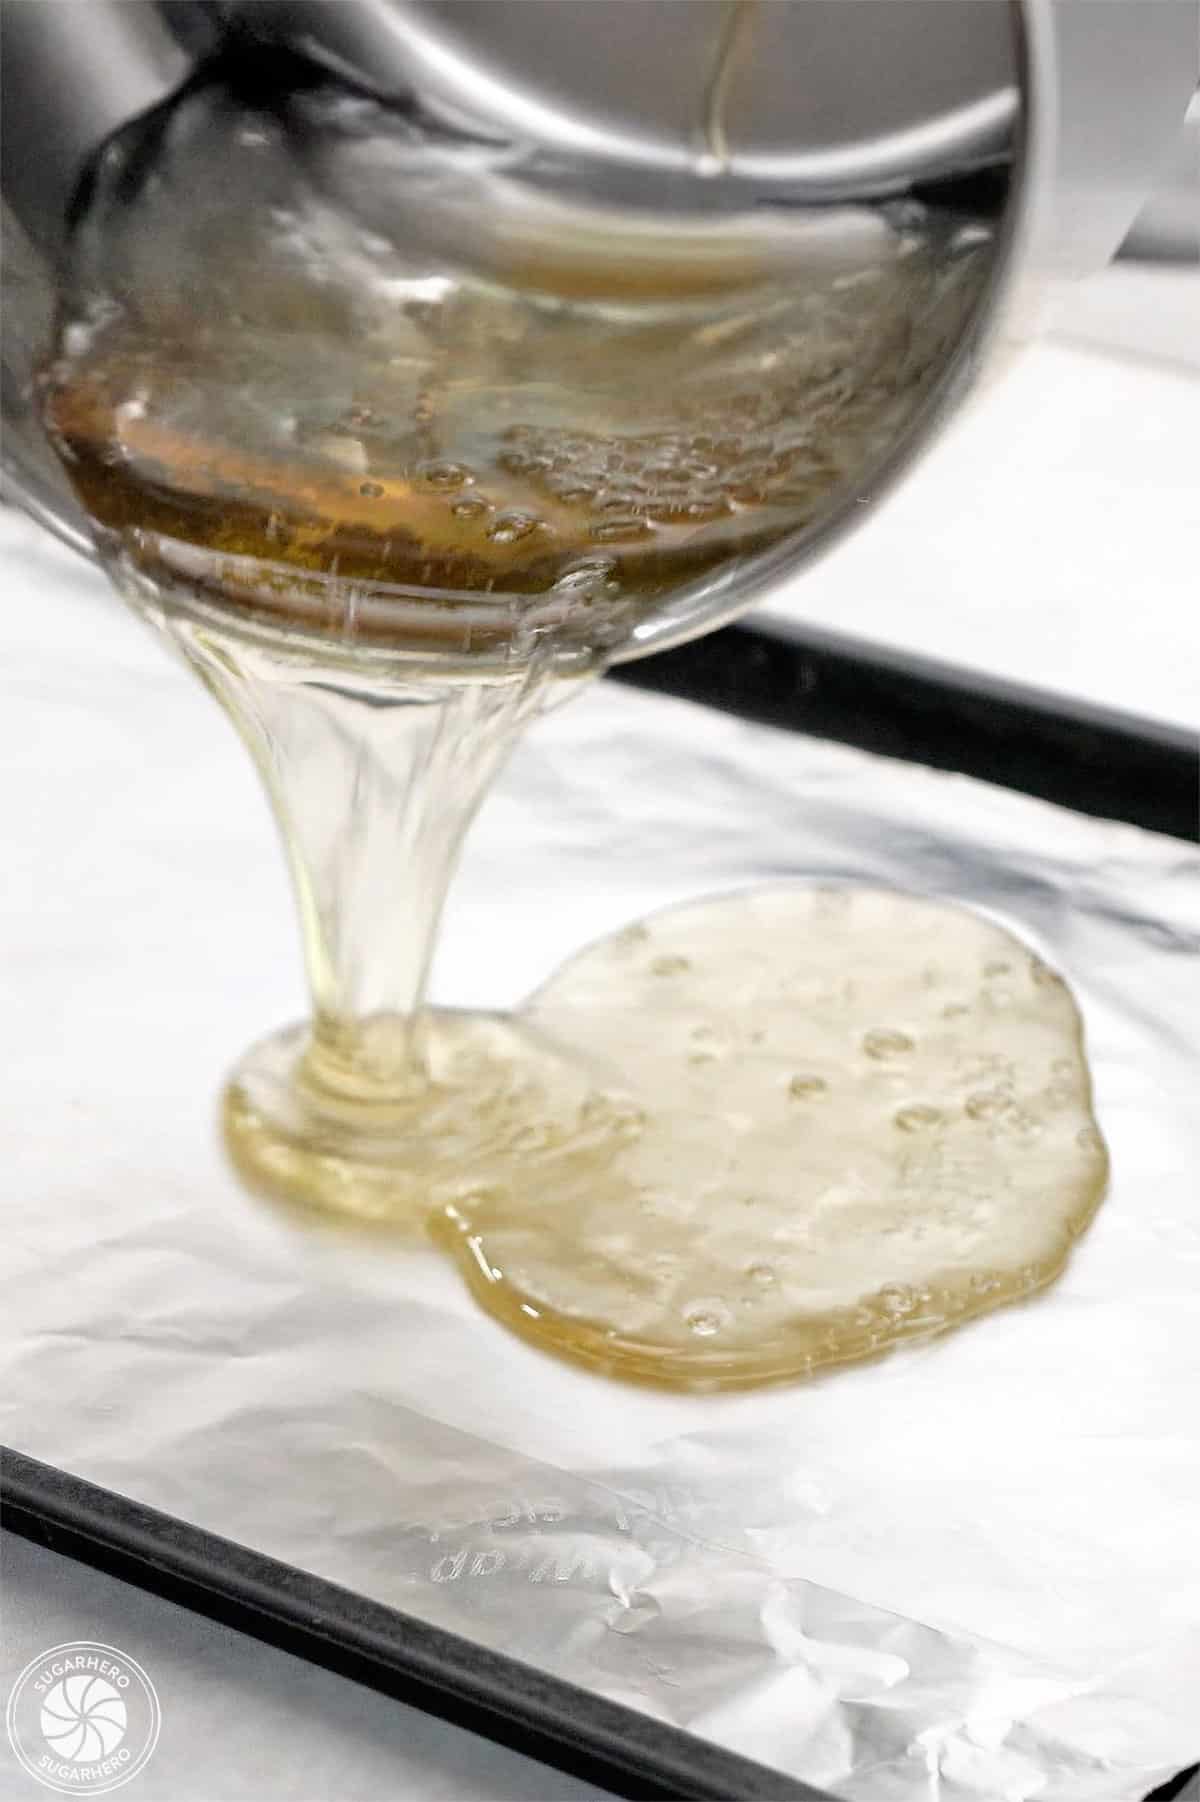
- Pour candy to set: Pour the candy onto the prepared baking sheet and spread it into a thin layer. Let it set completely at room temperature.
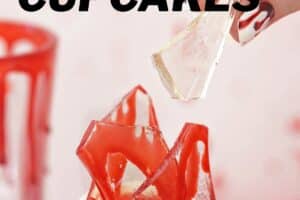
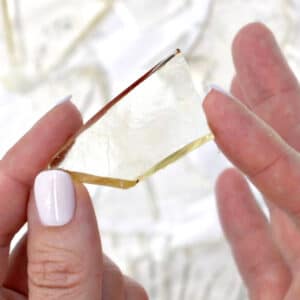
- Break: Once set, use a mallet to break it into jagged pieces resembling shards of glass. Use the shards to decorate right away or store them for up to a week, see Note below.
Make the Frosting
- Beat the butter: Place the 1 lb (2 cups) butter in the bowl of a large stand mixer. Beat on medium speed with a paddle attachment until very white and pale, about 3-4 minutes.
- Add milk, salt, and vanilla: Turn the speed lower, and add 1 TBSP milk, 1/2 tsp salt, and 1 TBSP vanilla extract. Mix until everything is well incorporated with the butter.
- Slowly add powdered sugar: With the mixer running on low, slowly add 28 oz (7 cups) powdered sugar. Once all of it is added, stop and scrape down the bottom and sides of the mixing bowl, then mix the buttercream on medium speed for 30 seconds.
- Adjust consistency: If the buttercream is too stiff for your needs, add the remaining 1 TBSP milk, a little at a time, and mix it in well. You can adjust the final texture by adding more powdered sugar or milk until you like the consistency.
- Use or store: You can use the frosting right away, or store it for up to a week. See Note below.
Make the Blood Topping
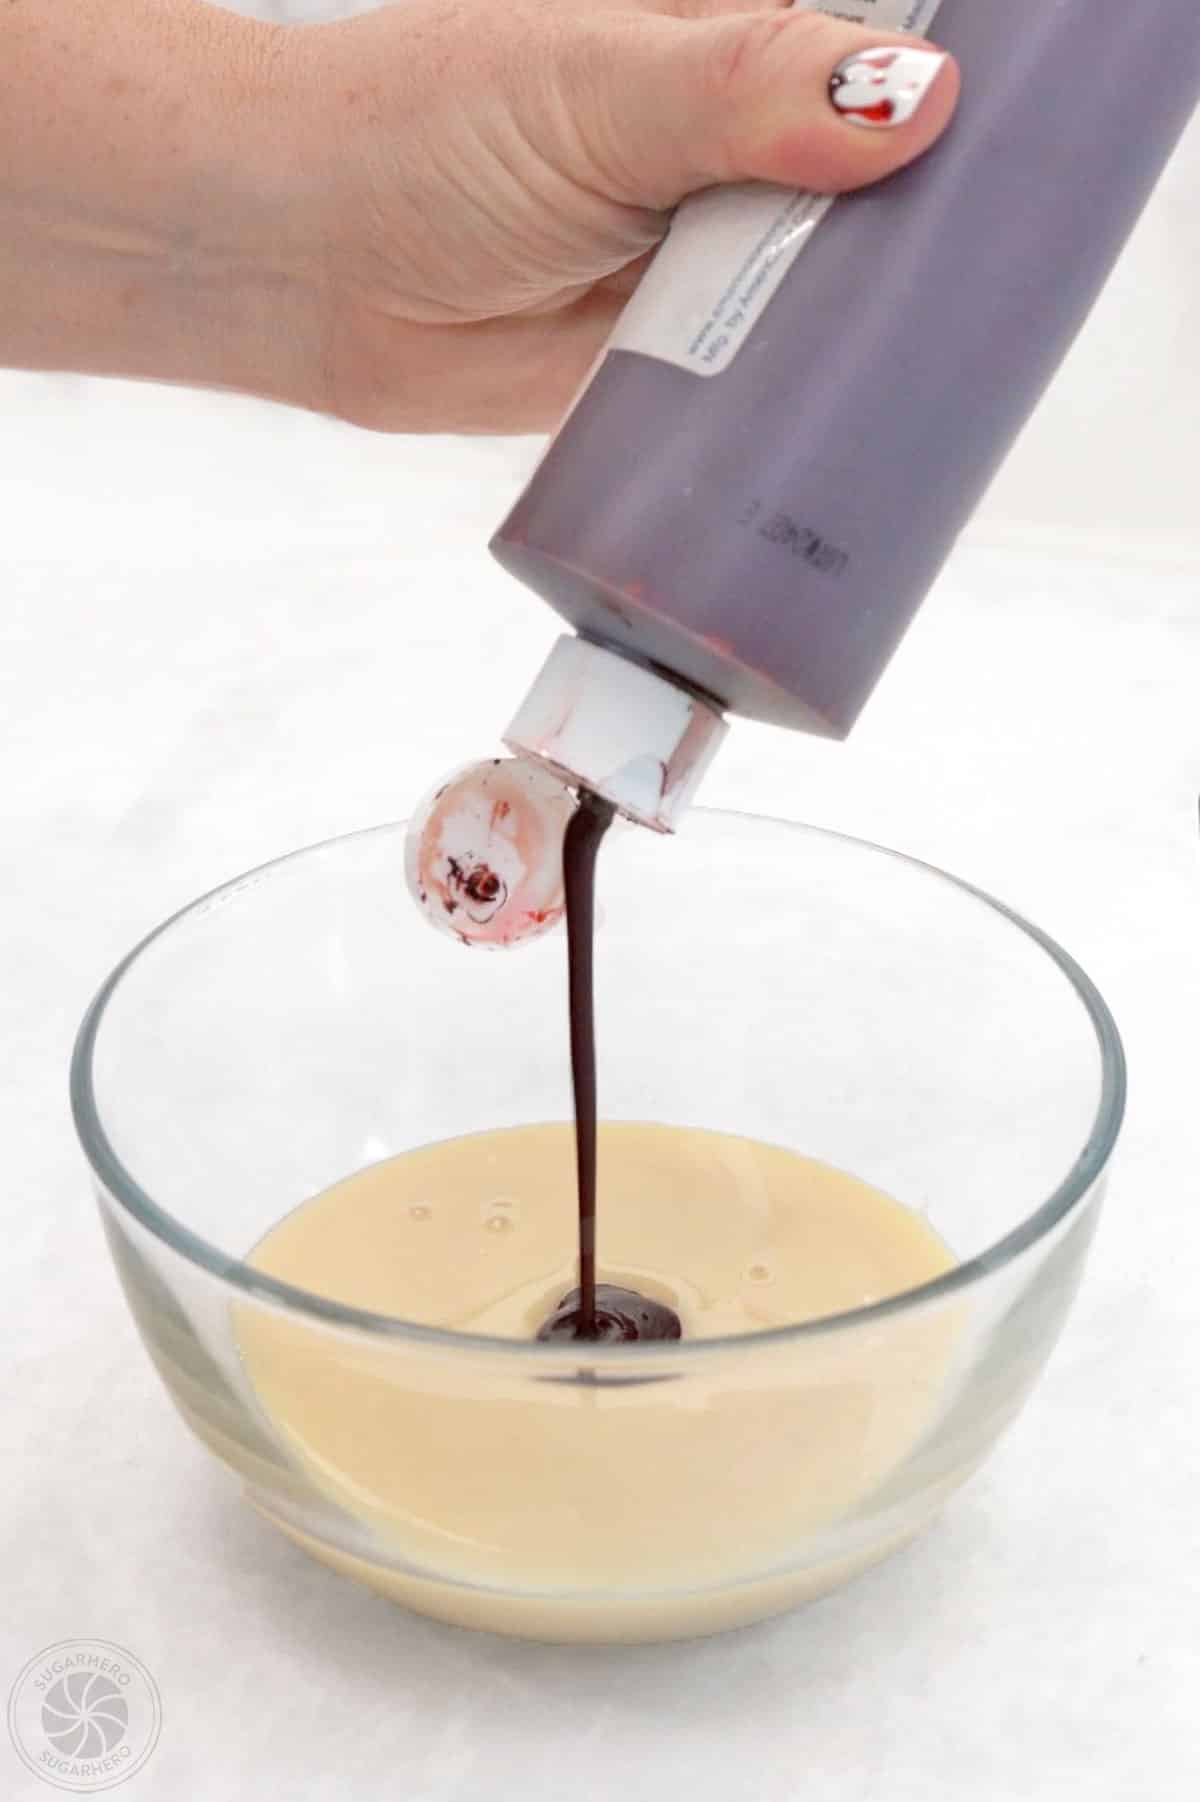
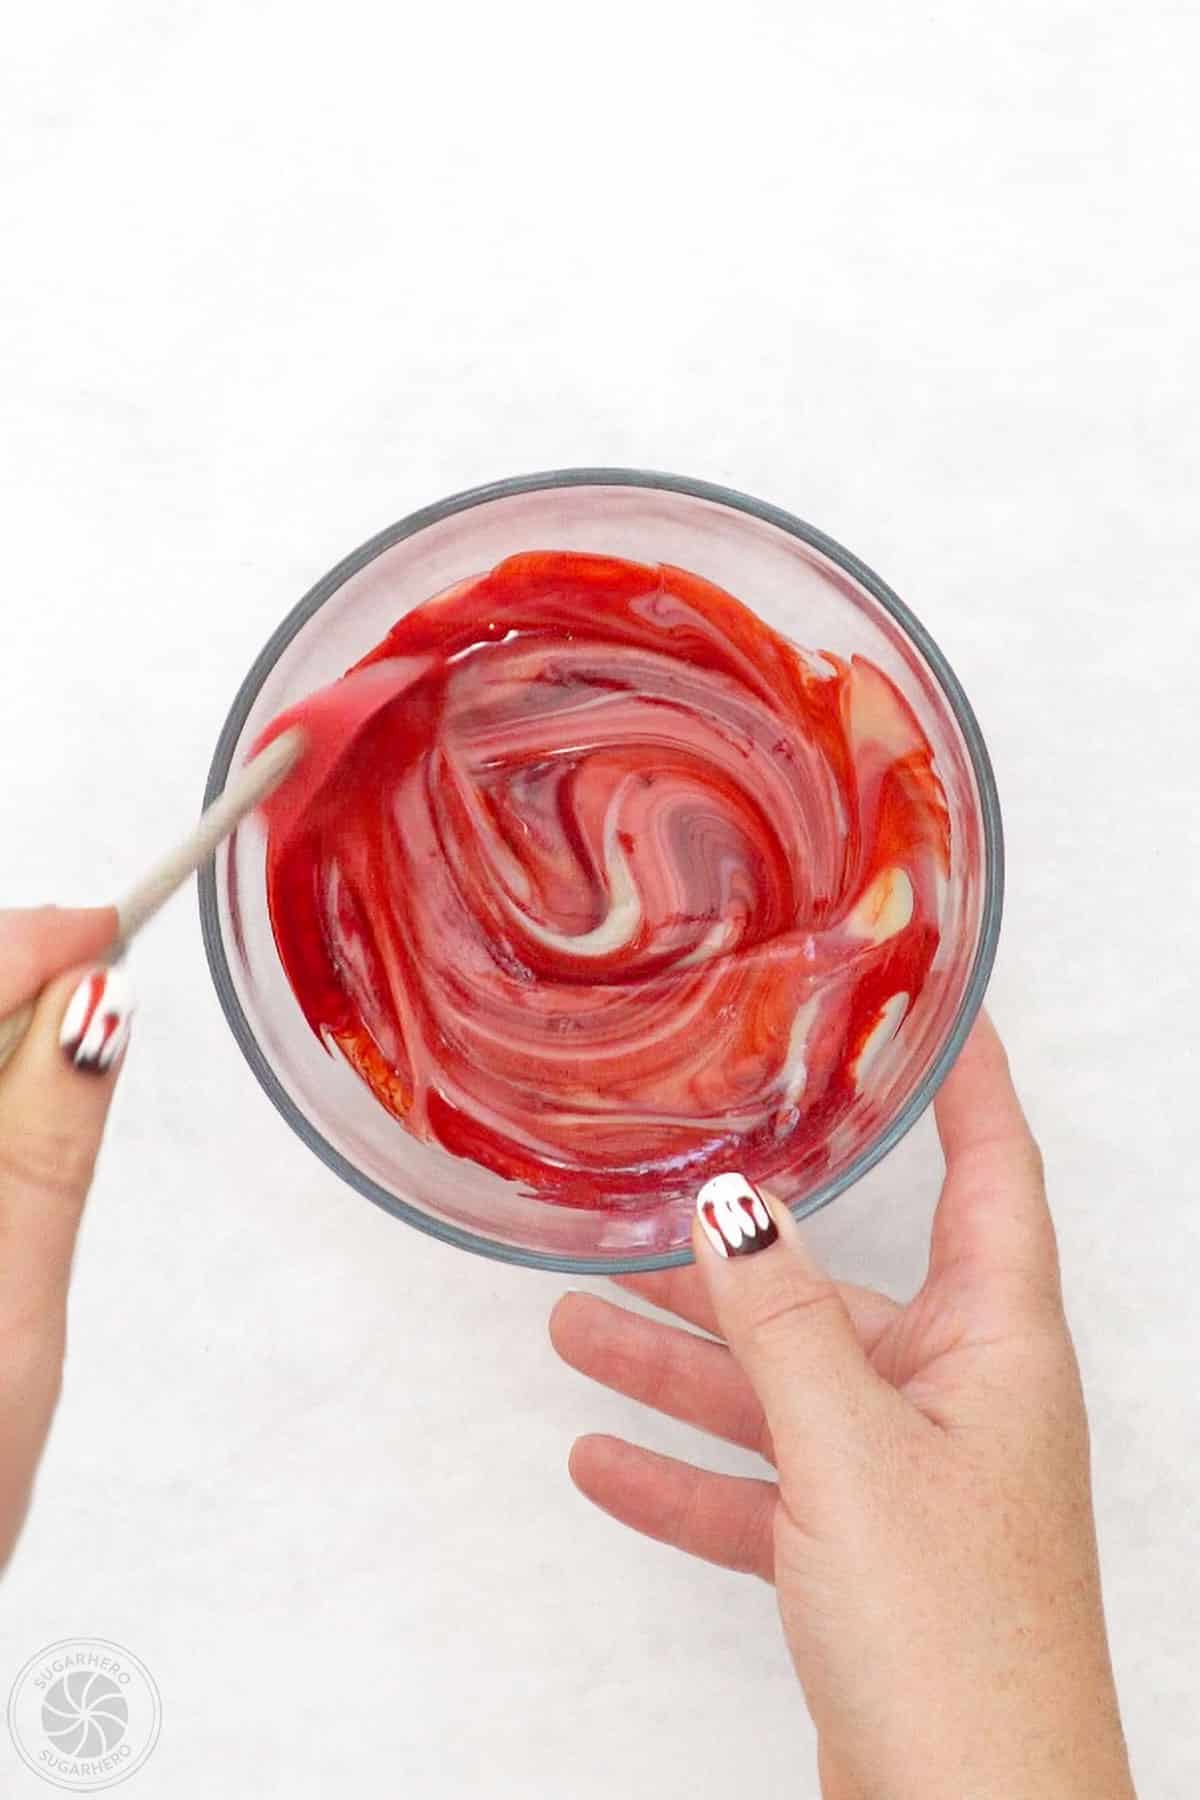
- Mix milk and food coloring: Pour 1/2 cup sweetened condensed milk into a small bowl. Add a few drops of red gel food coloring and stir until a blood-red color is achieved.
Frost and Decorate the Cupcakes
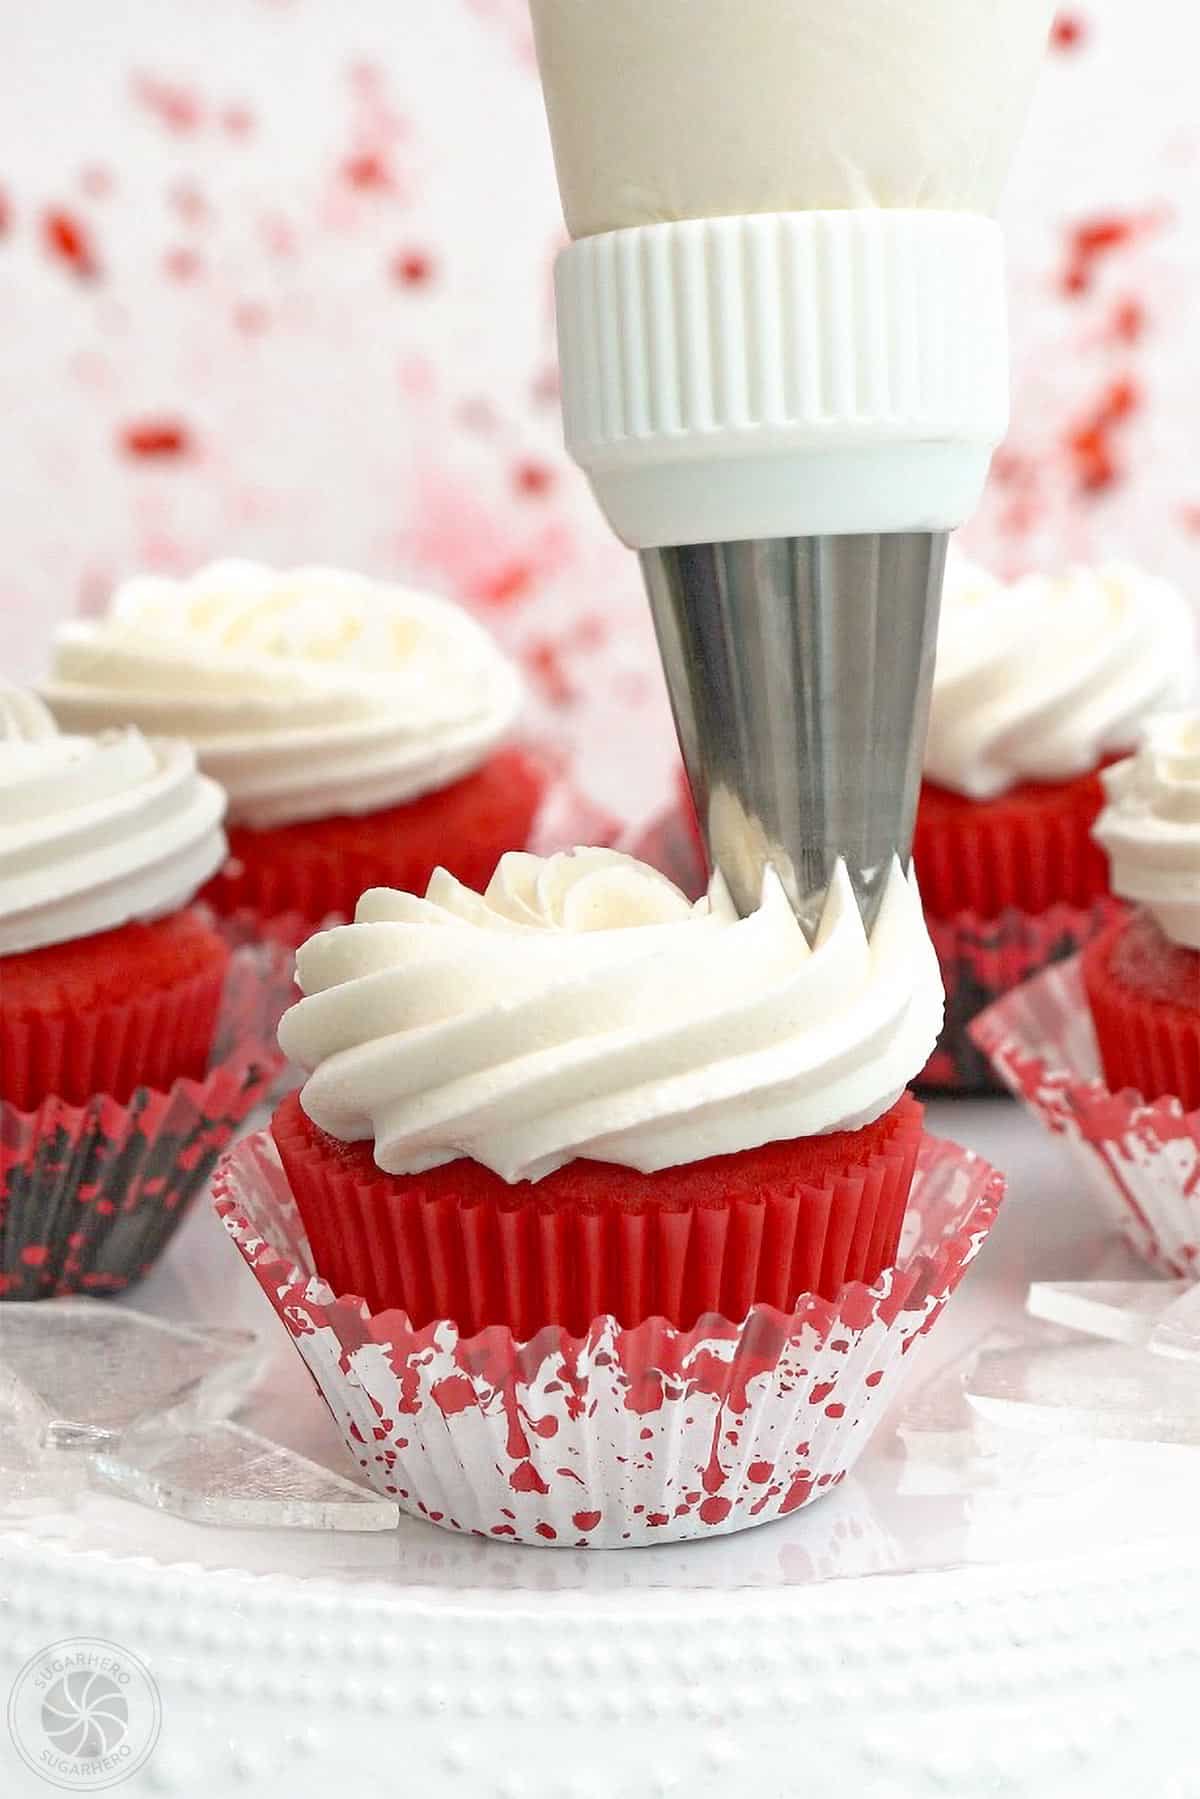
- Prep piping bags: Put the white buttercream in a piping bag with a large closed star piping tip (I used Ateco #849). Put the blood topping in a piping bag fitted with a small round tip (I used Ateco #3).
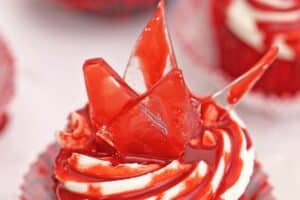
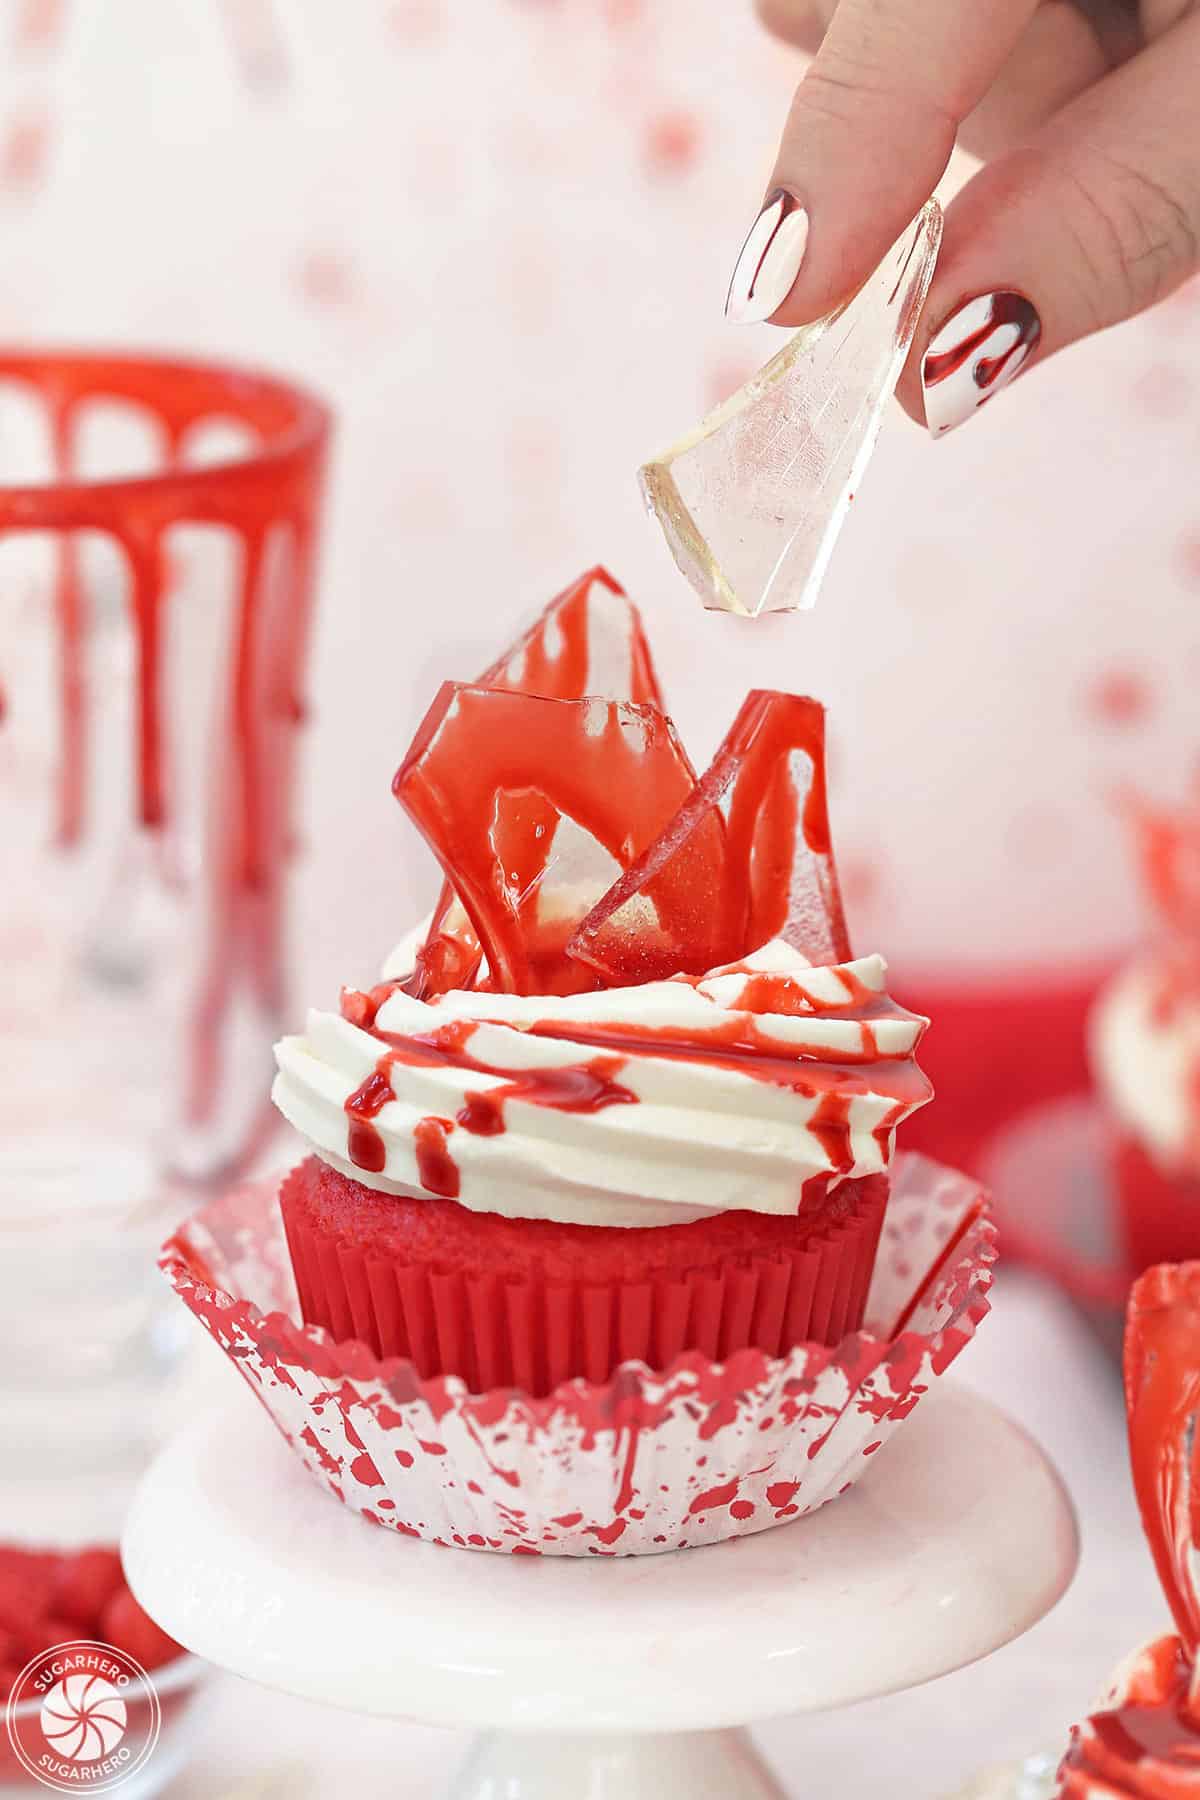
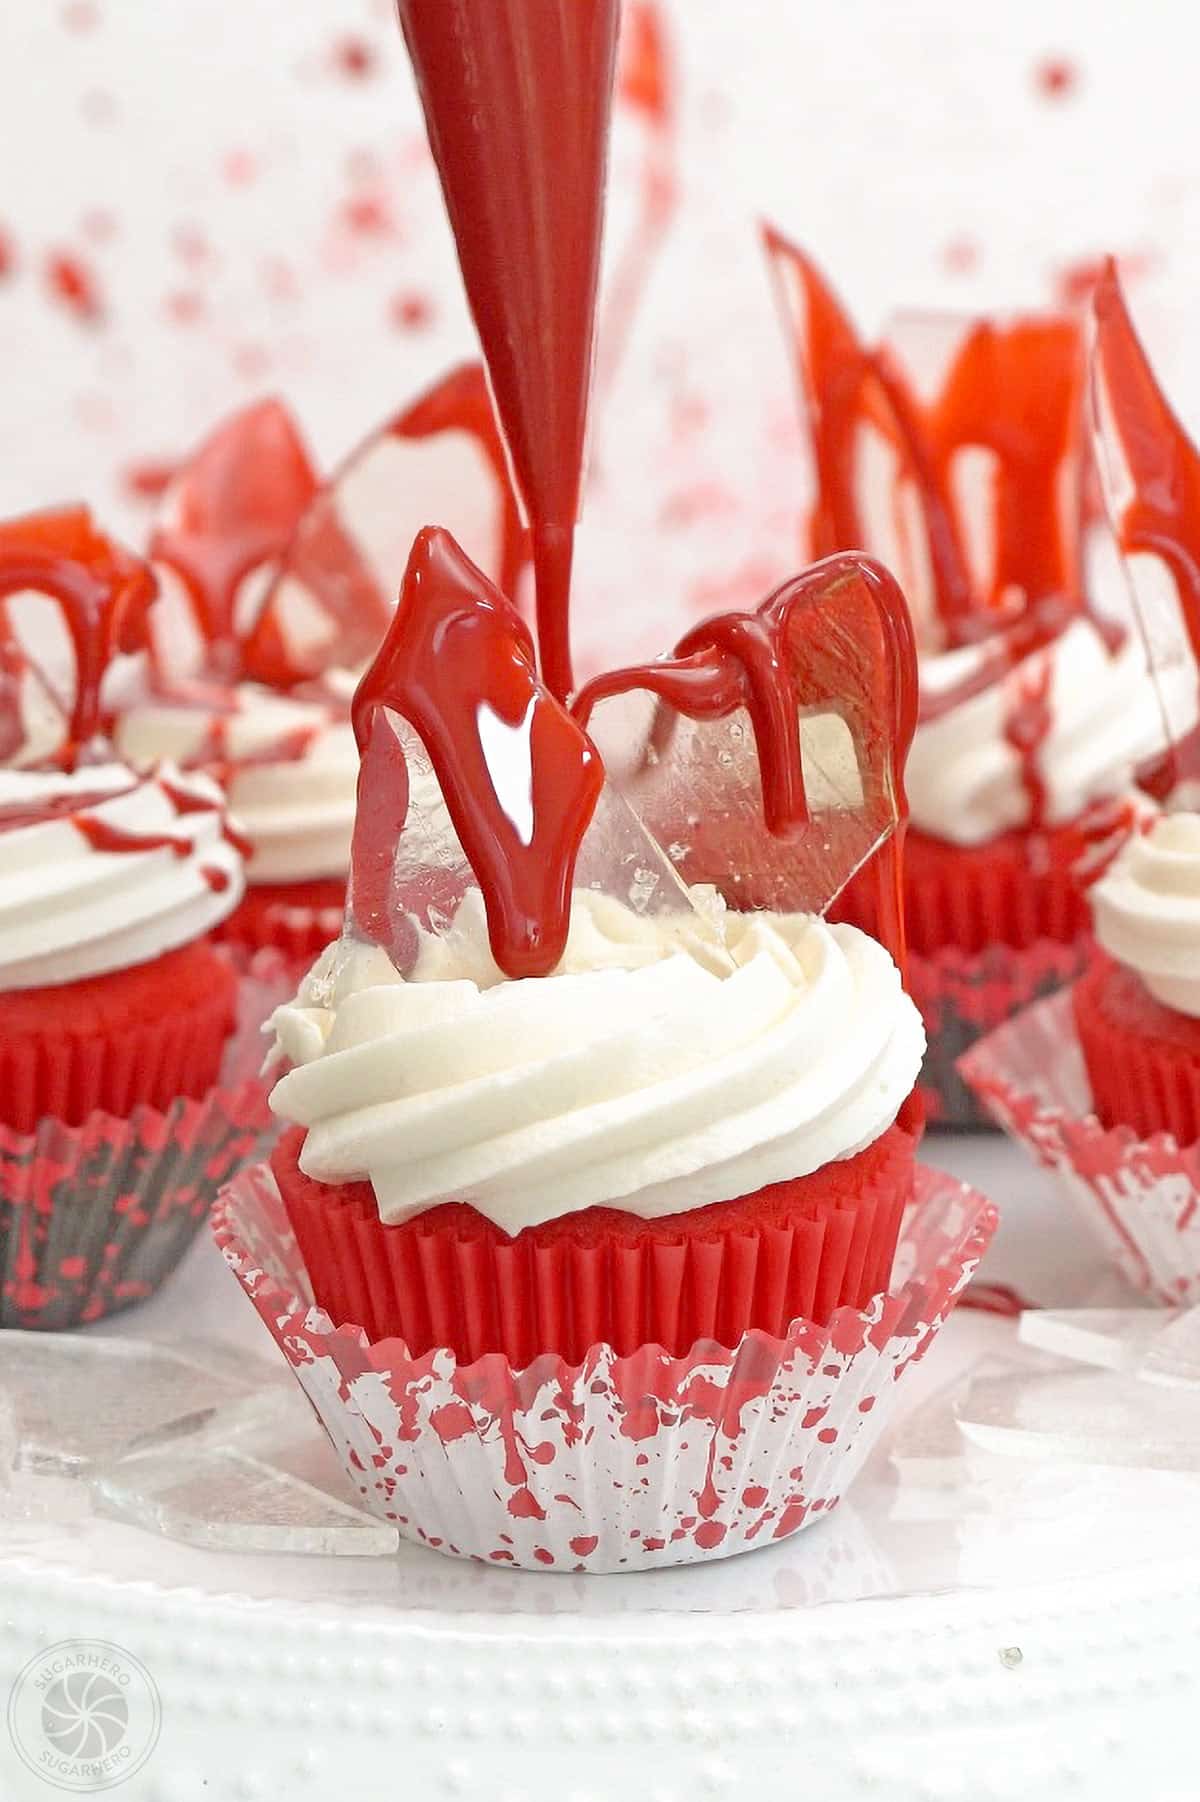
- Frost and top with shards: Pipe a swirl of white frosting on top of each cupcake, and insert a few shards of glass candy into the frosting, pointing in different directions.
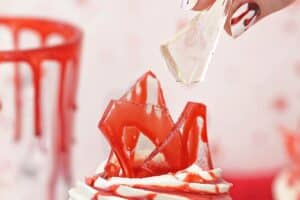
- Drizzle topping: Then drizzle the blood topping over the glass shards so that it drips down and covers the top of each cupcake. Enjoy!
- Store: Store extras in an airtight container at room temperature for 2-3 days (the candy glass will become sticky the longer it sits in contact with the frosting).
- Make-ahead: If you want to make the cupcakes in advance, they can be prepped with the white frosting and then stored in the refrigerator in an airtight container for up to a week. Finish the cupcakes with glass shards and blood topping just before serving. Allow chilled cupcakes to come to room temperature for best taste and texture.
Recipe Notes
Measuring Tips
Our recipes are developed using weight measurements, and we highly recommend using a kitchen scale for baking whenever possible. However, if you prefer to use cups, volume measurements are provided as well. PLEASE NOTE: the adage “8 oz = 1 cup” is NOT true when speaking about weight, so don’t be concerned if the measurements don’t fit this formula.
Want to learn more about baking measurements and conversion?
Nutrition
📸 Photo Tutorial: How to Make Bloody Glass Cupcakes
Let the Halloween baking begin! Follow this photo tutorial to learn how to make your very own Bloody Glass Cupcakes. Printable instructions are included in the recipe card above.
Make the Candy Glass Shards
- Prepare baking sheet: Line a baking sheet with non-stick foil.
- Heat water, corn syrup, and sugar: In a medium saucepan, over medium-high heat, mix together water, corn syrup, and granulated sugar. Stir until sugar dissolves.
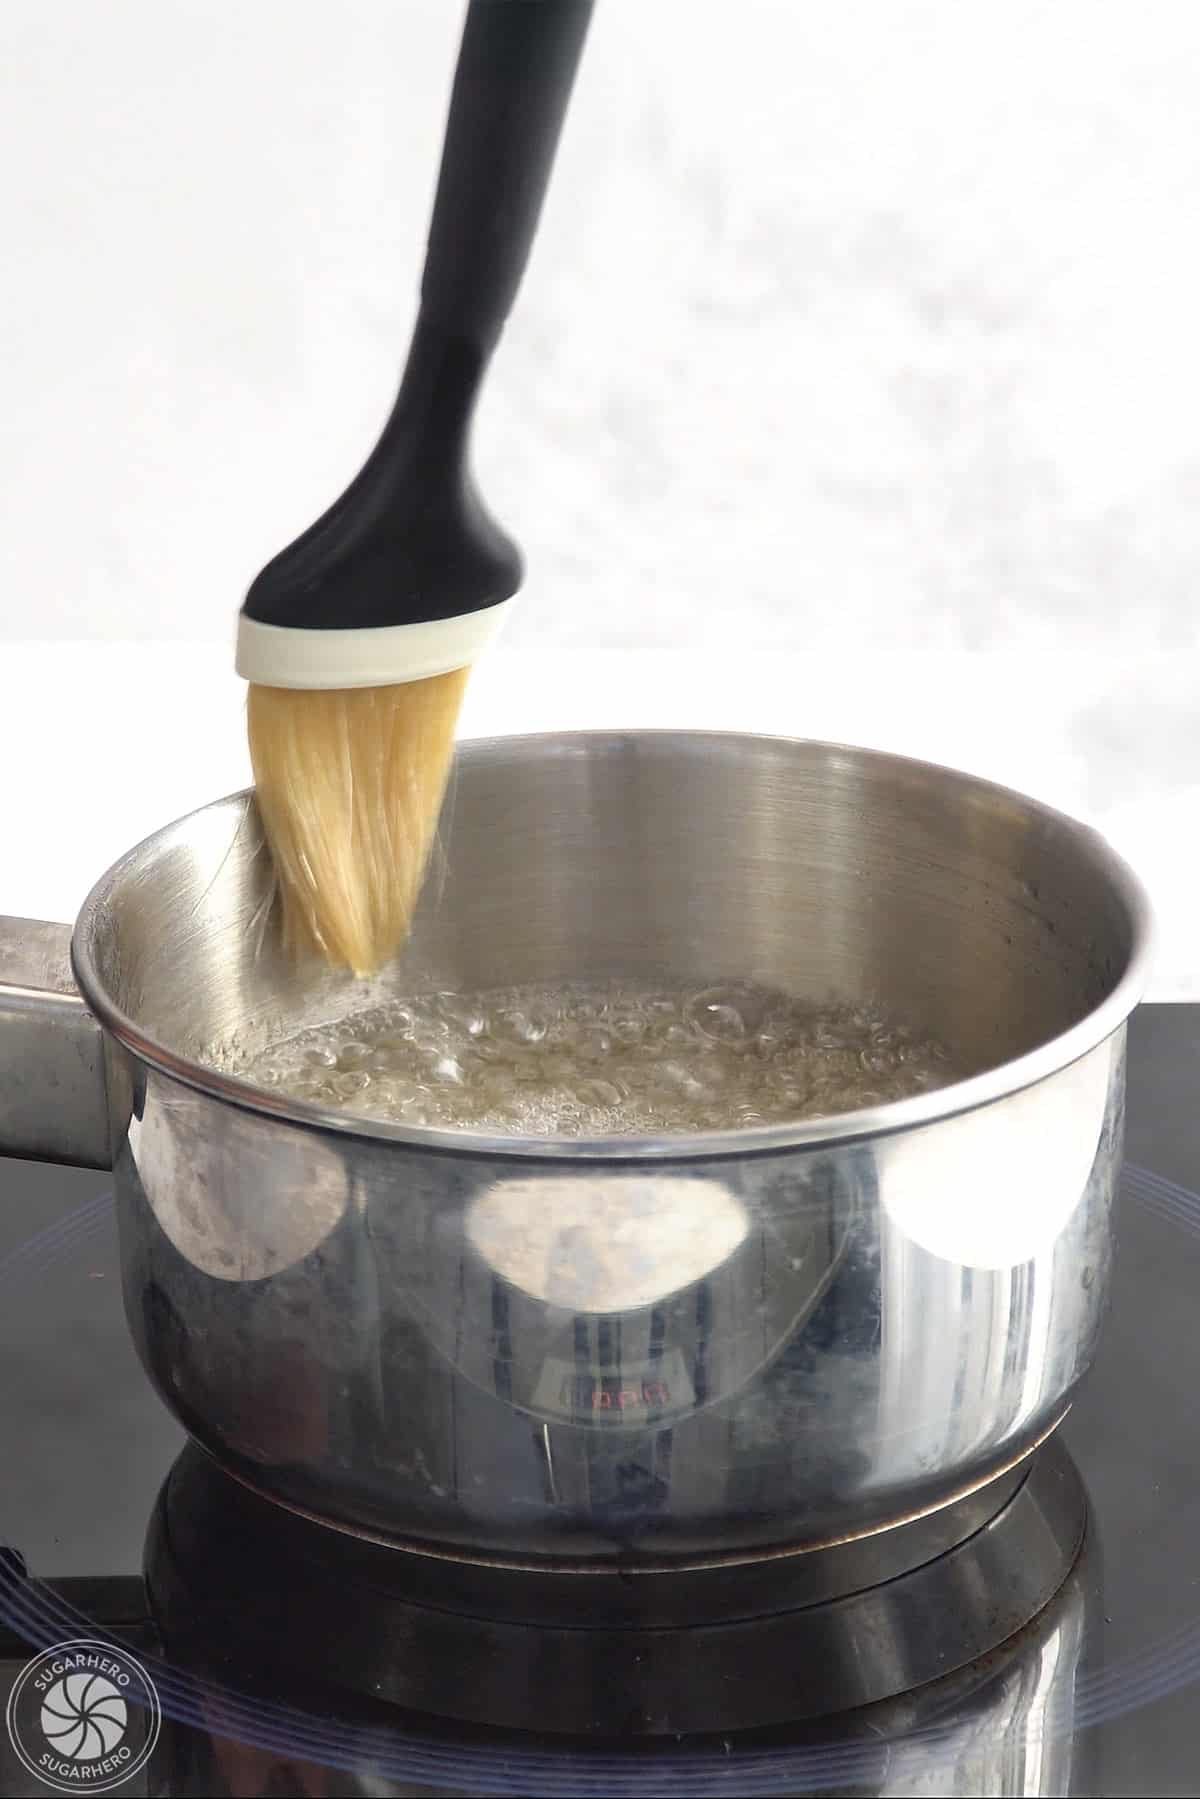
- Wipe pan with pastry brush: Once the mixture begins to simmer, brush down the inside walls of the pan with a wet pastry brush, and insert your candy thermometer.
- Cook without stirring: Cook the candy without stirring until it reads 290° F (143° C) on the thermometer. Watch the temperature carefully–being off by a few degrees can change the texture of the candy.
- Remove from heat, add flavoring: Once at the correct temperature, remove pan from heat and rest the candy until rapid bubbles stop breaking on the surface. Stir in the flavoring, if using.
- Pour candy to set: Pour the candy onto the baking sheet, and spread it in a thin layer to fully set.
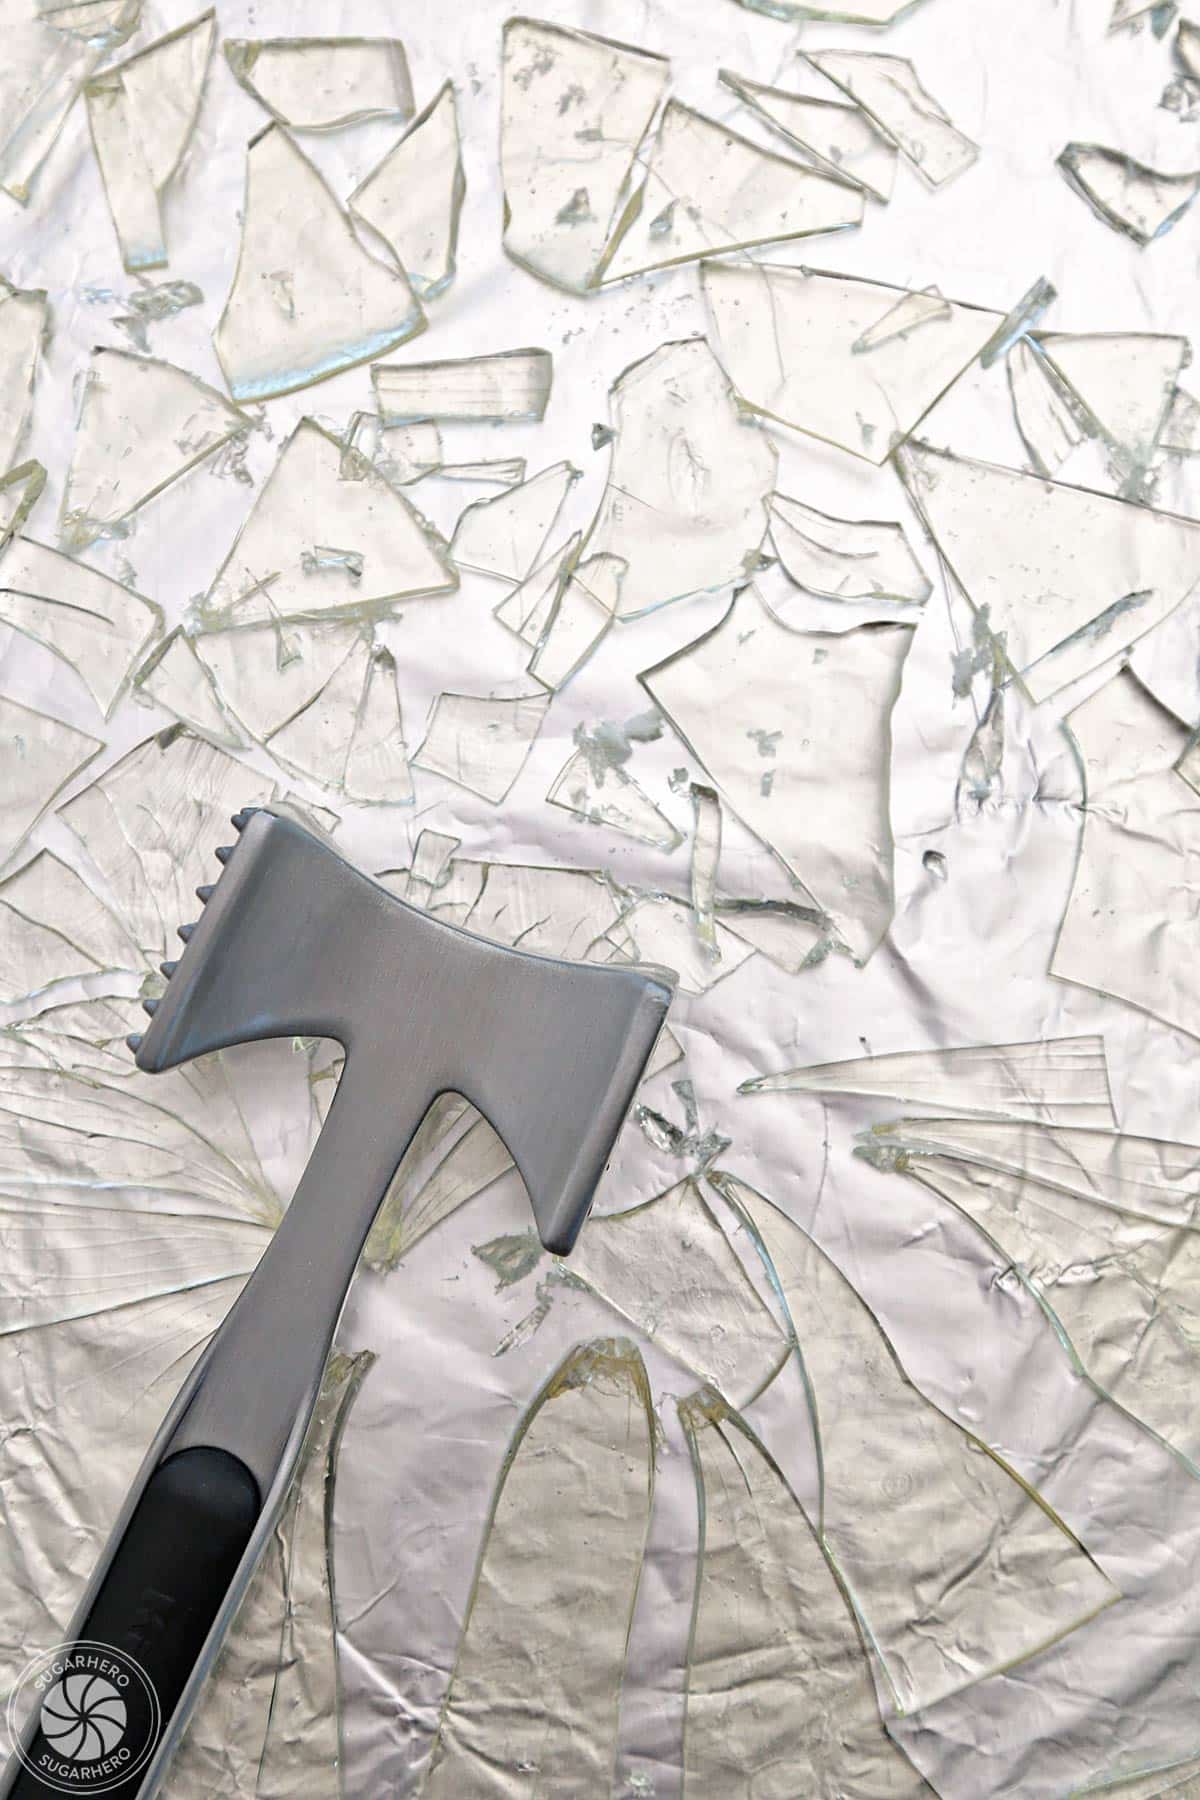
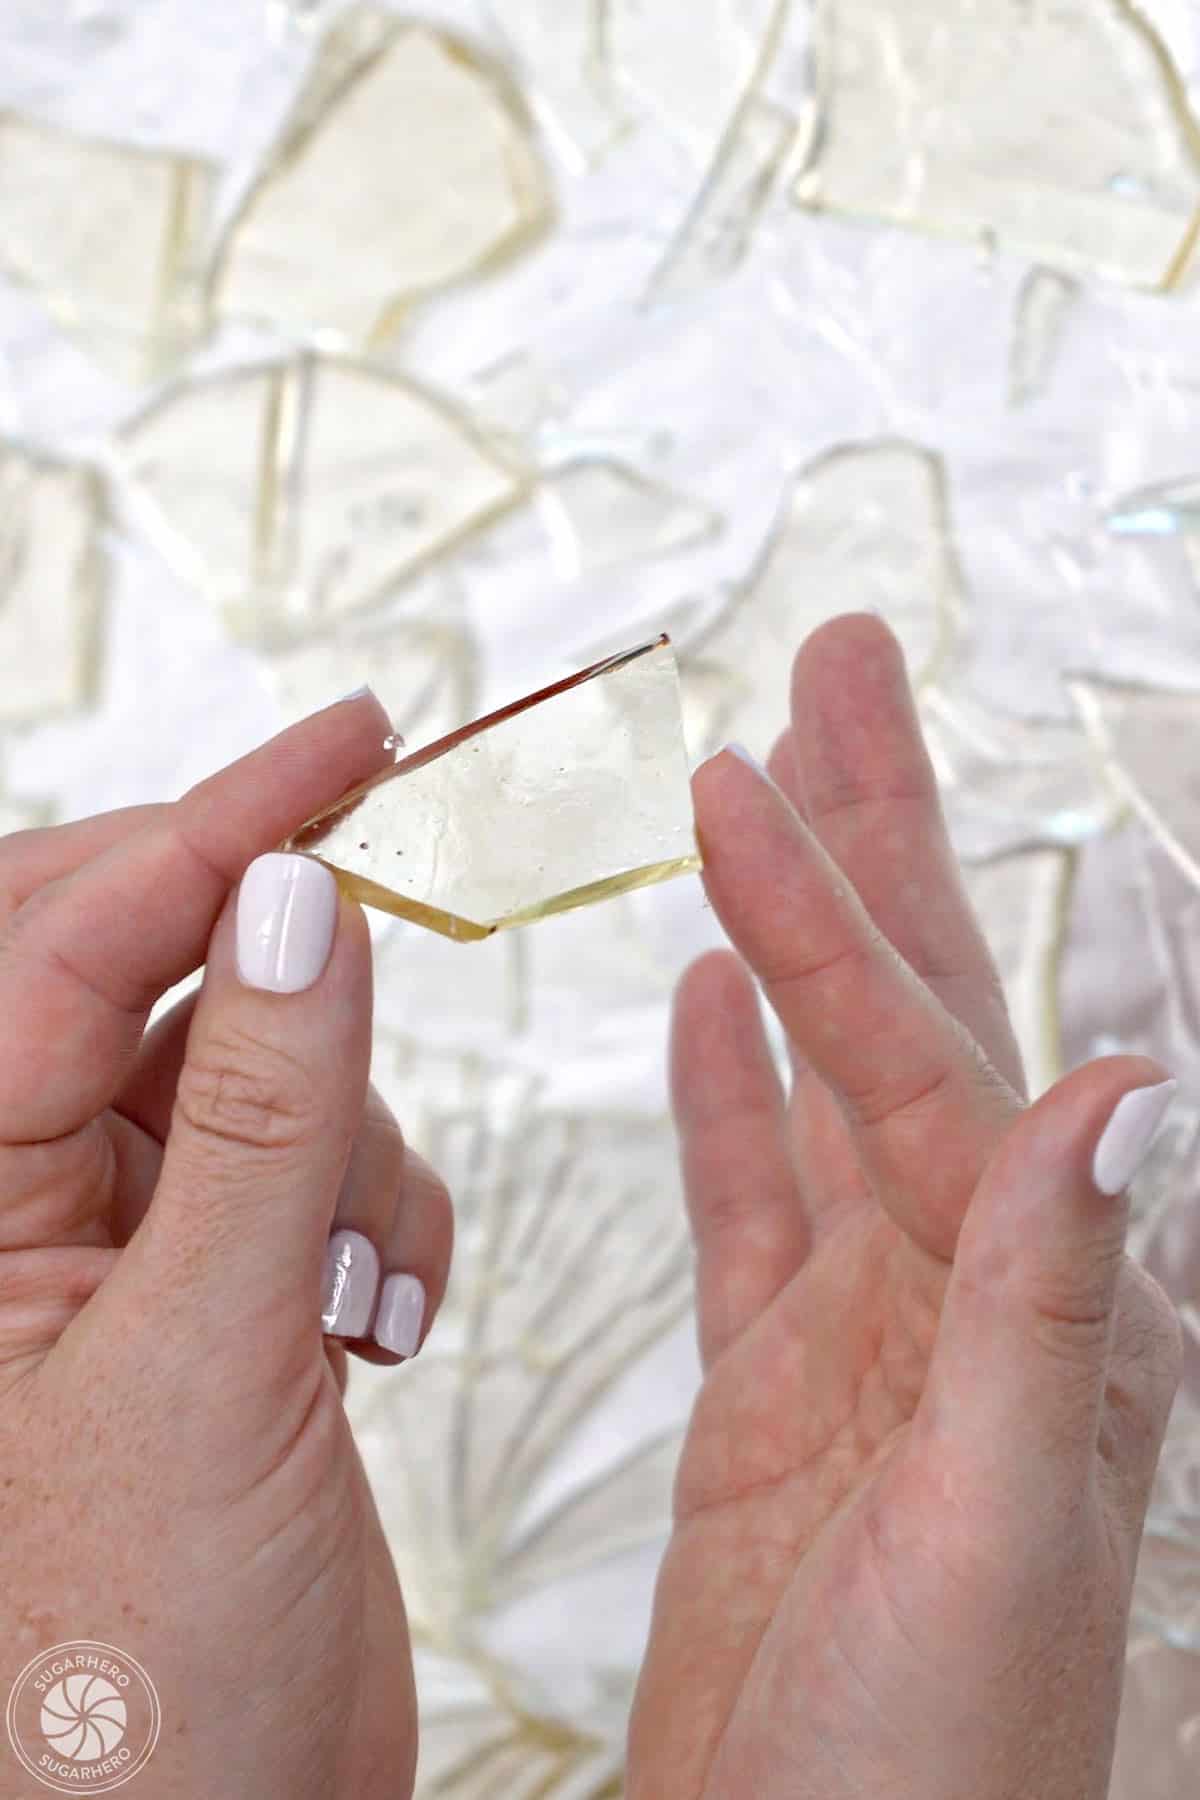
- Break: Once set, break the candy into jagged pieces with a kitchen mallet (or other kitchen tool).
Make the Edible Blood
- Combine sweetened condensed milk and coloring: Pour 1/2 cup of sweetened condensed milk into a bowl, then add a generous squirt of red gel food coloring.
- Stir together: Stir until the milk is a vivid red color. Add more coloring if desired, until you get a shade you like.

Decorate the cupcakes
- Prep piping bags: Fill a piping bag with a large closed star piping tip with white buttercream. Then fill another piping bag (or zip-top plastic bag) with the bloody topping.
- Frost and top with shards: Pipe a swirl of white frosting on each cupcake, and insert a few shards of glass candy.
- Drizzle topping: Snip a small hole in the tip of the piping bag. Drip the blood topping over the glass shards so that it covers the top of each cupcake. Enjoy!

🍬 Candy Making Tips
Candy making is part art, part science (and all delicious!). If you’re new to making candy and want more in-depth information about making edible glass, using a candy thermometer, or making candy at high altitudes, check out these helpful posts:

💡 FAQs
Try this easy hack if you don’t have piping bags and tips. Fill a Ziplock bag with frosting, and cut off one of the corners to pipe frosting through. The size of the corner you cut off will be in proportion to the size of the frosting stream you want to pipe. You won’t be able to get the same ridged effect you see in the pictures, but you can still make a nice big swirl!
Make the cupcakes and frosting in advance: If you want to make the cupcakes in advance, they can be topped with the white frosting and then stored in the refrigerator in an airtight container for up to a week. Finish the cupcakes with glass shards and blood topping just before serving. Allow chilled cupcakes to come to room temperature before serving for best taste and texture.
Make the glass candy in advance: The glass shards can also be made up to 7 days in advance and stored in an airtight container in a dry location at room temperature. The candy will become sticky in humid climates and might not store well for more than 2 or 3 days. Try placing silica gel packets in the container with the candy to help absorb excess moisture.
Store extras in an airtight container at room temperature for 2-3 days. Keep in mind that the candy glass will become sticky the longer it sits in contact with the frosting.