
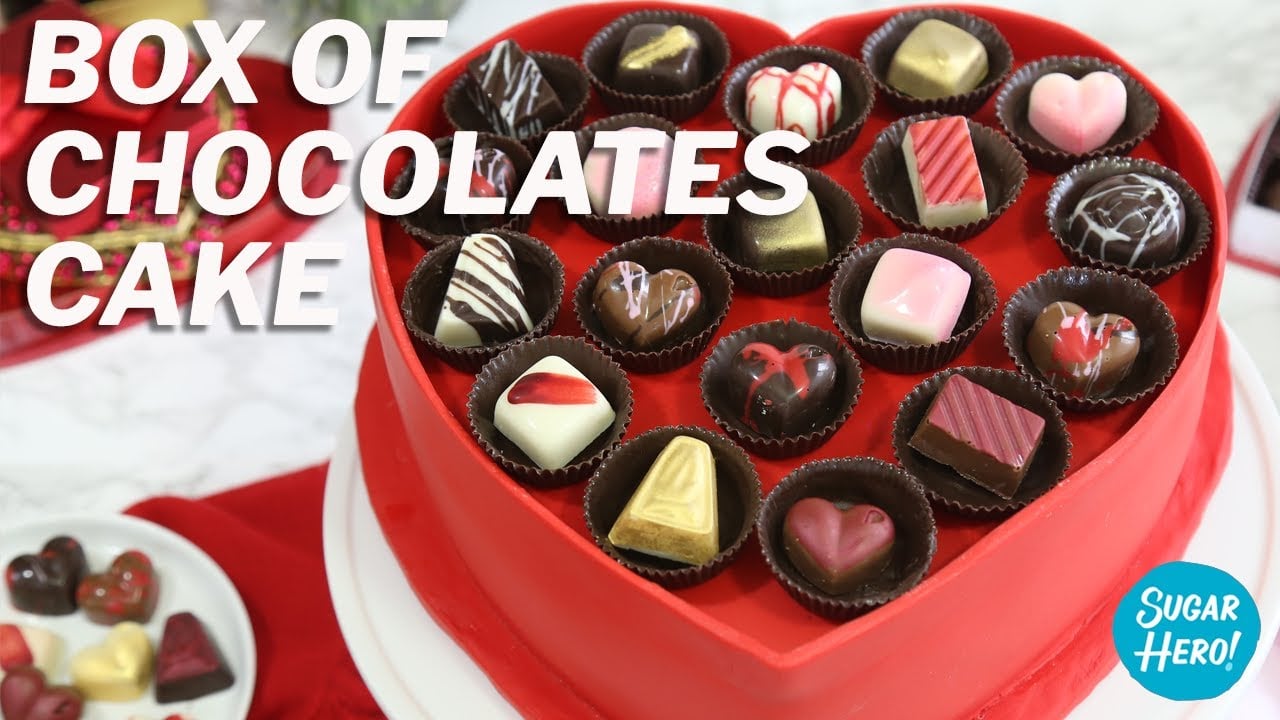
Why give a box of chocolates when you can give a Box of Chocolates CAKE instead? This beautiful dessert is two treats in one—a chocolate cake filled with strawberry buttercream and fresh strawberries, plus gourmet chocolates on top! Even the candy wrappers are made of chocolate!

Box of Chocolates Cake for Valentine’s Day
Let’s face it. Giving someone a heart-shaped box of chocolates can be a little…predictable. Even cliche. This Valentine’s Day, take things to the next level with a heart-shaped box of chocolate that’s actually a cake!

I’ve made my share of Valentine’s Day cakes over the years, like this heart-topped Pink and Red Velvet Cake, these cute mini Chocolate-Covered Strawberry Cakes, and this Strawberries and Cream Layer Cake. I’ve even experimented with putting truffles on top of cake, like in this Truffle-Topped Heart Cake!
But this Box of Chocolates Cake is my new favorite V-day dessert, hands down. It’s whimsical, fun, and definitely eye-catching. I love a good gimmick, and a cake that looks like a box of gourmet chocolates is the best kind of gimmick…the delicious kind!

I’ve seen other variations of this idea, but I first saw it done on Bakerella a few…make that ten…years ago! Bakerella’s version is made with red velvet and filled with red velvet cake truffles, and I thought the idea was so sweet and clever, it stayed in the back of my mind over the years. Finally, I decided to try my hand at my own version.
My Box of Chocolates Cake is made with 2 layers of my favorite chocolate cake recipe, sandwiching a bright and fruity strawberry buttercream. I also added sliced fresh strawberries between the layers, but if you want to make this more than 2-3 days in advance, I’d recommend leaving the fresh berries out.

Covering the Cake With Fondant
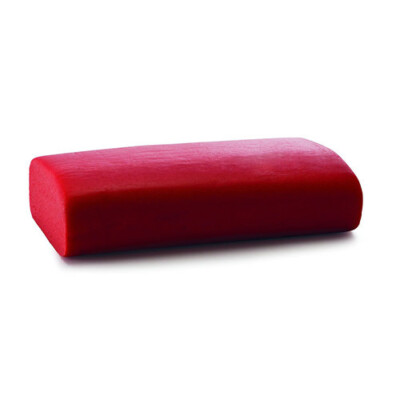
The “chocolate box” gets its signature shape from red fondant molded around the outside. I often make my own fondant, but when it comes to red or black fondant, getting a deep, true color is tricky! So in this instance, I used Satin Ice red fondant, which is my favorite brand of purchased fondant. The red color is vivid and bright, and the texture is a dream to work with. No regrets!
There are 3 parts to the fondant covering: the fondant over the cake, the fondant over the bottom cake board, and the thick fondant panel that wraps around the sides.

If you’ve never worked with fondant before, it can seem intimidating, but this is actually the PERFECT fondant cake for beginners! The hardest part of covering a cake with fondant is usually getting the sides smooth and wrinkle-free, but guess what? In this cake design, the sides are entirely covered by a second panel of fondant, meaning that if your cake ends up with wrinkles on the sides, no one will ever see them!
My biggest piece of advice is to measure, measure, measure before you cut that fondant panel, and make sure that it’s a decent thickness–as you can see, mine is about 1/4-inch thick. If it’s too thin, it will be floppy and have a hard time standing upright. If it’s nice and thick, it will be sturdy enough to stay vertical and after several hours exposed to air, will be dry and firm.

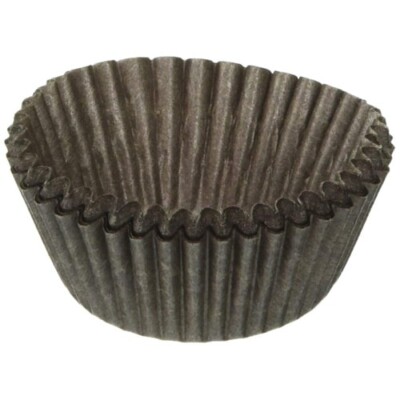
I topped my cake with a selection of hand-made chocolates in chocolate candy cups. I was really smitten with the idea of having the entire cake be edible, so rather than use traditional paper candy cups, I made my own chocolate cups. Chocolate inside of chocolate? Yes please!
You can skip this step if you’re short on time, but it’s fairly easy, and it’s good practice for when you want to make homemade peanut butter cups!


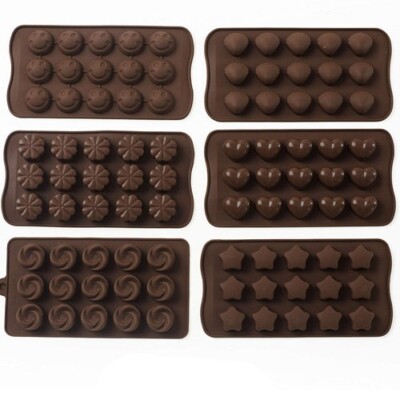
For the candies, I pulled out a variety of candy molds and went to work! I chose shapes that were fairly small so they would fit nicely in the chocolate candy cups, and I decorated them with luster dust, cocoa butter-based paints, and swirls of candy colors.
If you’d like some candy inspiration, consider trying this recipe for Rosemary Raspberry Truffles, or browse my candy archives for more great options. You can also fill your cake with store-bought truffles–there are a lot of gorgeous options out there to buy!

I love the look of this cake, but let’s be honest, the most fun part is actually serving it! We shared this with friends and coworkers, and they were all so impressed that the giant box of chocolates actually contained a cake. (Maybe they were just saying that to stroke my ego, but hey…I’ll take it!)

There are so many fun things you can do with this recipe, and ways to really customize it and make the look and taste your own. I hope you’ll give it a try, and be sure to share a picture in the comments or in our Facebook group if you do!
❤️ More Truffle Recipes You’ll Love
Looking for some homemade truffle inspiration to put on top of your box of chocolate cake? Try one of these!
❤️More Valentine Cakes
- Chocolate-Covered Strawberry Mini Cakes
- Sky-High Pink and Red Velvet Cake
- Truffle-Topped Heart Cake
- Emoji Mini Cakes
- Pink and Red Velvet Valentine’s Day Cake
- Strawberries and Cream Layer Cake
- Raspberry-Rose Cake Recipe
Don’t miss our collection of the 10 Best Valentine’s Day Cakes – see the whole web story here!
Leave a Review!
If you make this recipe, let us know! Leave a ⭐️⭐️⭐️⭐️⭐️ rating on the recipe below, and leave a comment, take a photo and tag me on Instagram @elabau, or use #sugarhero on IG!

Box of Chocolates Cake
Ingredients
For the Cake:
- 3 oz unsalted butter, at room temperature
- 2.33 oz granulated sugar, (1/3 cup)
- 2.5 oz brown sugar, (1/3 cup packed)
- 1 large egg, at room temperature
- 1 tsp vanilla extract
- 4 fl oz buttermilk, (1/2 cup) at room temperature
- 2 oz sour cream, (1/4 cup) at room temperature
- 1 TBSP water , or coffee
- 4 oz all-purpose flour, (7/8 cup)
- 1.5 oz unsweetened cocoa powder, (1/2 cup)
- ¾ tsp baking soda
- ¼ tsp salt
For the Buttercream:
- 4 fl oz pasteurized liquid egg whites, (1/2 cup, see Note below)
- 16 oz powdered sugar, (4 cups)
- 1/4 tsp salt
- 16 oz unsalted butter, at room temperature (4 sticks)
- 1 TBSP vanilla extract
- 1 oz freeze-dried strawberries
- 5 oz fresh strawberries, coarsely chopped (about 1 cup)
For Assembly and Decorations:
- 20 paper candy cups
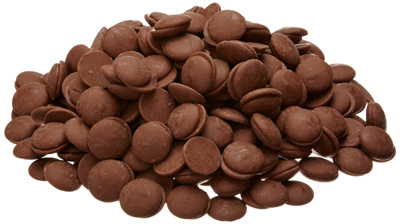
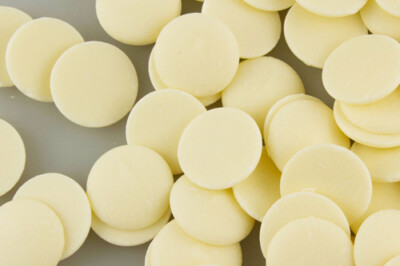
- 8 oz chocolate candy coating melts
- Homemade or store-bought truffles
- 1 lb red fondant
Instructions
To Make the Cake:
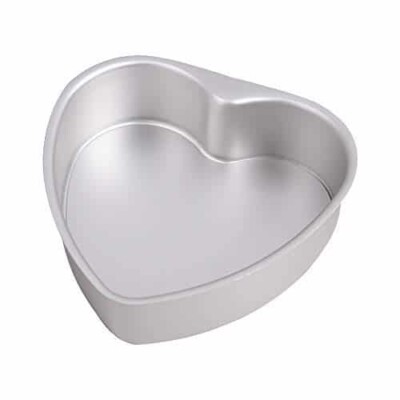
- Line a 9-inch heart-shaped cake pan with parchment, and spray it with nonstick cooking spray. Preheat the oven to 350 F.
- Add the butter and both sugars to the bowl of a large stand mixer fitted with a paddle attachment. Beat them together on medium-high speed, until light and fluffy, about 5 minutes. Add the egg and vanilla extract and mix them in.
- In a separate bowl, whisk together the buttermilk, sour cream, and water (or coffee, if using). In a different bowl, sift together the flour, cocoa powder, baking soda, and salt.
- With the mixer running on low, add a quarter of the sifted flour mixture. When the flour streaks have almost all disappeared, add a third of the liquid to the mixing bowl. When that’s incorporated, continue to add the drys and wets in an alternating pattern, ending with the dry ingredients.
- When the dry ingredients are nearly incorporated, stop the mixer. Scrape down the bottom and sides of the bowl with a rubber spatula, and finish mixing the cake by hand. Pour the batter into the prepared pan and smooth it into an even layer.
- Bake the cake for about 25 minutes, until a toothpick inserted into the center comes out with just a few moist crumbs attached. Cool the cake completely before using.
- The cake can be made several days in advance and kept, well-wrapped and refrigerated or frozen, until ready to use. If you freeze it, make sure it’s partially defrosted before you use it so you can cut it easily.
To Make the Buttercream:
- Combine the whites, powdered sugar, and salt in the bowl of a large stand mixer fitted with a paddle attachment. Mix everything together on low speed, until the sugar is moistened and no dry patches remain. Turn off the mixer, scrape down the sides and bottom of the bowl with a spatula, then turn the mixer to medium speed. Beat on medium for 5 minutes.
- After 5 minutes, turn the mixer to medium-low and start adding the softened room temperature butter, 1-2 tablespoons at a time. Once all of the butter is incorporated, add the vanilla extract and mix it in. Stop the mixer and scrape down the bottom and sides once more. Turn the speed to medium and beat the buttercream for 10 minutes.
- While you are beating the frosting, put the freeze-dried strawberries in a food processor, and process them for 10-15 seconds, until they are a fine powder.
- After 10 minutes, your buttercream should have a wonderfully light and creamy texture. If it still looks broken for some reason, continue to beat until it comes together. Add the strawberry powder and mix well. Your frosting is now ready to use!
- If you are not using the frosting right away, it can be stored in the refrigerator for up to two weeks, or the freezer for up to two months. If you have chilled the frosting, let it come to room temperature COMPLETELY and then beat it for several minutes to smooth it out and restore its texture before using it.
To Make the Chocolate Cups:
- Separate out the paper candy cups and place them on a baking sheet. If they’re taller than you want your chocolate cups to be, trim the tops to the height you want.
- Put the chocolate candy coating in a microwave-safe bowl and microwave in 30-second intervals, stirring after every 30 seconds, until it is melted and smooth.
- Place a spoonful melted coating into the bottom of a candy cup. Use a small clean paintbrush to brush the chocolate along the bottom and up the sides of the paper cup. Try to make your coating as even as possible, and hold the cup up to the light to determine whether there are any translucent spots that did not get enough chocolate. If there are, add more chocolate to the spot until it’s covered.
- Repeat until all of the paper cups have an even layer of chocolate on the inside. Refrigerate the tray until the chocolate is set, about 15-20 minutes.
- Carefully peel the chocolate wrappers off of the outside of the chocolate cups. This is easiest to do when the chocolate is very cold. Set the cups aside until you’re ready to decorate the cake.
To Assemble:
- Cut out a cake board so that it is the same size as the heart-shaped cake, and place the cake on the board, then on a turntable.
- Slice off the domed top so the cake is flat. Slice the cake into two layers, and remove the top layer.
- Place a generous cup of strawberry frosting on the bottom cake layer, and spread it out to the edges. Scatter the sliced strawberries on top of the frosting, keeping them about ½-inch from the edge. Press down gently to embed them in the frosting, and spread a thin layer of frosting on top of the berries.
- Add the top layer of cake. Spread a thin layer of frosting on the top and sides of the cake to lock in crumbs, then refrigerate until the frosting is firm, about 30-45 minutes.
- Spread a thicker layer of frosting on the top and sides of the cake, making it as smooth as possible. Chill the cake again until the frosting is very firm, at least 1 hour. While you wait for the cake to chill, cut out a larger heart from foam board or thick cardboard. Make it at least 1 inch wider than the base of the cake.
- Dust your work surface with powdered sugar, and roll about 12 oz of red fondant until it is less than ¼-inch thick. Drape it over the cake, and use your hands or fondant paddles to smooth it against the surface of the cake. Trim off the excess fondant around the base of the cake.
- Roll out the fondant into a thin layer (1/8-inch thick). Brush the top of the cardboard heart with a thin layer of corn syrup, and drape the fondant over the heart. Smooth it out, flip the heart over, and trim the excess fondant around the edges, leaving a small margin. Fold the fondant border over the edge of the heart, securing with corn syrup. Brush a thin layer of corn syrup on top of the fondant heart base and center the cake on the base.
- Measure around the outside of the cake with a piece of string. Using this length, roll out the remaining fondant into a ¼-inch thick strip at least 1 inch longer than the piece of string, and at least ½-inch taller than the height of the cake. Trim the strip so the top and bottom edges are even, and roll it up into a cylinder.
- Brush the sides of the cake with a thin layer of corn syrup. Hold the cylinder of fondant against the edge of the cake and carefully unroll it around the sides of the cake, pressing it firmly so it adheres. Once the fondant is wrapped around the cake, trim off any excess and press the edges together.
- If you have a clothes steamer, gently steam the fondant to remove any powdered sugar and make it shiny. This will make the fondant temporarily sticky, so give it some time after steaming before you touch it. If you don’t have a clothes steamer, use a brush to brush away any powdered sugar from the surface.
- To finish the cake, place the chocolate candy cups you made on top of the cake. You can affix them with a bit of melted candy coating if you’ll be transporting the cake. Insert homemade or store-bought truffles into each candy cup.
- Serve this cake at room temperature for the best taste and texture. Because of the fresh strawberries in the filling, it’s best enjoyed within 2-3 days of assembly. Store leftovers in the refrigerator.
Video
Recipe Notes
Measuring Tips
Our recipes are developed using weight measurements, and we highly recommend using a kitchen scale for baking whenever possible. However, if you prefer to use cups, volume measurements are provided as well. PLEASE NOTE: the adage “8 oz = 1 cup” is NOT true when speaking about weight, so don’t be concerned if the measurements don’t fit this formula.
Want to learn more about baking measurements and conversion?
Nutrition
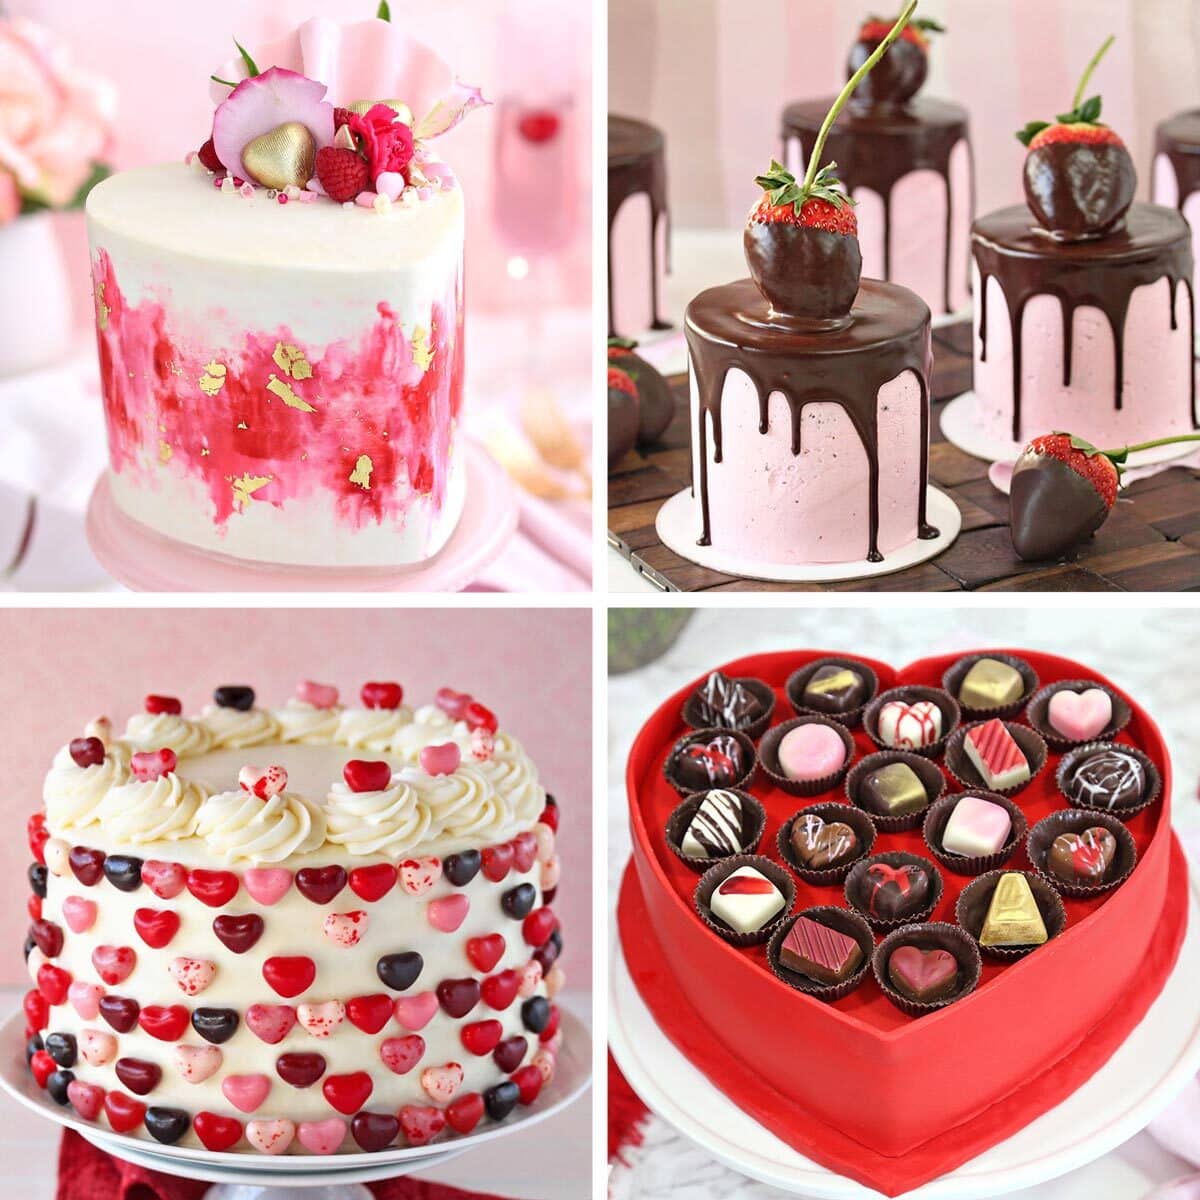
THE BEST VALENTINE’S DAY CAKES
Check out our collection of the 27 best Valentine’s Day cake ideas — click here to get all the recipes!


Such a perfect treat for Valentine’s Day. I love that you made your own chocolate cups to hold the chocolates so the entire cake is edible!
Hey Beth, Thank you so much! I really appreciate that. Isn’t it fun knowing you can eat every part of this!
I can’t believe my kids wouldn’t be all over this! But more for mommy then hehehe. my mouth is watering I found that to be very amusing! Does look fabulous. Happy Valentine’s Day
Hey Mary, I am so glad you enjoyed it so much! Thank you so much for your feedback, I always love hearing when a recipe is enjoyed! Happy Valentine’s Day to you!
I’ve been trying this recipe for a long time. It cost me some time but now i can make it perfectly. Thanks for making me learn from your site thanks 🙂
Hi Mary, I am so glad to hear it worked out for you! I love the feedback, thanks for your response!
Gorgeous cake. Gonna make it for my daughter 🙂 ty
Hey Marie, I can’t wait to hear how it goes! I am sure she will love it! Thank you!